

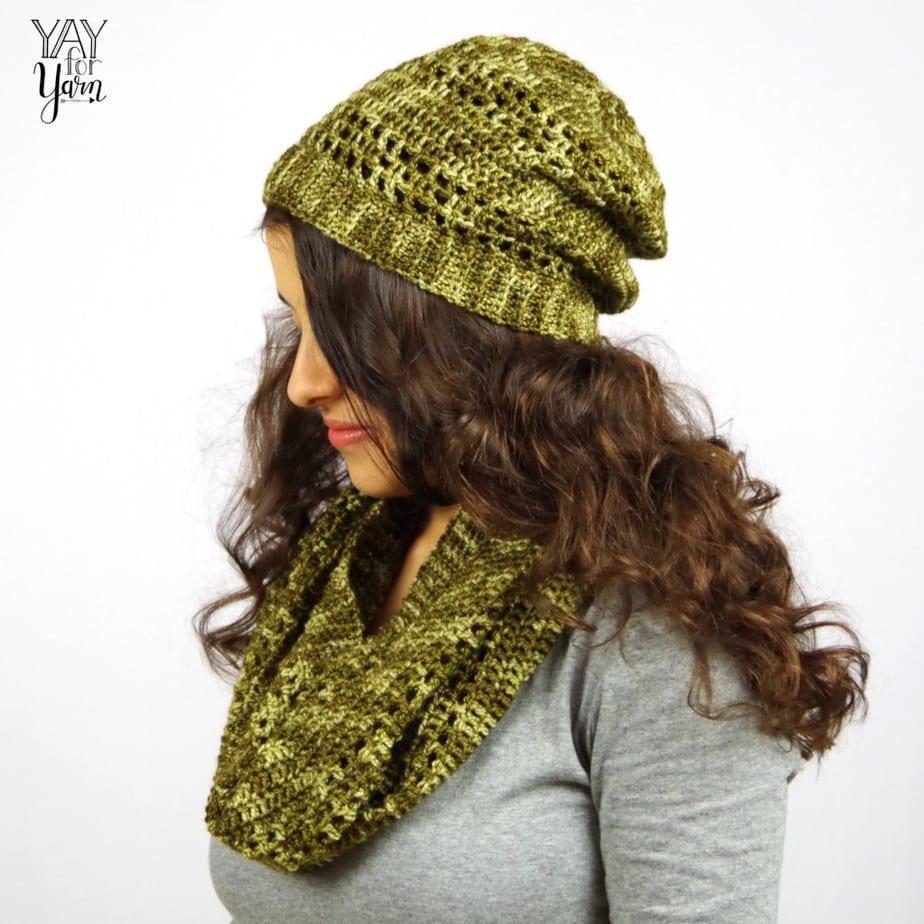
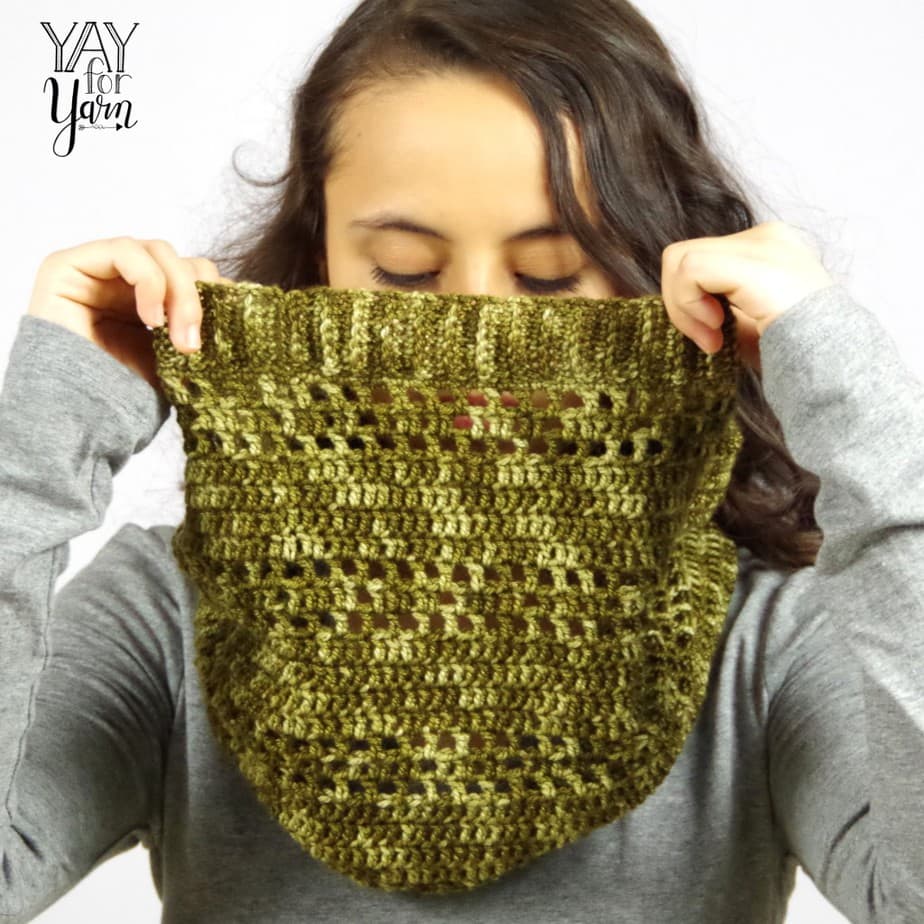
This lightweight, soft cowl is the perfect accessory for chilly autumn days.
Table of Contents
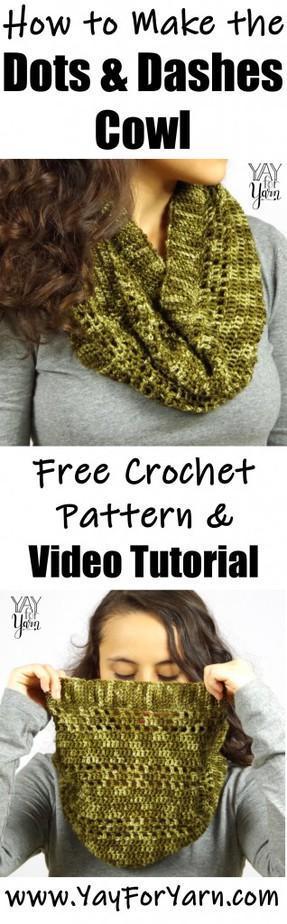
Dots & Dashes Cowl Crochet Pattern
by Yay For Yarn
Skill Level: Intermediate
You will need:
US Size H (5.0 mm) crochet hook (I used a Furls Streamline)
Approx. 390 yds #2 Sport Weight Yarn (I used Vidalana Dream in “Tapenade”, which is now discontinued. See other yarns I recommend for this project below.)
Scissors
Ruler or measuring tape (for measuring gauge)
Yarn Needle or Blunt Tapestry Needle
Shop Supplies for this Project
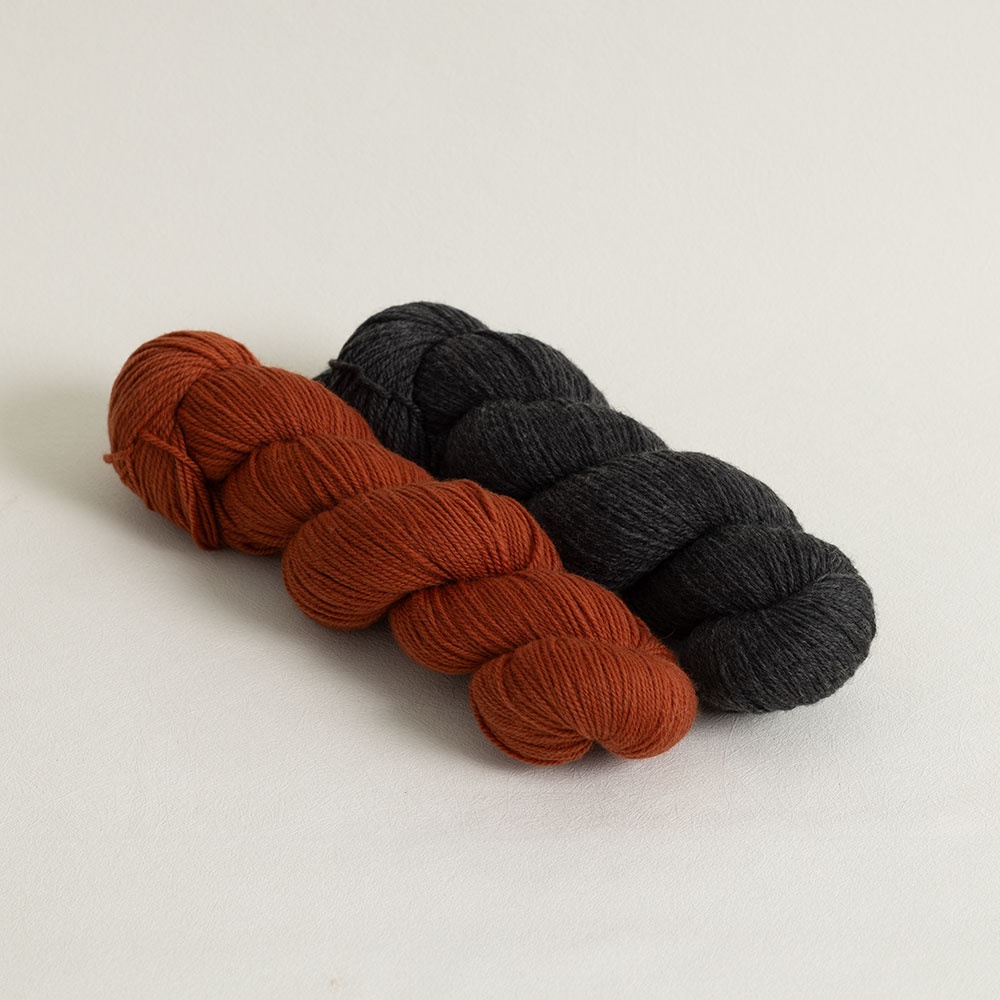
High Desert Sport Yarn – Crochet.com
Buy Now →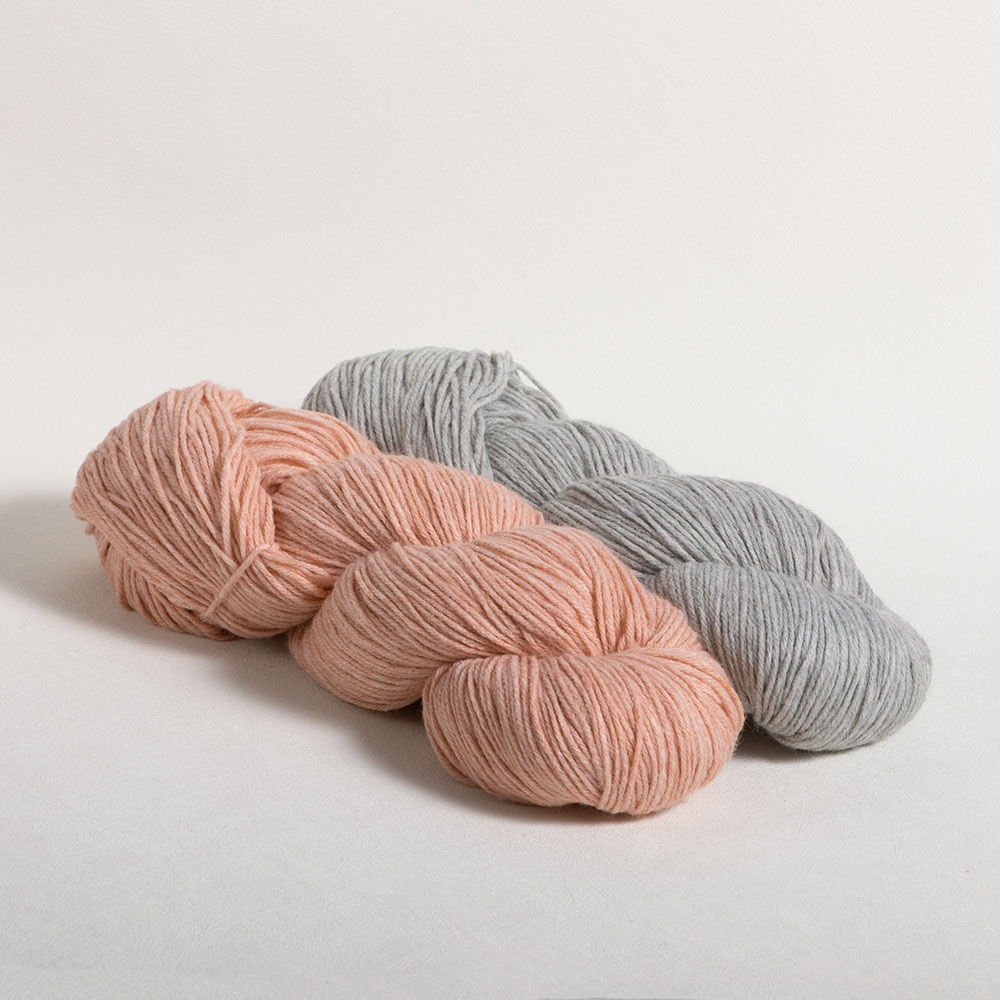
Heatherly Sport Yarn – Crochet.com
Buy Now →
Chibi Metal Yarn Needles – Amazon
Buy Now →
Knitter’s Pride Rainbow Folding Scissors
Buy Now →
Furls Wooden Streamline Crochet Hooks
Buy Now →
Finished Size: 28” (71 cm) in circumference, 13 ½” (34 cm) high
Gauge: 14 dc stitches = 3” (7.6 cm), 7 dc rows = 3” (7.6 cm)
5 sc stitches = 1”, 5 BLO sc rows = 1”
Abbreviations:
beg: beginning
ea: each
nxt: next
sp: space
st: stitch
sts: stitches
ch: chain stitch
sl st: slip stitch
sc: single crochet
dc: double crochet
BLO: back loops only
**invslst: invisible slip stitch
**CSDC: chainless starting double crochet
**This is a special stitch. See instructions below to learn how to work this stitch. Click here for a video tutorial on how to work the CSDC and Invslst.
Dots & Dashes Cowl Instructions
Invslst: Remove hook from current loop. Insert hook from back to front through the st in which you wish to work the invslst. Place original loop back on hook. Pull loop through the st from front to back.
CSDC: Pull loop on hook until it is slightly longer than a regular dc. Holding the top of the loop still with your finger, yarn over with the loop on your hook (not the working yarn) 1 time. Insert the hook into the specified st. Yarn over, pull up a loop of yarn. *Yarn over, pull through 2 loops on hook* 2 times.
NOTE: If you do not want to use the CSDC, you can replace it with a ch 3. If you do not want to use the invslst, you can replace it with a regular sl st. However, I highly recommend the CSDC and invslst method, as it creates a seamless join with no visible turning chain line going up the fabric.
Ribbing
The ribbing around the bottom edge of the cowl is worked as a narrow strip, then ends are sewn together and rest of cowl is worked into one edge of the ribbing.
ch 8, leaving about an 8” tail of yarn.
Row 1: sk 1st ch, sc in ea of nxt 7 chs. You should have 7 sts, not including ch that was skipped at beg of row.
Row 2-138: ch 1, turn, sc in same st. Sc in BLO of nxt 5 sts, sc in nxt st. You should have 7 sts, not including beg ch sp.
With your yarn needle, whip stitch the ends of the ribbing strip together in the BLO, making sure the strip is not twisted.
Cowl:
Round 1: (This round is worked into one edge of the ribbing.) Stretch loop on hook slightly, sc in end of ribbing row that the current loop is coming from. Sc in end of ea of nxt 137 ribbing rows. Join with invslst in 1st sc of round. You should have 138 sts, not including invslst.
Round 2: CSDC in same st. *ch 1, sk 1, dc in nxt st*, repeat between *and* around to last st. Ch 1, sk 1, invslst in top of CSDC from beg of round. You should have 138 sts, including ch spaces, but not including invslst. Ch spaces will be worked into on following round.
Round 3: sl st in nxt ch, CSDC in same ch sp. Dc in nxt 4 sts. *ch 1, sk 1, dc in nxt 5 sts*, repeat between *and* around to last st. Ch 1, sk 1, invslst in top of CSDC from beg of round. You should have 138 sts, including ch spaces, but not including invslst. Ch spaces will be worked into on following round.
Round 4: sl st in previous ch sp to the right (that is, if you are right handed. If you are left handed, you will need to sl st in previous ch sp to the left). Repeat Round 2.
Round 5-8: CSDC in same st, dc in nxt st and in ea st around. Join with invslst in top of CSDC from beg of round. You should have 138 sts, not including invslst.
Repeat Rounds 2-8 two more times, then repeat Rounds 2-4 once more.
Round 9: Stretch loop on hook slightly, sc in same st. Sc in nxt st and in ea st around. Join with invslst in 1st sc of round. You should have 138 sts, not including invslst. Do not tie off.
Ribbing
The ribbing around the top edge of the cowl is worked as a narrow strip, and joined-as-you-go to the top edge of the cowl with slip stitches.
Row 1: ch 8. sk 1st ch, sc in nxt 7 sts. Sl st in 1st sc from edge of cowl. You should have 7 sts, not including sl st or skipped ch.
Row 2: sl st in nxt st of cowl edge, turn. Sc in BLO of nxt 6 sts, sc in last st. You should have 7 sts, not including sl st.
Row 3: ch 1, turn. Sc in same st, sc in BLO of nxt 6 sts. Sl st in nxt st of cowl edge. You should have 7 sts, not including sl st or beg ch sp.
Repeat Rows 2-3 all the way around the top edge of the cowl, 67 more times, for a total of 137 rows. Repeat Row 2 once more. Tie off.
With your yarn needle, whip stitch the ends of the ribbing together in the BLO. Tie off, weave in ends, and block if desired.
This pattern is intended for your personal use only. You may not share it, copy it, sell it, give it away, or mass-produce the finished product. However, you may sell the finished items on a small scale, as long as you convey in your item description that you used a Yay For Yarn pattern.
Yay For Yarn Copyright© 2018 – Current. All patterns and photos are owned by Yay For Yarn.
Please tag your photos with #dotsanddashescowl so I can see your finished projects!
Pin the image below to save this pattern for later!
")


0 Comments