

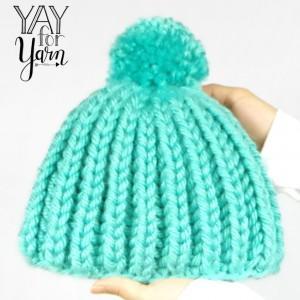
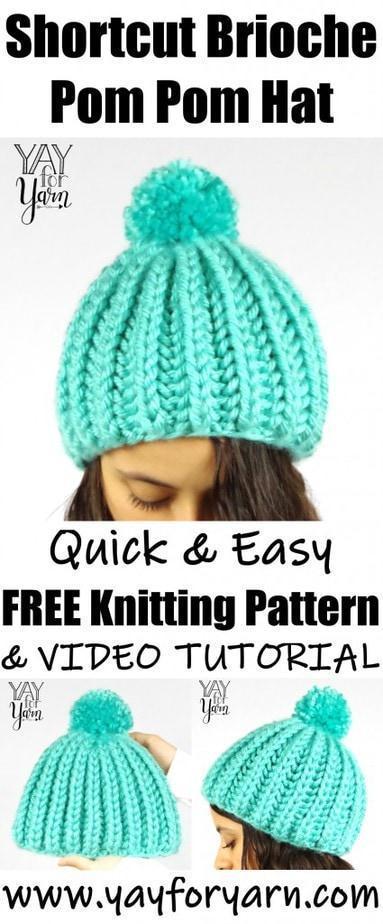
If you can Knit and Purl, you can make this Chunky Shortcut Brioche Pom Pom Hat!
Table of Contents
Easy Shortcut Brioche Pom Pom Hat Knitting Pattern
by Yay For Yarn
Skill Level: Advanced Beginner
You Will Need:
US Size 11 (8 mm) Circular Knitting Needle, 32” long
74 (80, 88, 104, 114, 125) yds #6 Super Bulky weight yarn (I used Lion Brand Hometown USA in “Miami Seafoam“)
Scissors
Ruler or Tape Measure (for measuring gauge)
Very Large Yarn Needle or Blunt Tapestry Needle
Pom Pom Maker (I used this one) or pre-made, purchased Pom Pom
Locking Stitch Marker or Safety Pin
Shop Supplies for this Project
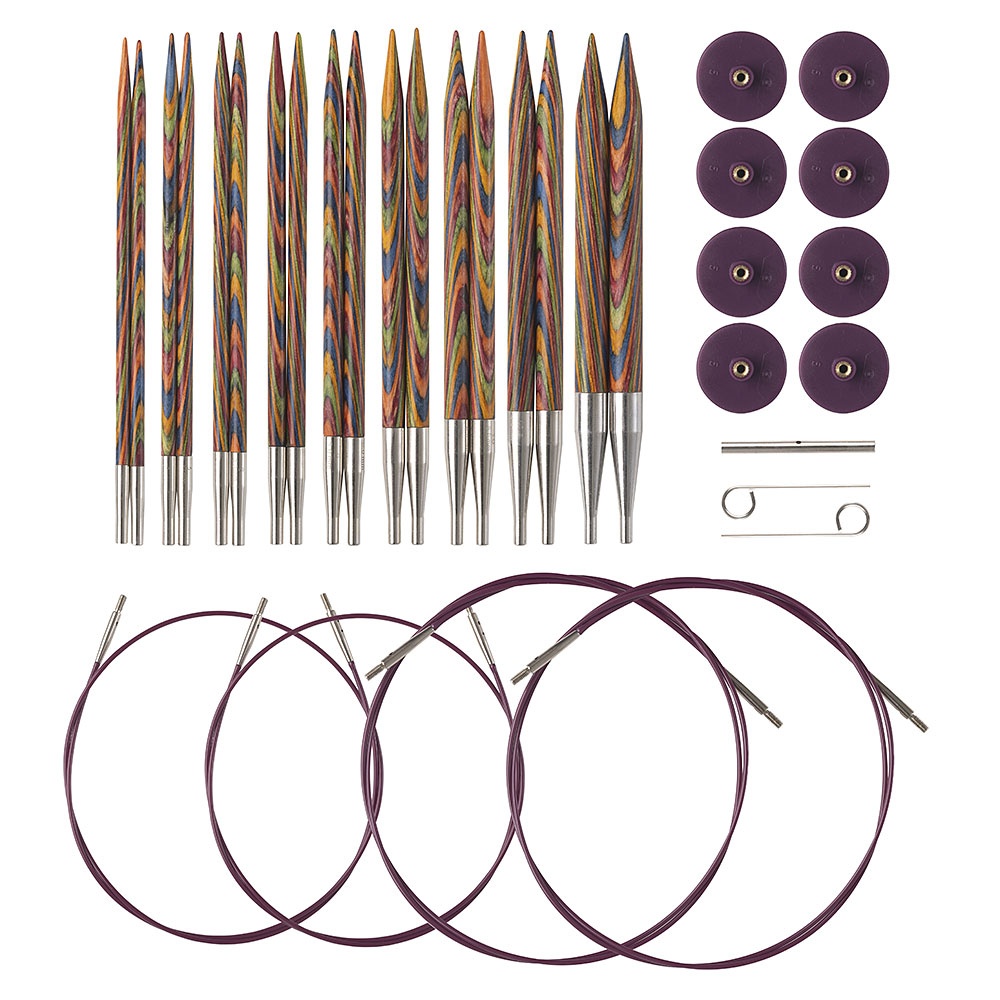
KnitPicks Options Rainbow Interchangeable Knitting Needles
Buy Now →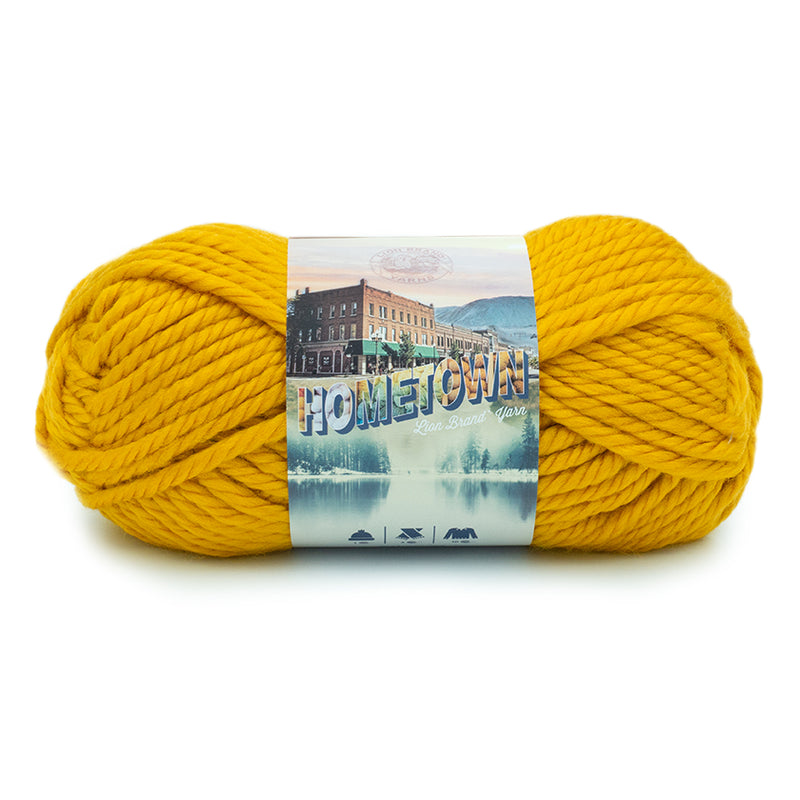 Buy Now →
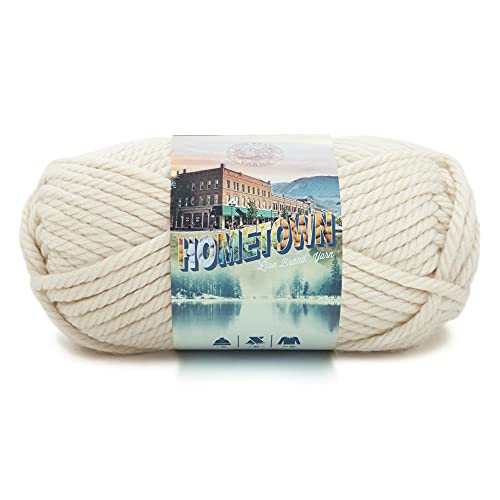
Lion Brand Hometown Yarn – Amazon
Buy Now →
Knitter’s Pride Rainbow Folding Scissors
Buy Now →
Chibi Metal Yarn Needles – Amazon
Buy Now →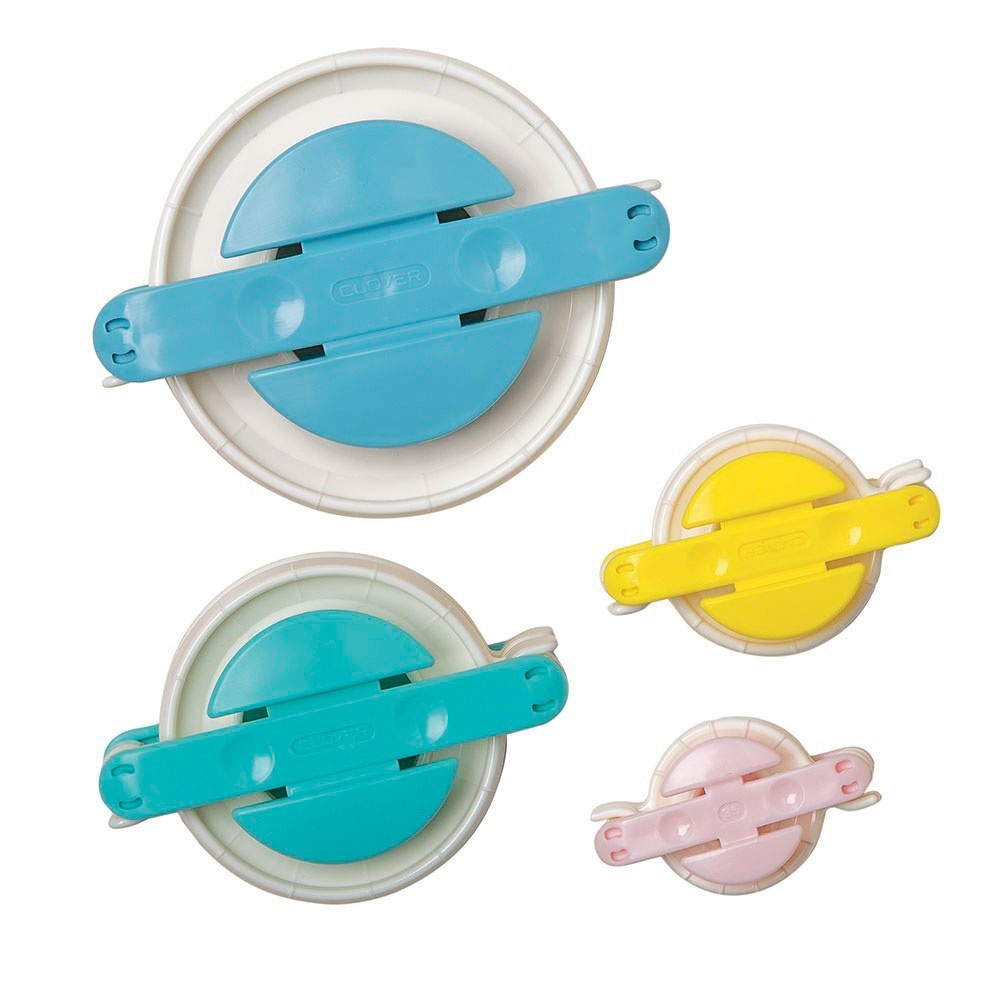
Clover Pom Pom Makers – KnitPicks
Buy Now →
WeCrochet Locking Stitch Markers
Buy Now →
NOTE: Yarn requirements include enough yarn for a medium density pom pom, about 3” in diameter, and using about 10 yards of yarn. If you make your pom pom larger or more dense (by wrapping yarn around pom pom maker more times), that will require a bit more yarn than the instructions call for.
NOTE: Instructions and yarn requirements for Child Small are given outside the parentheses, and all following sizes are given inside the parentheses, like this: Child Small (Child Medium, Child Large, Adult Small, Adult Medium, Adult Large)
Gauge: 8 Shortcut Brioche stitches = 4” (10 cm), un-stretched
Hat is made with negative ease, meaning it is a bit smaller than the actual head circumference, so it will stretch to comfortably stay on the head.
To Fit Head Circumference:
Child Small: 17” (43.2 cm)
Child Medium: 18” (45.7 cm)
Child Large: 19” (48.3 cm)
Adult Small: 21” (53.3 cm)
Adult Medium: 22” (55.9 cm)
Adult Large: 23” (58.4 cm)
Finished Size:
Child Small: 15” (38.1 cm)
Child Medium: 16” (40.6 cm)
Child Large: 17” (43.2 cm)
Adult Small: 19” (48.3 cm)
Adult Medium: 20” (50.8 cm)
Adult Large: 21” (53.3 cm)
Abbreviations:
K: knit
P: purl
CO: cast on
st: stitch
sts: stitches
K1b: knit one below (This is a special stitch. See instructions below to learn how to work this stitch.)
P1b: purl one below (This is a special stitch. See instructions below to learn how to work this stitch.)
K1b (knit one below): Normally, when you work a knit stitch, you insert your right hand needle knitwise into the next stitch on the left hand needle. Instead, insert your right hand needle knitwise into the stitch below the next stitch on the left needle. Knit that stitch, slipping the stitch above off of the left needle at the same time.
P1b (purl one below): Normally, when you work a purl stitch, you insert your right hand needle purlwise into the next stitch on the left hand needle. Instead, insert your right hand needle purlwise into the stitch below the next stitch on the left needle. Purl that stitch, slipping the stitch above off of the left needle at the same time.

Easy Shortcut Brioche Pom Pom Hat Instructions
CO 30 (32, 34, 38, 40, 42) sts with long tail cast-on. Place stitch marker on first st. Join to work in the round, making sure the cast-on is not twisted, and looping the excess length of the circular needle out of the way behind the right needle tip. As you work stitches from the left needle tip to the right needle tip, the slack in the circular needle should continue to move through that looped section. When you have worked all stitches off of the left needle tip up to the looped section, slide the left needle tip back into the next stitches to be worked, pulling the slack to the right needle tip end of the circular needle. Loop the excess length out of the way behind the right needle tip again, and continue working stitches from the left needle tip. This method of using a long circular needle on a smaller circumference project is called the Magic Loop Method.
Note: You should always have 30 (32, 34, 38, 40, 42) sts
Round 1: *K1, P1* around.
Round 2: *K1b, P1* around.
Round 3: *K1, P1b* around.
Repeat Rounds 2-3 till piece measures about 7” (7 1/2”, 8”, 8 1/2”, 9”, 9 1/2”) long from cast-on edge. (It doesn’t really matter which round you end with.)
Cut yarn, leaving about a 20” (50.8 cm) tail. Thread tail through your yarn needle. Holding tail yarn and needle to the back of the work, *slip next knit stitch onto right knitting needle, slip next purl stitch onto yarn needle.* Repeat between *and* around until all purl stitches are held on the tail yarn and all knit stitches still remain on the knitting needle. Cinch the purl stitches on the tail yarn closed by pulling on the tail yarn. Take a small stitch into the cinched area, wrap the yarn around the needle and pull through to make a knot. Then, one by one, slip all the knit stitches that are on the knitting needle onto the yarn needle.
Pull on the tail yarn that is going through the knit stitches to cinch the knit stitches closed. Bring needle through the little hole in the center to inside of hat. Take a small stitch into the cinched area, wrap the yarn around the needle and pull through to make a knot.
Make Pom Pom from remaining yarn, following instructions for your pom pom maker. (I used the Clover Pom Pom Maker, see tutorial here) Using the remaining yarn tail from the pom pom, sew pom pom onto cinched part of hat. You will need to stitch through the yarn that runs around the center of the pom pom. Once pom pom is secured, bring needle through the little hole in the center to inside of hat. Take a small stitch into the cinched area, wrap the yarn around the needle and pull through to make a knot. Weave in ends.
This pattern is intended for your personal use only. You may not share it, copy it, sell it, give it away, or mass-produce the finished product. However, you may sell the finished items on a small scale, as long as you convey in your item description that you used a Yay For Yarn pattern.
Yay For Yarn Copyright© 2018 – Current. All patterns and photos are owned by Yay For Yarn.
Pin the image below to save this pattern for later!
")


I’m struggling with the P1b and it doesn’t show in your video. Your work is below the camera’s view so I can’t see where you’re actually working into. I’d really like to make this pattern but I’m getting frustrated.
Hi Robin! When you work the P1b, you’re inserting the right needle into the stitch below the next stitch on the left needle, and working it just like a regular purl stitch. I have another video that shows this stitch in more detail here: https://youtu.be/nux8jf-1Mu8 Perhaps in that video the demonstration of the P1b is clearer and easier to see. Hope this helps! Please let me know if you have any more questions!