

FREE Crochet Pattern! The Boundless Cowl is a Seamlessly Grafted Infinity Scarf, crocheted as a flat piece and grafted together for a completely invisible join.
Table of Contents
Boundless Cowl Crochet Pattern
Seamlessly Grafted Infinity Scarf
by Yay For Yarn
Skill Level: Intermediate
You Will Need:
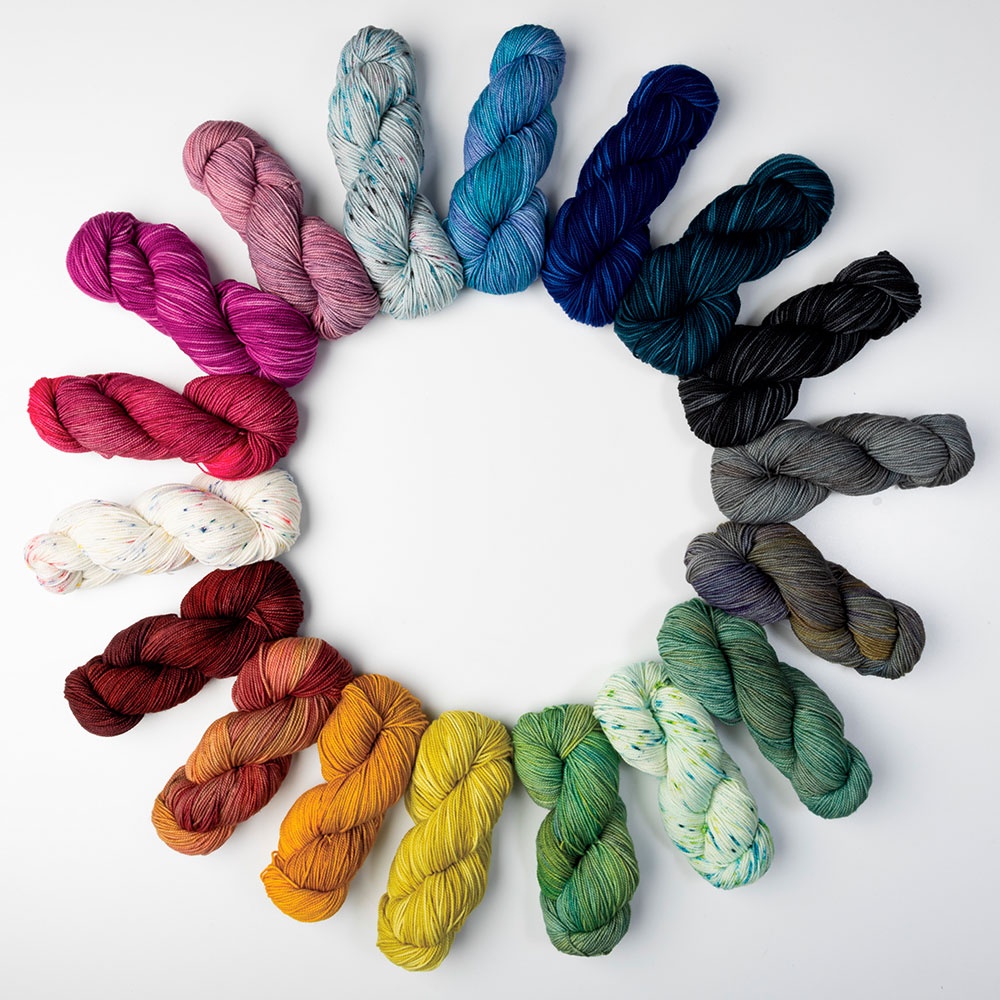
Approx. 425 yards of #3 DK Weight Yarn (I used Audine Wools “Halo DK” in the “Mouse” colorway, which is now discontinued. See other yarns I would recommend for this project below.)
A Length of Smooth Waste Yarn, at least 2 yards long
US Size H (5 mm) Crochet Hook (I used a Furls Streamline)
Scissors
Ruler or Measuring Tape (for measuring gauge, I used this one)
Yarn Needle or Blunt Tapestry Needle
Shop Supplies for this Project
 Buy Now →
Furls Wooden Streamline Crochet Hooks
Buy Now →
Chibi Metal Yarn Needles – Amazon
Buy Now →
Knitter’s Pride Rainbow Folding Scissors
Buy Now →
Finished Size: 14 ½” (36.8 cm) wide by 42” (106.7 cm) in circumference
Gauge: 16 stitches = 4” (10 cm) and 6 rows = 4” (10 cm) in stitch pattern, after blocking.
Abbreviations:
st: stitch
sts: stitches
nxt: next
ea: each
beg: beginning
sp: space
ch: chain
dc: double crochet
**CSDC: chainless starting double crochet
**This is a special stitch. See instructions below to learn how to work this stitch. Click here for a video tutorial on how to work the CSDC.
CSDC: Pull loop on hook until it is slightly longer than a regular dc. Holding the top of the loop still with your finger, yarn over with the loop on your hook (not the working yarn) 1 time. Insert the hook into the specified st. Yarn over, pull up a loop of yarn. *Yarn over, pull through 2 loops on hook* 2 times.
NOTE: If you do not want to use the CSDC, you can replace it with a ch 3.

Boundless Cowl Instructions
This cowl is worked flat, then the ends are seamlessly grafted together. We will begin with a provisional foundation chain. This means that the foundation chain is made from a separate length of waste yarn. The foundation chain will be removed when we graft the ends of our cowl together.
With Waste Yarn, ch 58 sts (or a multiple of 7 + 2), tie off.
We will work into the back of the foundation ch sts, the vertical strands on the back, not the v-shape strands on the front. Begin working into the foundation ch at the starting end (the end where you began the foundation ch).
Make a slip knot with your project yarn and place it on your hook. Working into the back of the foundation ch:
Row 1: dc in ea of first 2 sts. *Sk nxt 2 sts, (2 dc, ch 1, 2 dc) in nxt st, sk nxt 2 sts, dc in nxt 2 sts.* Repeat between *and* across. You should have 58 sts.
Row 2: Turn. CSDC in same st, dc in nxt st. *Sk nxt 2 sts, (2 dc, ch 1, 2 dc) in nxt ch-1 sp, sk nxt 2 sts, dc in nxt 2 sts.* Repeat between *and* across. You should have 58 sts.
Repeat Row 2 until you have a total of 70 rows. (If you want to make the cowl longer or shorter, you can work however many rows you like, as long as you end with an even number of rows.) Tie off loosely and block before grafting. (I pinned mine to 44 ½” / 113 cm by 17” / 43.2 cm, and after unpinning, the fabric relaxed to 42” / 106.7 cm by 14 ½” / 36.8 cm.)

See the video tutorial for this project for a demonstration on how to graft the ends together.
Grafting the Ends Together:
Undo the tie-off from the scarf and unravel the last row. Bring the foundation edge up to meet the top edge of the work, and undo the tie-off from the provisional foundation chain.
To graft 1st st if using a ch-3 turning chain: Ch 2. Stretch the loop on the hook, remove hook. Unravel the first stitch of the provisional foundation chain. Insert hook, in the opposite direction from how you would normally crochet, through the bottom of the first dc in Row 1. The hook should be following the same path through the bottom of the stitch as the waste yarn is. Place the loop you removed from the hook back on the hook, and pull it through the bottom of the stitch your hook is in from Row 1. Now, ch 1.
To graft 1st st if using the CSDC: Stretch the loop on the hook until it is slightly longer than a regular dc, remove hook. Unravel the first stitch of the provisional foundation chain. Insert hook, in the opposite direction from how you would normally crochet, through the bottom of the first dc in Row 1. The hook should be following the same path through the bottom of the stitch as the waste yarn is. Place the loop you removed from the hook back on the hook, and pull it through the bottom of the stitch your hook is in from Row 1. Continue by working all the remaining steps to create a CSDC: Holding the top of the loop still with your finger, yarn over with the loop on your hook (the part of the loop that is below the bottom of the stitch from Row 1) 1 time. Insert the hook into the same st. Yarn over, pull up a loop of yarn. *Yarn over, pull through 2 loops on hook* 2 times.
For 2nd dc: Stretch the loop on the hook, remove hook. Unravel the nxt st of the provisional foundation chain. Insert hook, in the opposite direction from how you would normally crochet, through the bottom of the nxt dc in Row 1. The hook should be following the same path through the bottom of the stitch as the waste yarn is. Place the loop you removed from the hook back on the hook, and pull it through the bottom of the stitch your hook is in from Row 1. Dc in the nxt st.
To continue:
**Sk nxt 2 sts, 2dc in nxt ch sp, ch 1. Stretch the loop on the hook, remove hook. Unravel the nxt 3 ch sts of the provisional foundation chain. Insert hook, in the opposite direction from how you would normally crochet, through the bottom of all 4 dcs from the next shell in Row 1. The hook should be following the same path through the bottom of the stitches as the waste yarn is. Place the loop you removed from the hook back on the hook, yarn over with the working yarn. Pull both the loop and the yarn over through the bottom of the stitches your hook is in from Row 1. Leaving the loop on the hook, stretch the yarn over and pull on it until the working yarn comes all the way out. Work 2 more dc in the same ch sp.
Stretch the loop on the hook, remove hook. Unravel the nxt 3 ch sts st of the provisional foundation chain. Insert hook, in the opposite direction from how you would normally crochet, through the bottom of the nxt dc in Row 1. The hook should be following the same path through the bottom of the stitch as the waste yarn is. Place the loop you removed from the hook back on the hook, and pull it through the bottom of the stitch your hook is in from Row 1. Dc in the nxt st.
Stretch the loop on the hook, remove hook. Unravel the nxt st of the provisional foundation chain. Insert hook, in the opposite direction from how you would normally crochet, through the bottom of the nxt dc in Row 1. The hook should be following the same path through the bottom of the stitch as the waste yarn is. Place the loop you removed from the hook back on the hook, and pull it through the bottom of the stitch your hook is in from Row 1. Dc in the nxt st.**
Repeat from **to** all the way across, until all the stitches from Row 1 are grafted to the stitches from the grafting row. Tie off. Pull on the waste yarn to remove it. Weave in ends.

This pattern is intended for your personal use only. You may not share it, copy it, sell it, give it away, or mass-produce the finished product. However, you may sell the finished items on a small scale, as long as you convey in your item description that you used a Yay For Yarn pattern.
Yay For Yarn Copyright© 2018 – Current. All patterns and photos are owned by Yay For Yarn.
Please tag your photos with #boundlesscowl so I can see your finished projects!
Pin the image below to save this pattern for later!
Would you try Seamlessly Grafting Crochet?
")


0 Comments