

Need a free crochet pattern for a quick winter gift? My Twisted Earwarmer is made from a simple rectangle. It works up very quickly, with no shaping!
Table of Contents
The pattern includes 10 sizes, for babies, kids, and adults. Plus, since the stitch pattern is so stretchy, the sizing is pretty forgiving if you are not able to measure the wearer’s head.
I really enjoyed making this project, and I’m so happy with how the finished headband looks. The super-stretchy stitch makes it very comfy to wear, and it’s great for keeping your ears warm when it’s chilly out.
Ready to make your own Twisted Earwarmer? Grab your hook and some Worsted Weight yarn, and let’s get started!
Twisted Earwarmer Crochet Pattern
by Yay For Yarn
Skill Level: Advanced Beginner
Sizes (according to the wearer’s head circumference measurement):
Preemie: 12” (30.5 cm)
0-6 Months: 13” (33 cm)
6-12 Months: 14” (35.6 cm)
12-18 Months: 16” (40.6 cm)
Child Small: 17” (43.2 cm)
Child Medium: 18” (45.7 cm)
Child Large: 19” (48.3 cm)
Adult Small: 21” (53.3 cm)
Adult Medium: 22” (55.9 cm)
Adult Large: 23” (58.4 cm)
Headband is designed with negative ease, meaning it is smaller than the wearer’s actual head circumference, so it will stretch to comfortably stay on the head. The fabric in this stitch pattern is very stretchy.
Finished Circumference / Width:
Preemie: 11” (27.9 cm) / 2 ⅜” (5.9 cm)
0-6 Months: 12” (30.5 cm) / 2 ¾” (7 cm)
6-12 Months: 12 ¾” (32.4 cm) / 3 ⅛” (7.9 cm)
12-18 Months: 14 ¼” (36.2 cm) / 3 ½” (8.9 cm)
Child Small: 15” (38 cm) / 3 ½” (8.9 cm)
Child Medium: 15 ¾” (40 cm) / 3 ⅞” (9.8 cm)
Child Large: 16 ½” (41.9 cm) / 3 ⅞” (9.8 cm)
Adult Small: 17 ½” (44.5 cm) / 4 ¼” (10.8 cm)
Adult Medium: 18 ¼” (46.4 cm) / 4 ¼” (10.8 cm)
Adult Large: 19” (48.3 cm) / 4 ¼” (10.8 cm)
-Instructions and Yarn Requirements for size Preemie are given outside the parentheses, and instructions and yarn requirements for all larger sizes are inside the parentheses like this:
Preemie (0-6 Months, 6-12 Months, 12-18 Months, Child Small, Child Medium, Child Large, Adult Small, Adult Medium, Adult Large).
– When only one number is given, it applies to all sizes. To follow pattern more easily, circle or highlight all numbers that apply to your size before beginning.
You Will Need:
32 (41, 50, 62, 65, 75, 79, 92, 97, 100) Yards of #4 Worsted Weight Yarn
US Size I (5.5 mm) Crochet Hook
Measuring Tape
Scissors
Yarn Needle or Blunt Tapestry Needle
Shop Supplies for this Project
 Buy Now →
  Buy Now →
  Buy Now →
 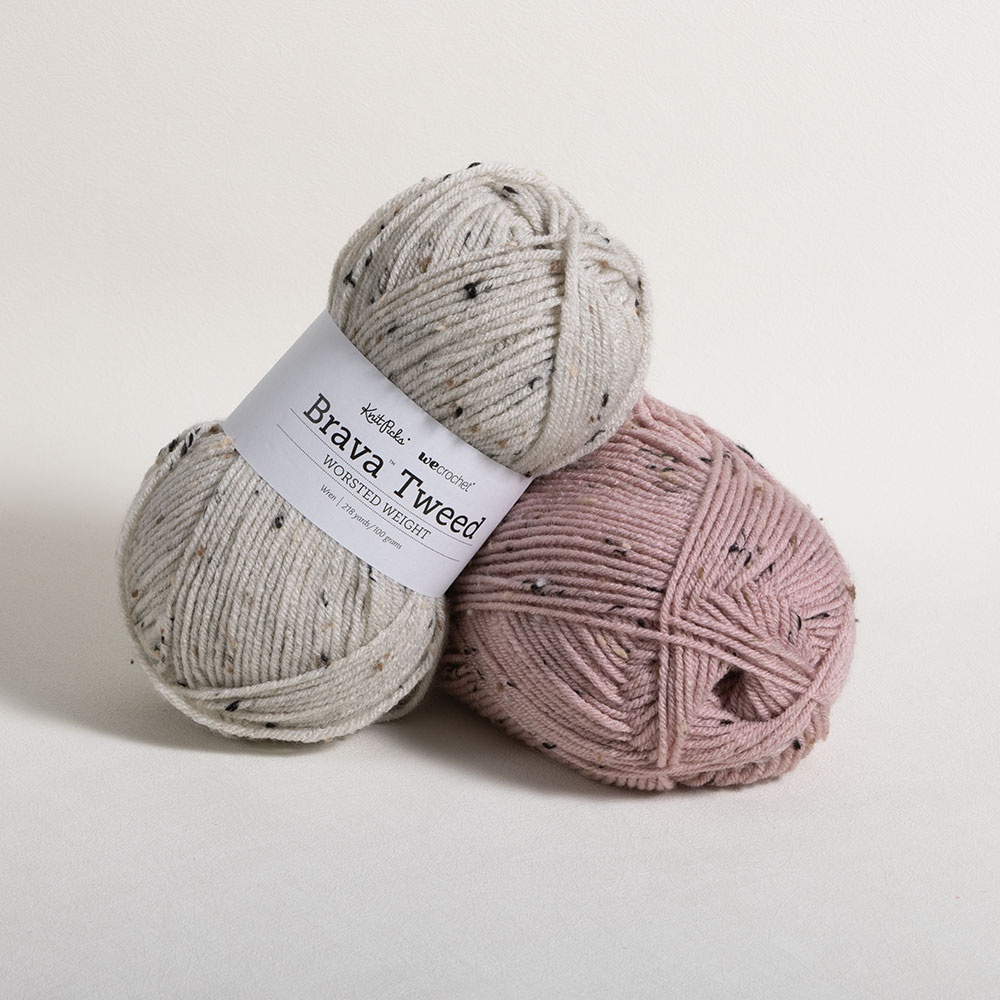 Buy Now →
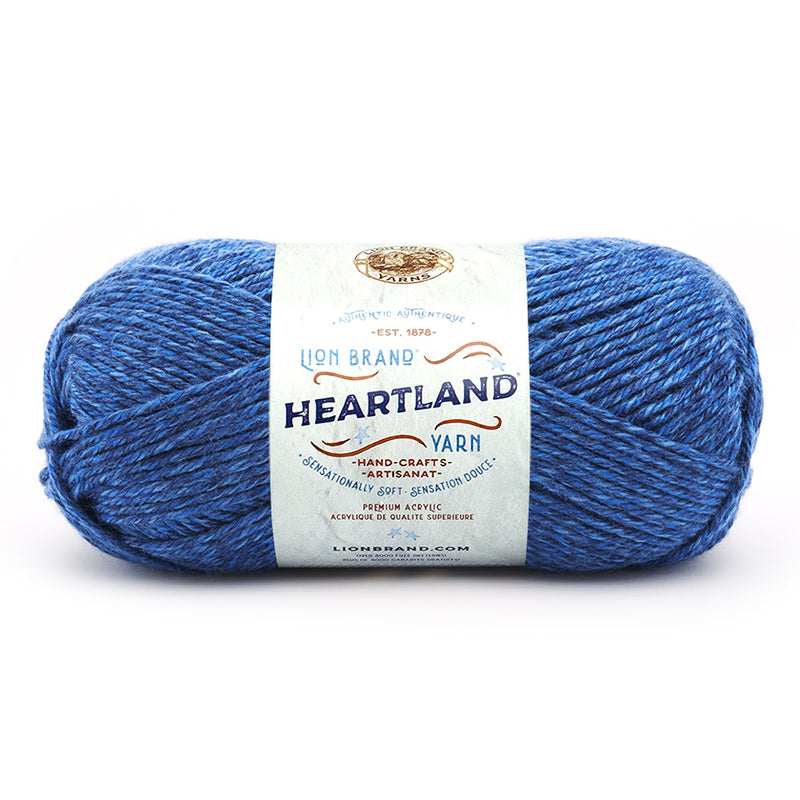
Lion Brand Heartland Yarn – LionBrand.com
Buy Now →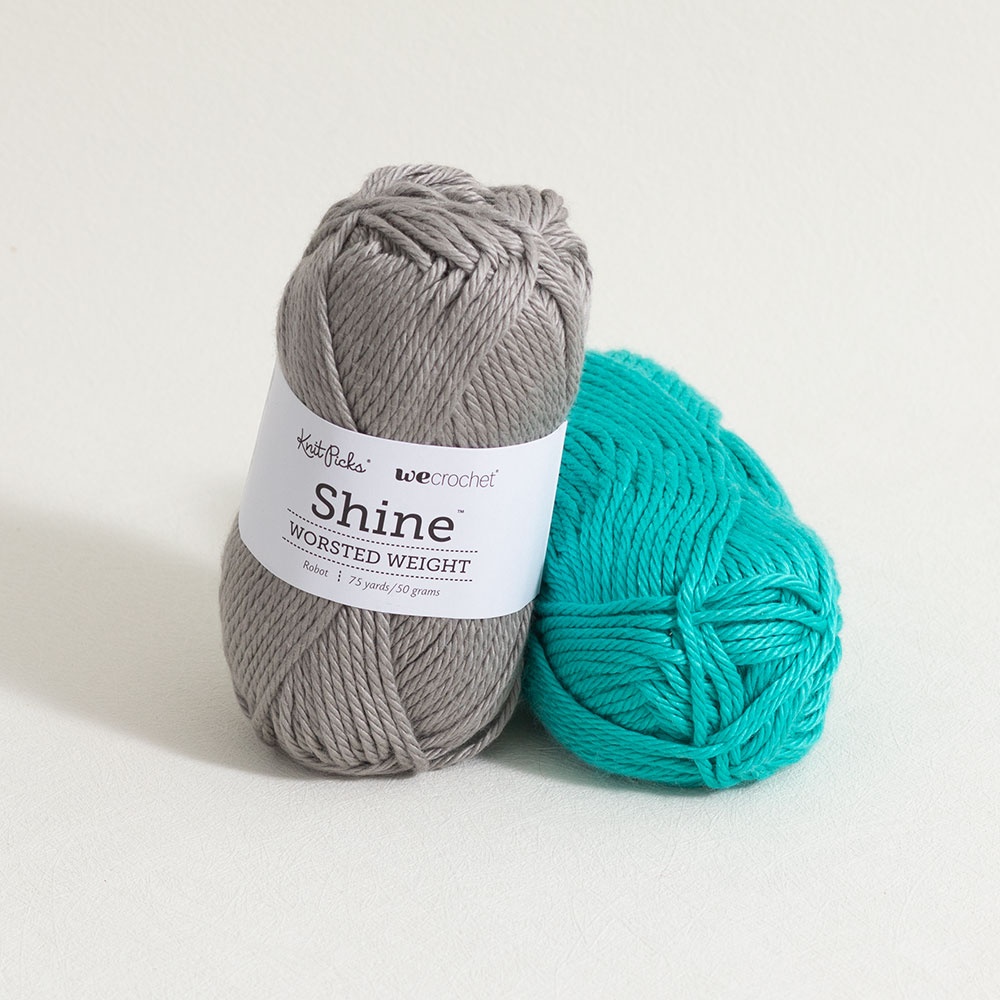 Buy Now →
 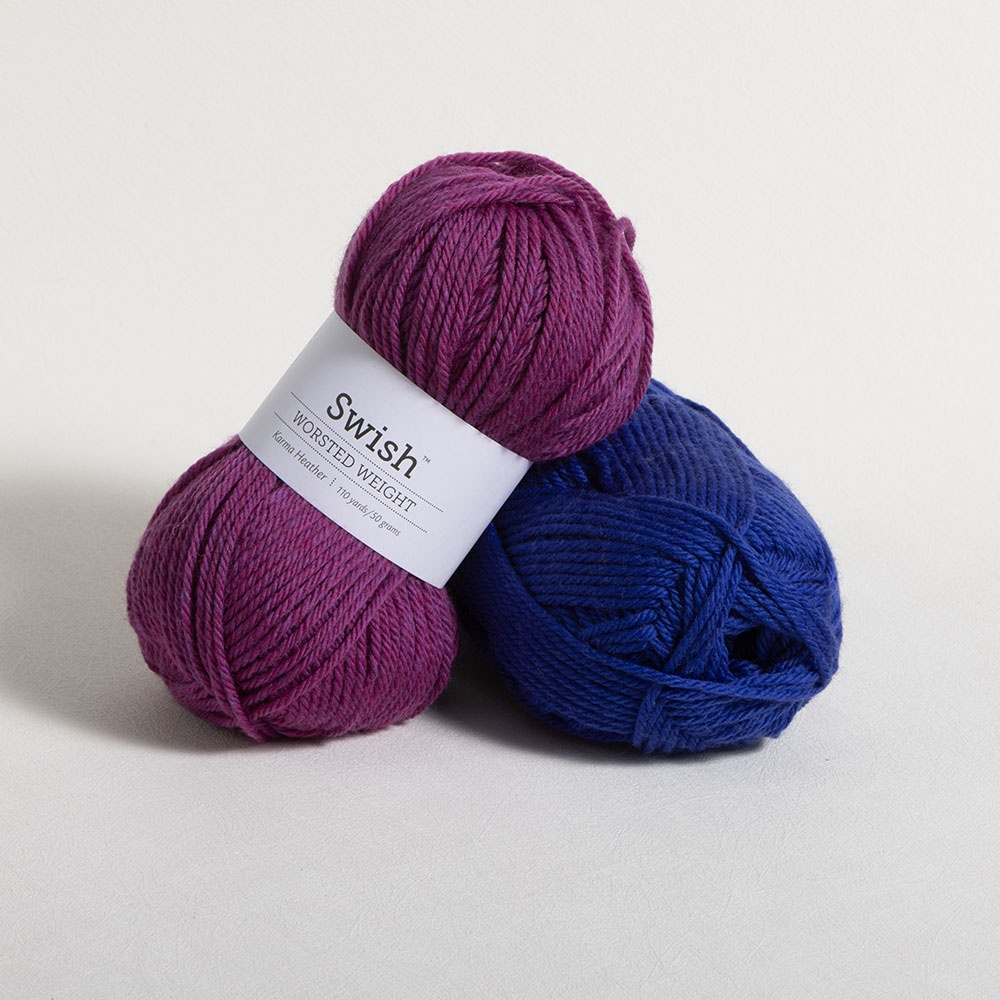 Buy Now →
  Buy Now →
Chibi Metal Yarn Needles – Amazon
Buy Now →
Knitter’s Pride Rainbow Folding Scissors
Buy Now →
Gauge: 12 stitches = 3 ½” (8.9 cm); 9 rows = 3” (7.6 cm) in stitch pattern
Abbreviations:
st: stitch
sts: stitches
sk: skip
nxt: next
ea: each
sc: single crochet
dc: double crochet
CSSC: chainless starting single crochet*
Fsc: foundation single crochet*
*This is a special stitch. See instructions below to learn how to work this stitch.

Special Stitches:
Fsc: (video tutorial here)
To begin, chain 2. Insert hook into the 2nd chain from the hook. Yarn over, pull up a loop. Yarn over, pull through one loop on hook. Yarn over, pull through both remaining loops on hook.
For all following stitches: Turn work upside-down so the bottom (foundation) edge is facing you. On the bottom of the previous stitch, there is what looks like the top of a normal crochet stitch. Insert hook into both strands of that “stitch”. Yarn over, pull up a loop. Yarn over, pull through one loop on hook. Yarn over, pull through both remaining loops on hook.
CSSC: (video tutorial here) Stretch loop on hook slightly. Insert hook in the same stitch the loop is coming from. Yarn over, pull up a loop. Yarn over, pull through 2 loops on hook.

Twisted Earwarmer Instructions
Row 1: ch 2, Fsc in 2nd ch from hook. Work 36 (39, 42, 48, 51, 54, 57, 60, 63, 66) more Fsc. You should have 37 (40, 43, 49, 52, 55, 58, 61, 64, 67) sts, not including chs.
Row 2: turn. CSSC in same st, 2 dc in same st. *sk 2, (sc, 2 dc) in nxt st* across to last 3 sts. Sk 2, sc in last st. You should have 37 (40, 43, 49, 52, 55, 58, 61, 64, 67) sts.
Repeat Row 2; 5 (6, 7, 8, 8, 9, 9, 10, 10, 10) more times.
Row 3: turn. CSSC in same st. Sc in ea st across. You should have 37 (40, 43, 49, 52, 55, 58, 61, 64, 67) sts.
Tie off, leaving an 8”-12” tail.
To Block: (video tutorial here)
For natural fibers, lay project out on foam blocking mats. Spray with water until fully saturated, allow to dry.
OR
For acrylic fibers, lay project out on an ironing board or several layers of towels. Hold a steaming iron 2”-3” over the surface of the fabric, making sure all of the fabric is penetrated by the steam. Allow to cool / dry.

Assembly:
Thread the long yarn tail through your yarn needle. Lay your rectangle out flat. Take one end of the rectangle, and flip it over. This creates the twist in the earwarmer. (If you don’t want it to be twisted, you can skip this step.)
Bring the two short ends of the rectangle together. With your yarn needle, whip stitch the ends together. At the end of the seam, take one last stitch through the edge of each piece, wrap the yarn around the needle, and pull the needle through to make a knot.
With your yarn needle, weave in any remaining yarn tails.
Enjoy your finished Twisted Earwarmer!
This pattern is intended for your personal use only. You may not share it, copy it, sell it, give it away, or mass-produce the finished product. However, you may sell the finished items on a small scale, as long as you convey in your item description that you used a Yay For Yarn pattern.
Yay For Yarn Copyright© 2019 – Current. All patterns and photos are owned by Yay For Yarn.
Pin the image below to save this project for later!
")


I am new to crochet, just 2 months. I purchased the .pdf version of the easiest crochet hat ever. Wow. Loved, loved, loved the detailed instructions, charts, helpful hints, etc. Your instructions worked like my brain works. Thank you! I’m currently going through your other patterns now for my next project. Question: Have you considered a pattern and instructions for mittens? I can’t find a pattern or instructions I like, or anything near to how you present patterns. Would you consider doing one for mittens? Thank you.
Hi Anne! I’m so glad you enjoyed the Easiest Crochet Hat pattern! I haven’t done any mitten patterns yet, but thanks for the suggestion. 🙂 Happy Yarning!
Hi! I’m currently making your Seafoam Cardigan and I love it! Thank you so much for dedicating your time to making these awesome patterns. I haven’t started the ear warmer yet, because I have a small question. What exact yarn did you use? As in the brand name? Thank you so much, I love all your work. Thank you again!
Hi Clementine! I’m so glad you are enjoying my patterns! The yarn I used for the Earwarmer is called Knitologie Worsted, in the Kestrel colorway. However, this yarn was from the August 2019 KnitCrate subscription. KnitCrate yarns are hand-dyed and limited edition, and once they sell out, they do not continue making more of that yarn. If there is any leftover yarn from a limited edition batch, they do sell it by the skein in their shop, but they do not have any of this yarn left. So the exact yarn I used is no longer available for purchase. However, you can use any worsted weight yarn you like for this pattern, as long as it is marked “#4 Worsted Weight”. I hope this helps!
Thank you so much! I didn’t know about the limited edition. Thank you once more for answering and making these amazing crochet patterns, I absolutely love them! Bye! 🙂
You’re very welcome! Happy Yarning!
This is probably a dumb question but how do you measure the circumference of a head? I love this pattern and want to get the size correct.
Thanks!
Hi! To measure the circumference of the wearer’s head, you’ll need to wrap a measuring tape around the head. You want the tape to sit about where a hat would sit, across the top of the forehead, and around the base of the skull. The tape will fall across the ears as well, so I like to tuck the tape behind the ears. Once the tape is sitting snugly around the head, you can read the measurement accurately. I hope this helps!