Crocheting into the Back or Front Loop Only can completely change the look and feel of your project. Use these techniques to give the fabric an interesting texture, or to help add structure to your project.
When these techniques are used in a pattern, they are usually abbreviated BLO (for “Back Loop Only”) or FLO (for “Front Loop Only”). (Be sure to check the abbreviation key in your pattern, just to make sure.) While I am describing their common uses here, there are plenty of other purposes and functions that these techniques can be used for. For this example, I worked my swatches in single crochet, but you can work these techniques with any crochet stitch.
Let’s look at some swatches!
When working back and forth, crocheting in the Back Loop Only creates an extra-stretchy ribbing. The fabric contracts in the ridges, creating that corrugated texture. If you are using a taller stitch, the fabric does not contract as much, but single crochet and slip stitch pieces tend to contract the most.

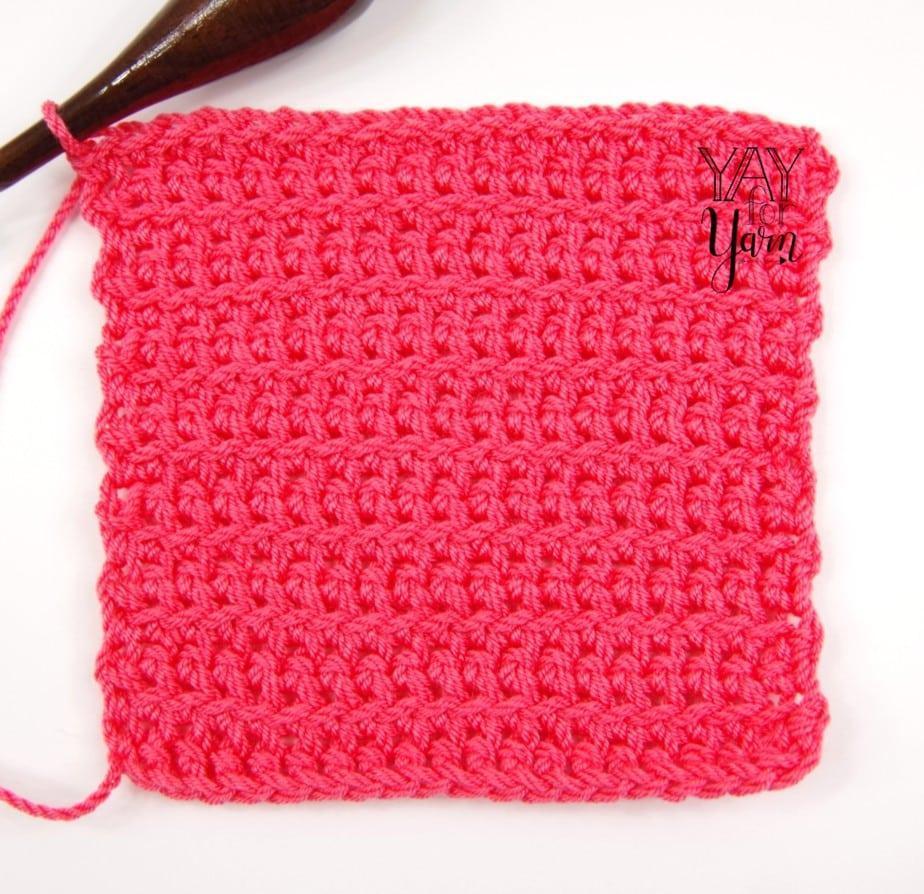
Crocheting in the Front Loop Only creates a completely different fabric. This fabric is smooth and flat, with rows of what looks like twisted strands going across the work. This swatch is worked back and forth, so the twisted strands sit on every other row on this side. If this technique is worked in the round without turning, the twisted strands will show up on every row of one side of the work.
Let’s compare the two swatches. Believe it or not, both of these pieces are made with the same number of stitches and the same number of rows. But because the Back Loop Only square contracts into a ribbing, it ends up being significantly shorter in length than the piece worked in the Front Loop Only.

(See the hooks I used in these photos here and here.)
So, what do “Back Loop Only” and “Front Loop Only” mean?
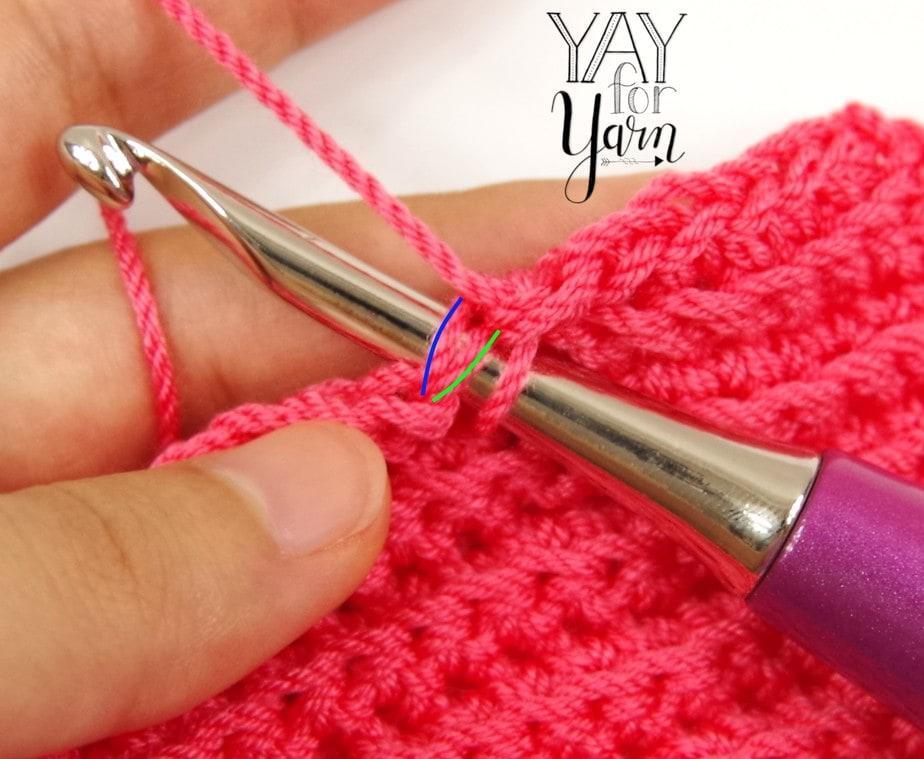
Well, it all has to do with how you insert your hook into the next stitch. Let’s look at how we would normally insert the hook into the top of a stitch. Do you see how there are two strands of yarn that make up the top of the stitch? The strand that is farthest away from you (marked in blue) is the back loop. The strand closest to you (marked in green) is the front loop.

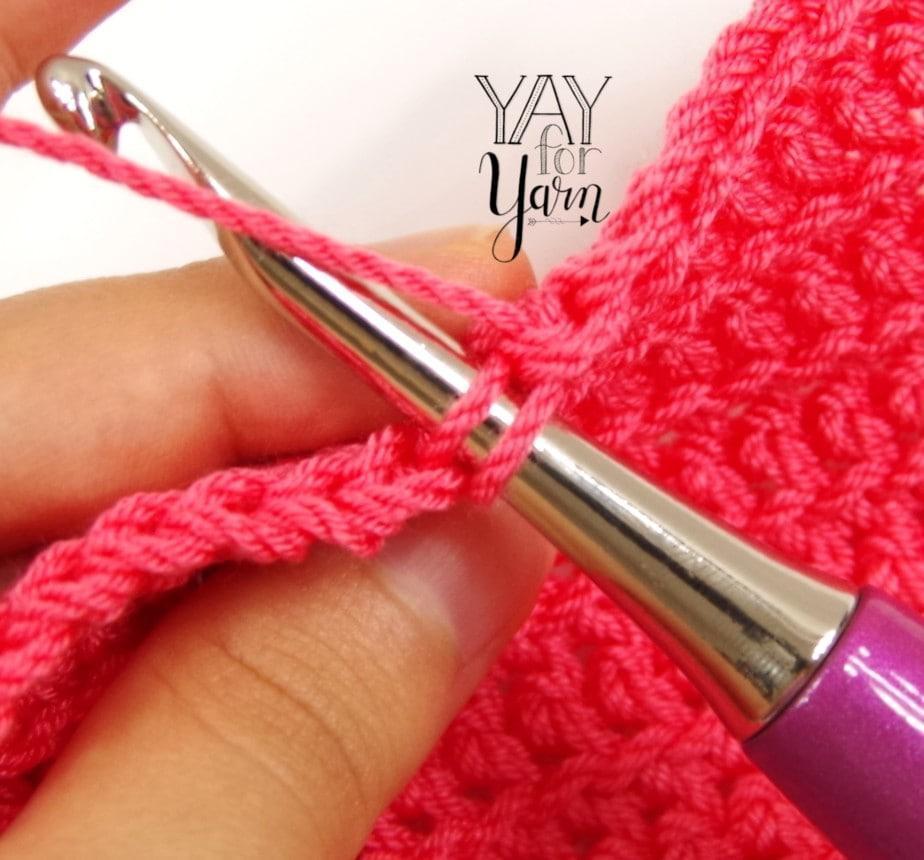
If we want to work into the Back Loop Only, we only insert our hook into part of the top of the next stitch; the strand that is farther away.

If we want to work into the Front Loop Only, we only insert our hook into the other part of the top of the next stitch; the strand closest to you.

For a detailed, step-by-step explanation of these techniques, watch the video tutorial below:
Have you tried working into the BLO or FLO yet?
Pin the image below to save this tutorial for later!


Hello Yay for Yarn, That was an interesting post. I have only ever done front loop only and back loop only for one or a few rows, according to the pattern I am following. To see the difference between the length of the two different actions was a surprise to me. Thankyou for explaining and showing the samples. I have now learnt something new.