

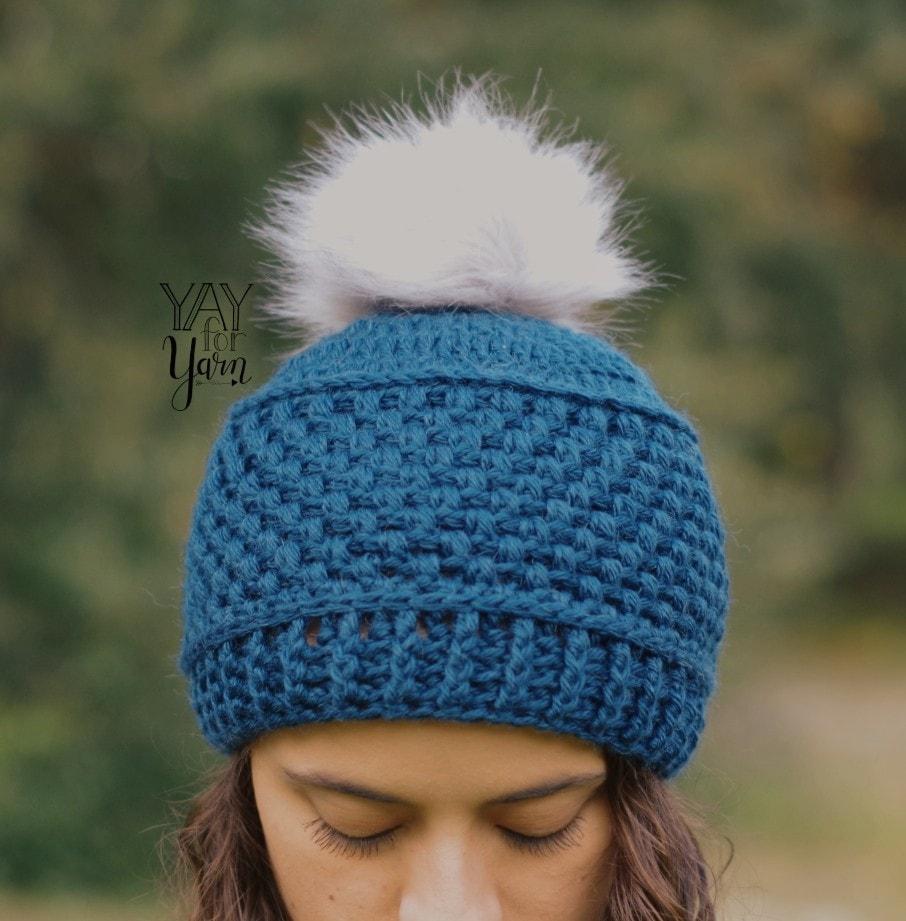
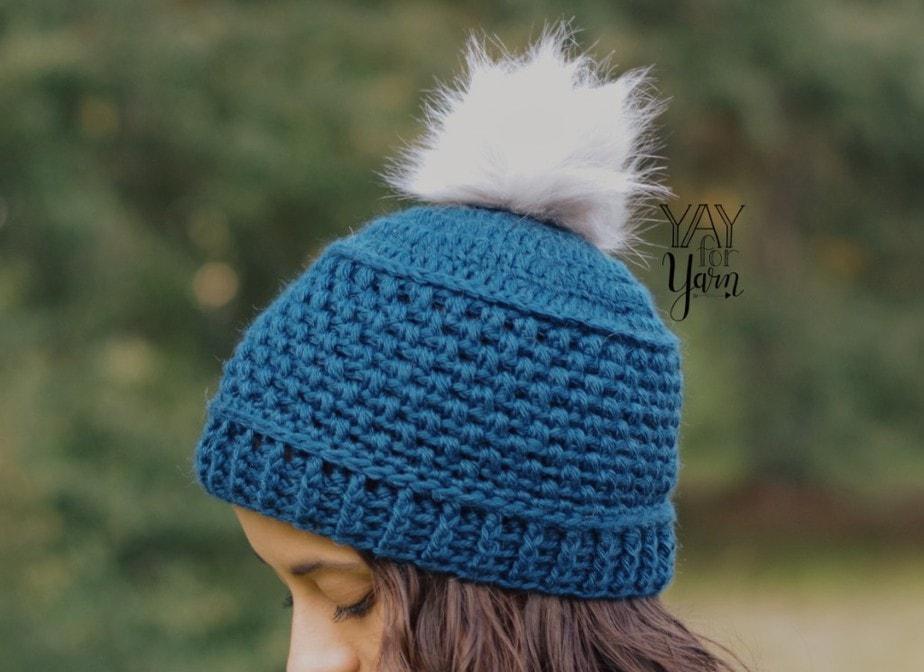
A decorative band of puff stitches adds beautiful texture & detail to this hat! Family-friendly pattern in 10 sizes, from Preemie to Adult Large. Great for fall and winter markets, too!
Table of Contents
Puff Stitch Hat Crochet Pattern
by Yay For Yarn
Skill Level: Intermediate
Sizes (according to the wearer’s head circumference measurement):
Preemie: 12” circumference (30.5 cm)
0-6 Months: 13” circumference (33 cm)
6-12 Months: 14” circumference (35.6 cm)
12-18 Months: 16” circumference (40.6 cm)
Child Small: 17” circumference (43.2 cm)
Child Medium: 18” circumference (45.7 cm)
Child Large: 19 ¼” circumference (48.9 cm)
Adult Small: 21” circumference (53.3 cm)
Adult Medium: 22” circumference (55.9 cm)
Adult Large: 23” circumference (58.4 cm)
Hat is designed with negative ease, meaning the hat is a little smaller than the wearer’s actual head circumference, so it will stretch to comfortably stay on the head.
Actual Finished Size (circumference/ hat length):
Preemie: 11” / 4 ½” (28 cm / 11.4 cm)
0-6 Months: 12” / 5” (30.5 cm / 12.7 cm)
6-12 Months: 13” / 5 ½” (33 cm / 14 cm)
12-18 Months: 14 ½” / 6 ¾” (36.8 cm / 42.5 cm)
Child Small: 15 ½” / 7 ¼” (39.3 cm / 18.4 cm)
Child Medium: 16 ½” / 7 ½” (41.9 cm / 19 cm)
Child Large: 17 ¾” / 7 ¾” (45 cm / 19.7 cm)
Adult Small: 19” / 8” (48.3 cm / 20.3 cm)
Adult Medium: 20” / 8 ¼” (50.8 cm / 21 cm)
Adult Large: 21 ¼” / 8 ½” (54 cm / 21.6 cm)
-Instructions and Yarn Requirements for size Preemie are given outside the parentheses, and instructions and yarn requirements for all larger sizes are inside the parentheses like this:
Preemie (0-6 Months, 6-12 Months, 12-18 Months, Child Small, Child Medium, Child Large, Adult Small, Adult Medium, Adult Large).
– When only one number is given, it applies to all sizes. To follow pattern more easily, circle or highlight all numbers that apply to your size before beginning.
You Will Need:
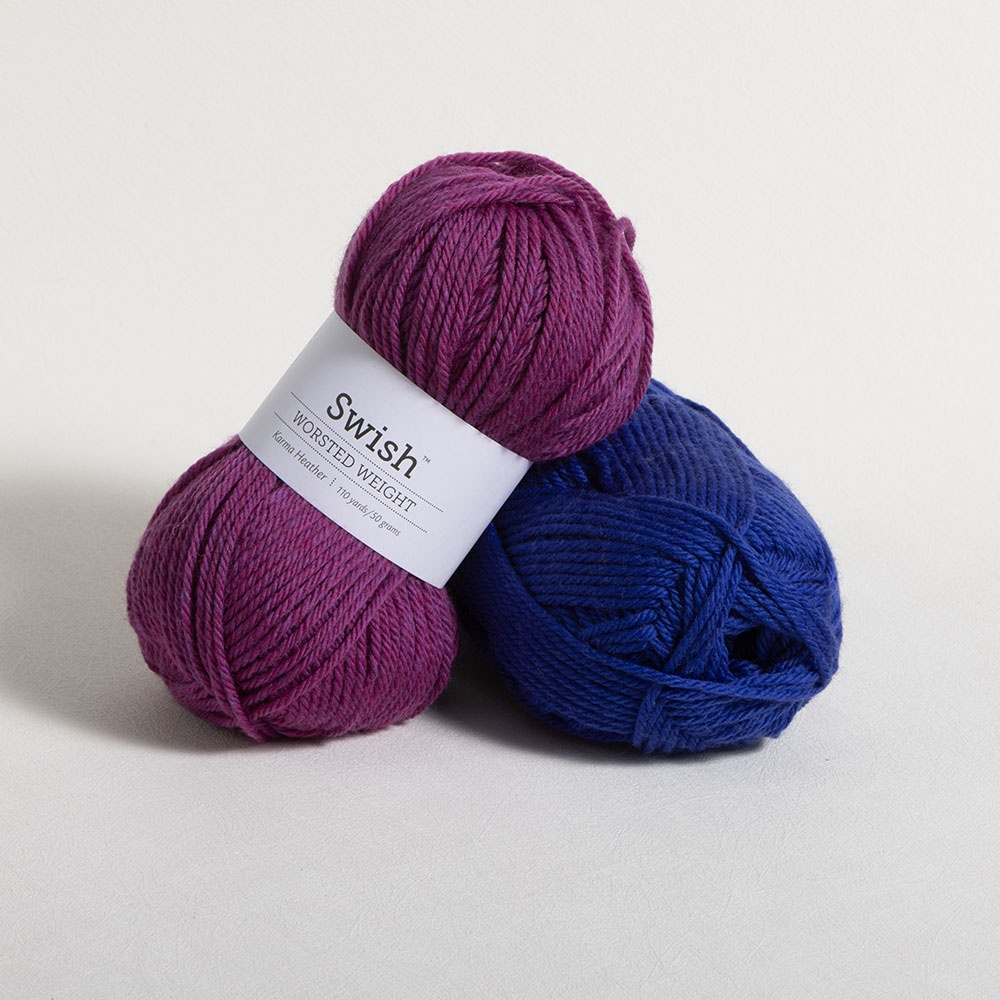
42 (51, 58, 84, 96, 107, 113, 129, 134, 148) Yards of #4 Worsted Weight Yarn
US Size I (5.5 mm) Crochet Hook
Measuring Tape
Scissors
Yarn Needle or Blunt Tapestry Needle
Faux Fur Pom Pom (optional, for a more luxe look, check out the handmade faux fur pom poms below)
Hand Sewing Needle (optional)
Sewing Thread to Match your Yarn (optional)
Shop Supplies for this Project
 Buy Now →
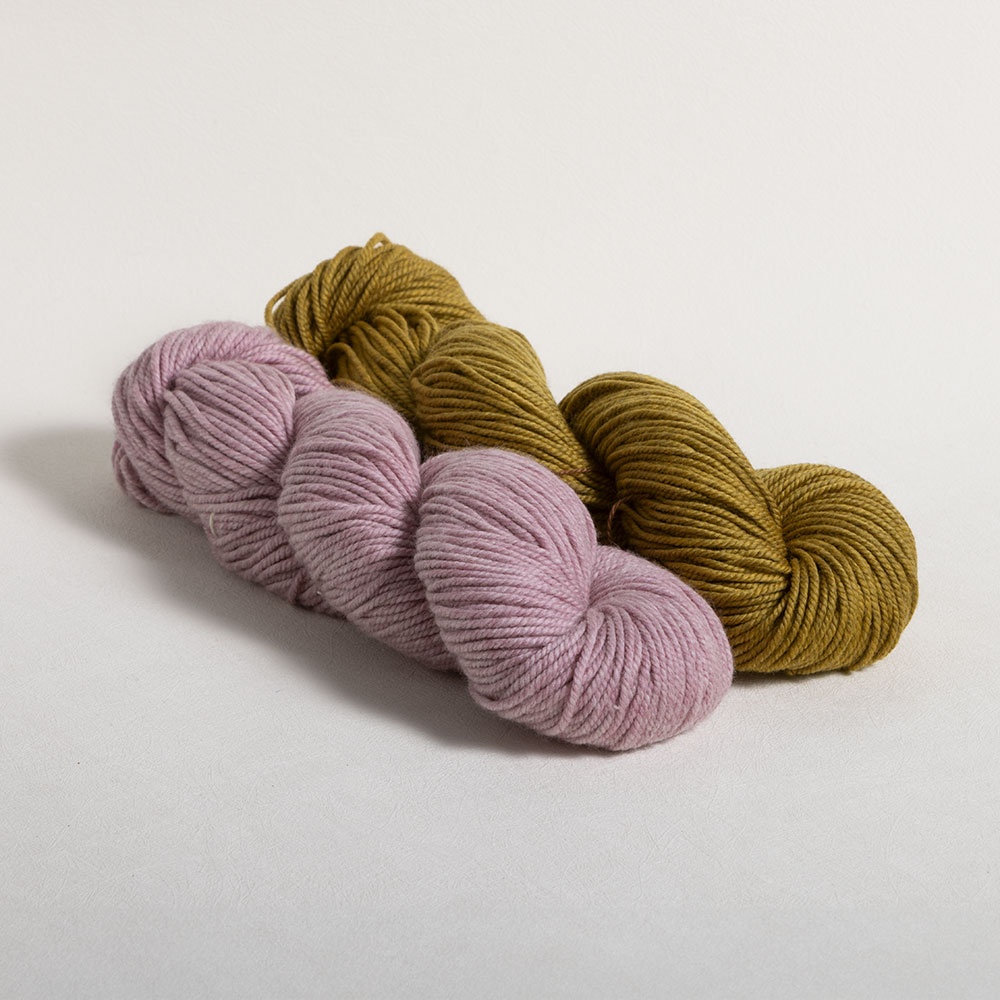
Twill – 100% Superwash Merino, Worsted Weight
Buy Now →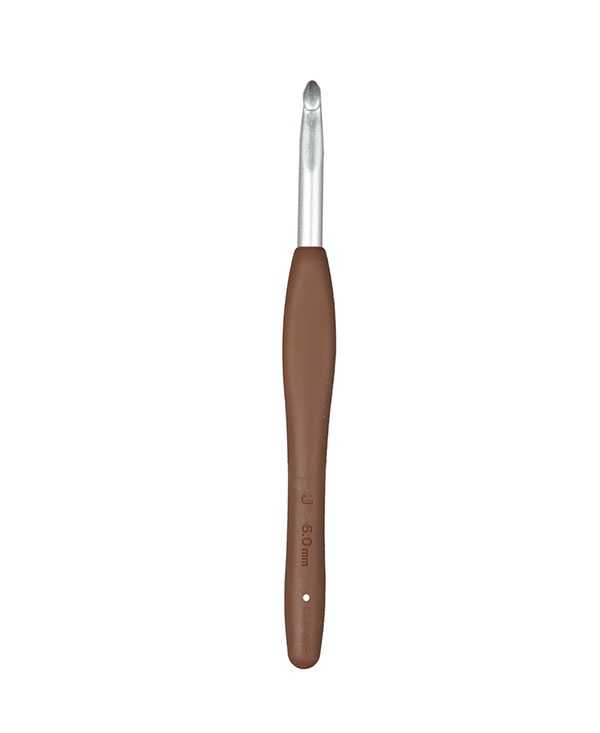 Buy Now →
Chibi Metal Yarn Needles – Amazon
Buy Now →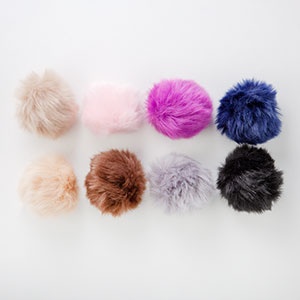 Buy Now →
  Buy Now →
Knitter’s Pride Rainbow Folding Scissors
Buy Now →
Gauge: 10 double crochet stitches = 3” (7.6 cm); 6 double crochet rows = 3” (7.6 cm)
Abbreviations:
st: stitch
sts: stitches
sk: skip
nxt: next
ea: each
beg: beginning
sl st: slip stitch
sp: space
ch: chain
dc: double crochet
*invslst: invisible slip stitch
*puff st: puff stitch
*CSDC: chainless starting double crochet
*fpdc: front post double crochet
*bpdc: back post double crochet
*This is a special stitch. See instructions below to learn how to work this stitch.
Special Stitches
Invslst: Remove hook from current loop. Insert hook from back to front through the top of the CSDC from beg of round. Place original loop back on hook. Pull loop through the st from front to back.
CSDC: Pull loop on hook until it is slightly longer than a regular dc. Holding the top of the loop still with your finger, yarn over with the loop on your hook (not the working yarn) 1 time. You will need to keep holding the loop still until you have completed the st. Insert the hook into the specified st. Yarn over, pull up a loop of yarn. *Yarn over, pull through 2 loops on hook* 2 times.
Puff Stitch: Insert hook into specified stitch. Yarn over, pull up a loop. Yarn over, insert hook into same stitch again. Yarn over, pull up a loop. Yarn over, pull through all loops on hook.
bpdc: (stitch is crocheted around the stitch in row below, not into the top)
Yarn over. Insert the needle from back to front between the previous stitch and the stitch you are working around. Now, insert the hook from front to back between the stitch you are working around and the stitch after. The “post” of the stitch you are working around should be sitting behind the needle. Yarn over, pull up a loop. Yarn over, pull through 2 loops. Yarn over, pull through 2 loops.
fpdc: (stitch is crocheted around the stitch in row below, not into the top)
Yarn over. Insert the needle from front to back between the previous stitch and the stitch you are working around. Now, insert the hook from back to front between the stitch you are working around and the stitch after. The “post” of the stitch you are working around should be sitting in front of the needle. Yarn over, pull up a loop. Yarn over, pull through 2 loops. Yarn over, pull through 2 loops.
NOTE: When pattern says something like, “*dc in nxt st, 2 dc in nxt st* 11 times around”, it does not mean to work the sequence between *and* once, then repeat it 11 times more. It just means to work the sequence between *and* 11 times total.

Puff Stitch Hat Instructions
Crown of Hat
Ch 4, sl st in 1st ch to form a ring.
Round 1: CSDC in center of ring. 11 dc in center of ring. Join with invslst. You should have 12 sts, including CSDC, but not including invslst.
Round 2: CSDC in same st, dc in same st. 2 dc in ea of nxt 11 sts. Join with invslst. You should have 24 sts, including CSDC, but not including invslst.
Round 3: CSDC in same st, 2 dc in nxt st. *dc in nxt st, 2 dc in nxt st* 11 times around. Join with invslst. You should have 36 sts, including CSDC, but not including invslst.
For Size Preemie, 0-6 Months, and 6-12 Months, STOP here.
– For Preemie: Continue to Body of Hat.
– For 0-6 Months: CSDC in same st, dc in nxt 7 sts, 2 dc in nxt st. *dc in nxt 8 sts, 2 dc in nxt st* 3 times around. Join with invslst. You should have 40 sts, including CSDC, but not including invslst. Continue to Body of Hat.
– For 6-12 Months: CSDC in same st, dc in nxt 2 sts, 2 dc in nxt st. Dc in nxt 4 sts, 2 dc in nxt st. *dc in nxt 3 sts, 2 dc in nxt st, dc in nxt 4 sts, 2 dc in nxt st* 3 times around. Join with invslst. You should have 44 sts, including CSDC, but not including invslst. Continue to Body of Hat.
For All Remaining Sizes:
Round 4: CSDC in same st, dc in nxt st, 2 dc in nxt st. *dc in nxt 2 sts, 2 dc in nxt st* 11 times around. Join with invslst. You should have 48 sts, including CSDC, but not including invslst.
For Size 12-18 Months, Child Small, and Child Medium, STOP here.
– For 12-18 Months: Continue to Body of Hat.
– For Child Small: CSDC in same st, dc in nxt 10 sts, 2 dc in nxt st. *dc in nxt 11 sts, 2 dc in nxt st* 3 times around. Join with invslst. You should have 52 sts, including CSDC, but not including invslst. Continue to Body of Hat.
– For Child Medium: CSDC in same st, dc in nxt 4 sts, 2 dc in nxt st. *dc in nxt 5 sts, 2 dc in nxt st* 7 times around. Join with invslst. You should have 56 sts, including CSDC, but not including invslst. Continue to Body of Hat.
For All Remaining Sizes:
Round 5: CSDC in same st, dc in nxt 2 sts, 2 dc in nxt st. *dc in nxt 3 sts, 2 dc in nxt st* 11 times around. Join with invslst. You should have 60 sts, including CSDC, but not including invslst.
– For Child Large: Continue to Body of Hat.
– For Adult Small: CSDC in same st, dc in nxt 13 sts, 2 dc in nxt st. *dc in nxt 14 sts, 2 dc in nxt st* 3 times around. Join with invslst. You should have 64 sts, including CSDC, but not including invslst. Continue to Body of Hat.
– For Adult Medium: CSDC in same st, dc in nxt 5 sts, 2 dc in nxt st. Dc in nxt 7 sts, 2 dc in nxt st. *dc in nxt 6 sts, 2 dc in nxt st, dc in nxt 7 sts, 2 dc in nxt st* 3 times around. Join with invslst. You should have 68 sts, including CSDC, but not including invslst. Continue to Body of Hat.
– For Adult Large: CSDC in same st, dc in nxt 3 sts, 2 dc in nxt st. *dc in nxt 4 sts, 2 dc in nxt st* 11 times around. Join with invslst. You should have 72 sts, including CSDC, but not including invslst. Continue to Body of Hat.

Body of Hat
Round 1: Stretch loop on hook slightly, sc in 3rd loop of same st. Sc in 3rd loop of ea st around. Join with invslst. You should have 36 (40, 44, 48, 52, 56, 60, 64, 68, 72) sts, not including invslst.
Round 2: (On this round, we ch 2 instead of 1 between sts, to allow the hat to stretch. However, the ch 2 should only be counted as one st.) Stretch loop on hook, puff st in same st. *ch 2, sk 1, puff st in nxt st* around to last st. Ch 2, sk 1, sl st in 1st puff st. You should have 36 (40, 44, 48, 52, 56, 60, 64, 68, 72) sts, counting ea “ch 2” as one st.
Round 3: (On this round, we ch 2 instead of 1 between sts, to allow the hat to stretch. However, the ch 2 should only be counted as one st.) Stretch loop on hook, puff st in last ch sp of previous round. *ch 2, sk 1, puff st in nxt ch sp* around to last st. Ch 2, sk 1, sl st in 1st puff st. You should have 36 (40, 44, 48, 52, 56, 60, 64, 68, 72) sts, counting ea “ch 2” as one st.
Repeat Round 3; 2 (2, 3, 6, 6, 7, 7, 7, 7, 8) more times.
Round 4: Ch 1, hdc in same st. *hdc in nxt ch sp, hdc in nxt st* around to last ch sp. Hdc in last ch sp, join to 1st hdc with invslst. You should have 36 (40, 44, 48, 52, 56, 60, 64, 68, 72) sts, not including ch 1 at beg of round.
Round 5: CSDC in 3rd loop of same st, dc in 3rd loop of ea st around. Join with invslst. You should have 36 (40, 44, 48, 52, 56, 60, 64, 68, 72) sts, including CSDC, but not including invslst.
Round 6: CSDC around front post of same st. *bpdc around nxt st, fpdc around nxt st* around to last st. Bpdc around last st. Join with invslst. You should have 36 (40, 44, 48, 52, 56, 60, 64, 68, 72) sts, including CSDC, but not including invslst.
Repeat Round 6; 1 (1, 1, 2, 2, 2, 2, 2, 2, 2) more times. Tie off.
To Block:
For natural fibers, lay project out on foam blocking mats. Spray with water until fully saturated, allow to dry.
OR
For acrylic fibers, lay project out on an ironing board or several layers of towels. Hold a steaming iron 2”-3” over the surface of the fabric, making sure all of the fabric is penetrated by the steam. Allow to cool / dry.
Attaching Pom Pom
Many faux fur pom poms have a small elastic loop at the bottom for attaching to your item. If your pom pom does not, skip the directions for stitching around the elastic loop and sew it on with the needle and thread.
Thread the yarn tail at the top of the hat through your yarn needle. Stitch the elastic loop of your pom pom to the hat, around the center of round 1 of the crown. Once you have stitched it all the way around, bring the yarn to the inside of the hat. Pick up a few strands on the inside of the hat, wrap the yarn around the needle, and pull the needle through to make a knot. Weave in the yarn tail.
Thread a length of your sewing thread through your sewing needle. Make a knot in the end of the thread, and take a stitch into the fabric of the pom pom, about 1/2 inch from the center. It is important that you are stitching through the fabric and not just the fur.
Take a stitch through the hat, about 1/2 inch from the center, then take a stitch through the fabric of the pom pom, about 1/2 inch from the center. Continue stitching in this manner until you have stitched it down all the way around.
Bring the thread to the inside of the hat, pick up a bit of yarn on the inside of the hat, wrap the thread around the needle, and pull the needle through to make a knot.
Weave the thread tail into the hat around the center of the inside of the hat.
With your yarn needle, weave in any remaining yarn tails.
Enjoy your finished Puff Stitch Hat!
This pattern is intended for your personal use only. You may not share it, copy it, sell it, give it away, or mass-produce the finished product. However, you may sell the finished items on a small scale, as long as you convey in your item description that you used a Yay For Yarn pattern.
Yay For Yarn Copyright© 2019 – Current. All patterns and photos are owned by Yay For Yarn.
Pin the image below to save this project for later!

")


I received the email w download link. Thank you for responding so quickly. I love your Youtube videos and patterns.
You’re welcome! Enjoy the pattern!
Hi, I’m making the puff stitch hat and I’m struggling to meet the stitch count for round 5. I’ve redone 4 and 5 a few times and I have counted round 4 and it had the proper amount of stitches. Where am I going wrong?
Hi Deja. Are you on Rounds 4 and 5 of the crown of the hat, or Rounds 4 and 5 of the body of the hat? If you are on the body of the hat, Round 5 is worked into the third loop of the previous round. If you are not getting the correct stitch count on this round, you may be accidentally skipping a stitch. Since working into the third loop looks different than working into the top loops as normal, it can be a little easier to unknowingly miss a stitch. I would suggest working this round slowly, and examining each stitch as you go to make sure the third loop of each stitch is being worked into. I hope this helps! Please let me know if you have any more questions. 🙂
Hello – I used a link from the youtube video to purchase this pattern. I paid w paypal using this email address. I received a receipt but no follow up w the instructions for where to download, Can you help me with this?
Thank you
Hi Jennifer! Yes, I can help you with your order. I can see your order in the back end of my shop. You should have received a receipt from paypal, a transaction receipt from my shop, and an order email with the download link. I will go ahead and have the system resend the order email to you. It’s the one with the download link, and it will have a subject line of “Order (order number goes here) from Yay for Yarn Pattern Shop”. If the email doesn’t come through, please check your junk and spam folders in case it went to one of those. If that doesn’t work, just let me know and I will make sure you get the pattern. Thanks!