Free Pattern! The Double Gradient Boomerang Shawl combines two different gradient or self striping yarns. This shawl can be made in any size, with any needles, any yarn, and any gauge you like.
Table of Contents
Most all of us have at least a few gradient cake yarns in our stashes. But what do you do with them when you only have one or two skeins of each colorway? Combine them, of course!
This free shawl knitting pattern uses two different gradient yarns, perfect for when you need an easy cake yarn pattern. By knitting narrow stripes in garter stitch, we can blend two colorways together for a unique ombre look.
How to Choose Yarn for the Double Gradient Shawl
Select two yarns, either in the same gradient colorway, or in two different gradient colorways. You can use any yarns you like, as long as they are both in the same yarn weight category. I chose to use two colorways of Bernat Pop (now discontinued), but you could use any gradient yarn you may have.
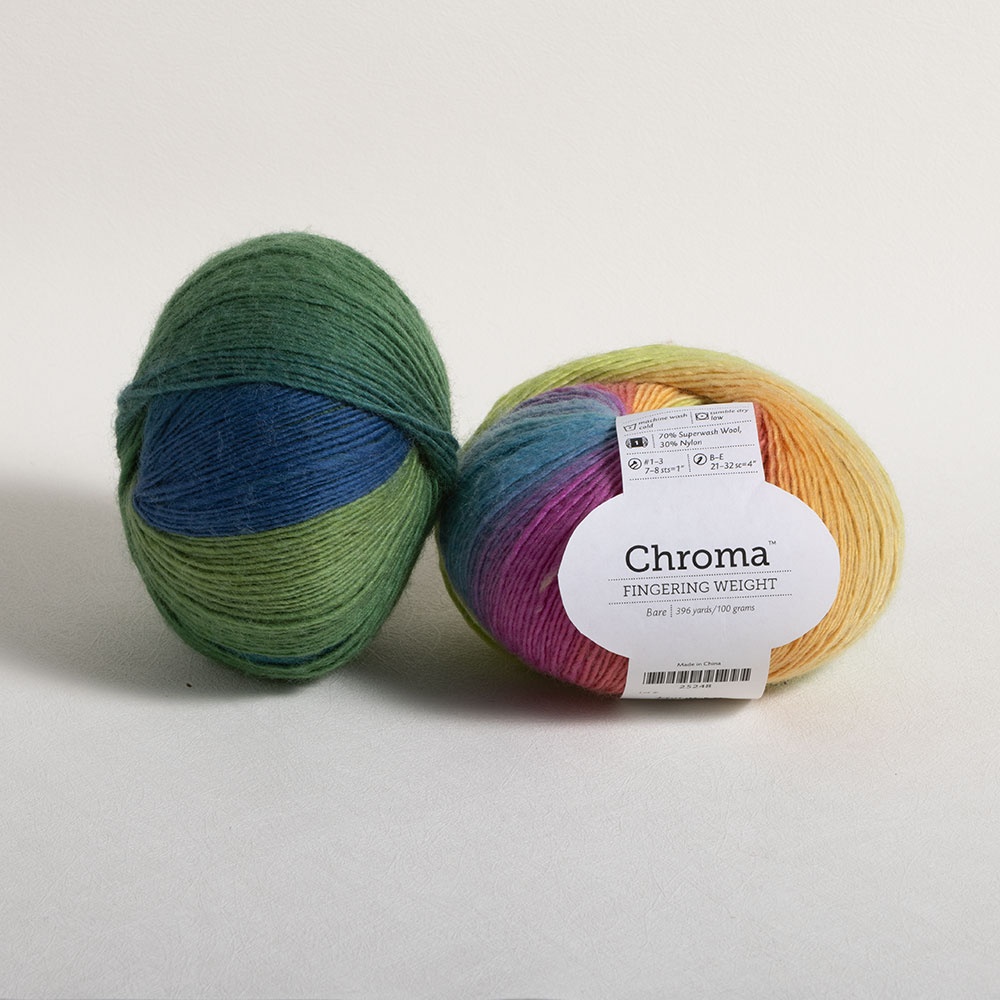
Here are a few color-changing yarns that would work great for this project:
 Buy Now →
  Buy Now →
Big Twist Rave Yarn – JoAnn.com
Buy Now →
Lion Brand Ferris Wheel Yarn – Amazon
Buy Now →
Red Heart Roll With It Sparkle – JoAnn.com
Buy Now →If you’re not sure whether your gradients will look good together, ignore the overall color palettes of both. Instead, compare the individual colors of one gradient with the colors of the other. If you begin in the center of each cake yarn, compare the color in the very center of each cake. Then, see if the next color out from the centers of each cake go together. Continue following the colors of the gradients to see if the individual colors go together. This will help you determine whether you like the gradients together. If you’re still not sure, check out these photos from over 100 others who have knit this shawl in various color combinations.
If you want the double gradient effect, but only have one colorway, here’s another tip. Let’s say you have two 5 ounce skeins of the same gradient colorway. For Color A, use the center-pull end of one skein. Then, for Color B, use the yarn end from the outside of the other skein. That way, you will still have two gradients blending together, since one gradient is the reverse of the other.
Or, feel free to use a gradient colorway with a coordinating solid color yarn. That would look great, too!
Now that you’ve got your yarn picked out, grab a circular needle in a size appropriate for the yarn you’re using, and let’s get started!
Double Gradient Boomerang Shawl Knitting Pattern
by Yay for Yarn
Skill Level: Advanced Beginner
Yarn:*
About 5 ounces / 140 grams of Gradient or Self-striping yarn (with very long stripes) in Color A. I used Bernat Pop in ‘Scarlet Sizzle’.
About 5 ounces / 140 grams of Gradient or Self-striping yarn (with very long stripes) in Color B. I used Bernat Pop in ‘Blue Blaze’.
*The yarn requirements given are not precise, as this pattern can be done in any size or any weight category of yarn. Different yarns / yarn weight categories will have a different number of yards per ounce / gram. The Bernat Pop I used is #4 Worsted Weight. Both yarns must be in the same weight category.
Needles:
40” (101.6 cm) circular knitting needle, in a size appropriate for the yarn you are using. I suggest using the size needle that is recommended on your yarn label or slightly larger. I used a US size 8 needle.

You will also need:
Scissors
Yarn Needle or Blunt Tapestry Needle
Shop Supplies for this Project

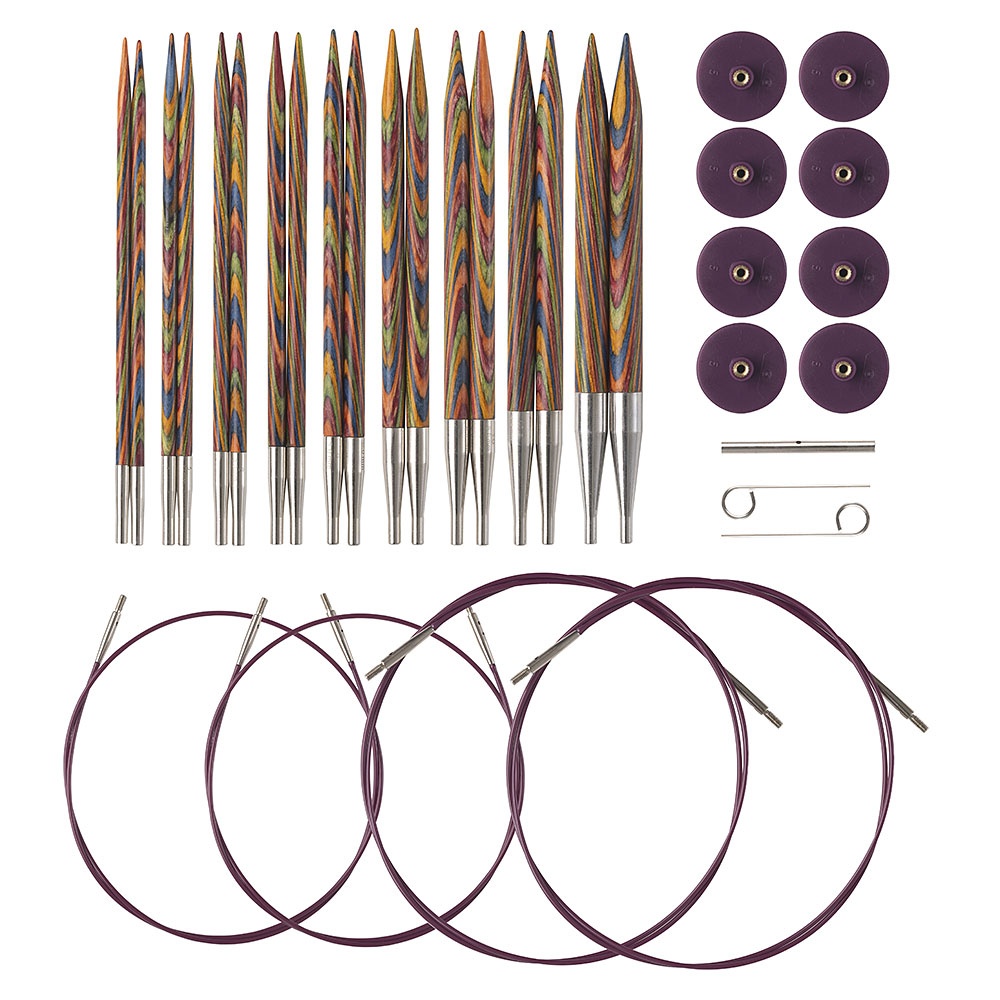
KnitPicks Options Rainbow Interchangeable Knitting Needles
Buy Now →
Chibi Metal Yarn Needles – Amazon
Buy Now →
Knitter’s Pride Rainbow Folding Scissors
Buy Now →Abbreviations:
CO: cast on
K: knit
st(s): stitch(es)
BO: bind off
K2tog: knit 2 stitches together
Kf&b: knit front and back

Double Gradient Boomerang Shawl Instructions
Finished Size and Gauge will vary depending on your yarn and needle choices. My shawl measured 84” (213.36 cm) long (across the “wingspan” or neck edge from end to end) and 18” (45.7 cm) deep at the widest point (from point of shawl up to neck edge). My bind-off edge measured just shy of 40” (101.6 cm) long.
Note: A boomerang shawl is asymmetrical, meaning the point of the shawl will be off center.
With Color A, CO 5 sts.
Row 1: Kf&b, K across to last 2 sts, K2tog.
Row 2: K across to last st, K f&b.
*Switch to Color B, repeat Rows 1 and 2. Switch to Color A, repeat Rows 1 and 2.* Repeat from *to* until the shawl is the size you want, or you are almost out of yarn. With the color that comes next in your stripe sequence, work Row 1. Then, instead of knitting Row 2, BO to last st, Kf&b, BO last 2 sts. Tie off, weave in ends.

This pattern is intended for your personal use only. You may not share it, copy it, sell it, give it away, or mass-produce the finished product. However, you may sell the finished items on a small scale, as long as you convey in your item description that you used a Yay For Yarn pattern.
Yay For Yarn Copyright© 2018- Current. All patterns and photos are owned by Yay For Yarn.
Pin the image below to save this project for later!


I have some beautiful Sport yarn (3 different complimentary colours). Would it work with this pattern ? I would have switch colours dice I have three. Any advice for me ?
Hi Anju. Yes, you could use #3 Sport Weight yarn. If you want to use 3 yarns instead of 2, then you can play around with where and how you switch colors to get the look you are going for. I hope this helps!
Regarding the Double Gradient Boomerang Shawl: I am in the process of knitting one and I wondered if there is a way to make it with a shallower point? I intend on making more of these!
Hi! The longer you knit your shawl, the deeper the point will be if you follow the pattern as written. If you want to add length without adding as much depth to the shawl point, you could try throwing a pair of plain knit rows after every 4-6 pairs of increase rows. That might help to lengthen the shawl without adding as much width. However, this may also cause the curve on both edges to not be as smooth. If you decide to try it, please let me know how it works for you. I hope this helps!
THANK YOU for the prompt reply!
I love this pattern, thank you so much for it. I’m finishing my third one now, and they are so beautiful. I’ve been using Red Heart Roll With It Tweed yarns in pairs. It’s is so satisfying to knit and so calming. All my worries pour out of me and into the stitches, it seems. Whether or not I need more shawls, I’m going to make more shawls!
I just saw your video and read the instructions…but I wonder how I can get it smaller again. I cannot see nothing about decreases…and I could download the pattern…is it that this free downloading ended?
Thank you, it looks really attractive.
Hi! This shawl does not have decreases to make the shawl taper back down to the tip at the other side. If you look at the photo of the shawl when it is laid out flat, notice how the stripes run. The direction of the stripes is the way the rows are going. So the shawl starts at the tip on the right side, casting on only a few stitches. Then, the rows are worked back and forth, continually adding stitches until the shawl is as large as you would like. In that photo, the edge from the left tip of the shawl to the point at the bottom is the bind-off edge. You’ll just repeat the rows in the pattern until you have reached the desired size, and then bind off all the stitches across your row. The edge from the point at the back of the shawl to the tip at the side is the bind off edge.
As for downloading the pattern, the free version is available to view in the blog post above. The downloadable PDF version is not free, but can be purchased to download from my shop.
I hope this helps to clarify! Happy Yarning!
Not clear how to proceed once you reach desired length. How do I start decrease??
Hi Renee! If you look at the first photo of the shawl, when it is laid out flat, notice how the stripes run. The direction of the stripes is the way the rows are going. So the shawl starts at the tip on the right side, casting on only a few stitches. Then, the rows are worked back and forth, continually adding stitches until the shawl is as large as you would like. In that photo, the edge from the left tip of the shawl to the point at the bottom is the bind-off edge. You’ll just repeat the rows in the pattern until you have reached the desired size, and then bind off all the stitches across your row. I hope this helps!
Thanks for inspiration! Started this knit today and I love it.
I started just to make it to my mother but I just might Keep it myself!
Keep spreading joy
You’re welcome, Daniela! I’m so glad you are enjoying the pattern!
Great pattern! You saved my life with this pattern, lol. I found a huge sale on sweet rolls and bought several thinking I would make a few scarves. After knitting a couple straight from the cake for daughters boredom set in. I saw your pattern and immediately cast on. You have a great idea here; I would never have thought to mix two colorways. Thanks so much!
You’re very welcome! I’m so glad you like it so far!
This is beautiful, and so easy! I can’t wait to get started. Thank you for the pattern and the tutorial!
You’re welcome, Shira! Please let me know how it turns out for you!
Beautiful finished shawl from such a easy pattern. Your video tutorial is very easy to understand. Thank you so much for sharing.
You are welcome, Teresa! I am so glad you have enjoyed the pattern and video!