

This sweet, yet simple headband is quick and easy to crochet! Make it in a lightweight yarn for a feminine summer hair accessory, or make it in a thicker yarn for a chunky winter earwarmer.
Table of Contents
Knotted Bow Headband Crochet Pattern
by Yay for Yarn
Skill Level: Advanced Beginner
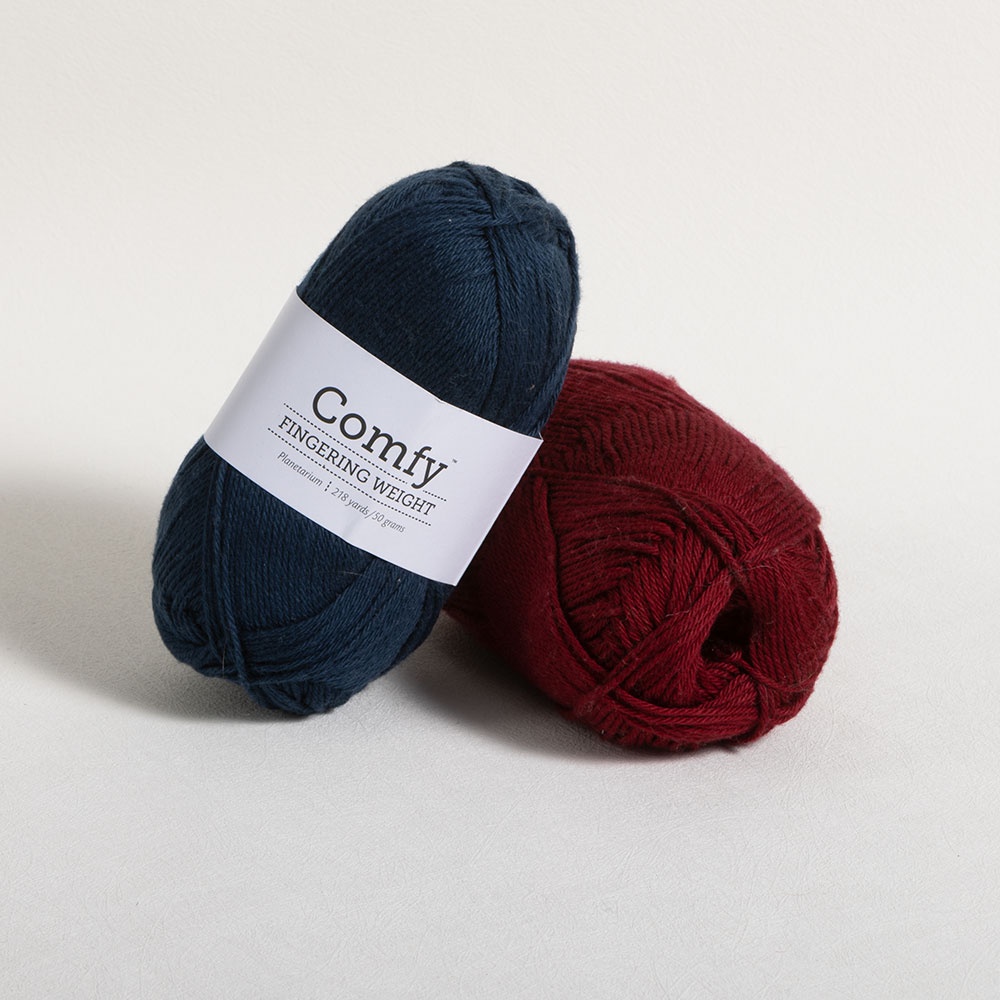
This pattern can be worked in any size, at any gauge, with any yarn weight. I recommend using thinner yarn for a spring and summer headband. If you want a thicker, wider, earwarmer headband for the fall and winter, use a thicker yarn. The thicker the yarn you are using, the larger the bow will be. Please choose a hook size that is appropriate for the yarn you are using. The label on your yarn should suggest appropriate hook sizes for the thickness of that yarn. Use a smaller hook for a more dense, structured crocheted fabric, and a larger hook for a looser, floppier fabric. I used Knit Picks Brava and Knit Picks Comfy for most of my headbands.

You will Need:
Yarn of your choice (amount will vary by headband size and thickness of yarn)
Crochet Hook in a size appropriate for the yarn you are using
Scissors
Measuring Tape
Yarn Needle or Blunt Tapestry Needle
4 Split-ring or Locking Stitch Markers (safety pins will also work)
Piece of Cardboard that is half as long as the head circumference (to tie the headband around if you cannot tie it around the recipient’s head)
Shop Supplies for this Project
 Buy Now →
 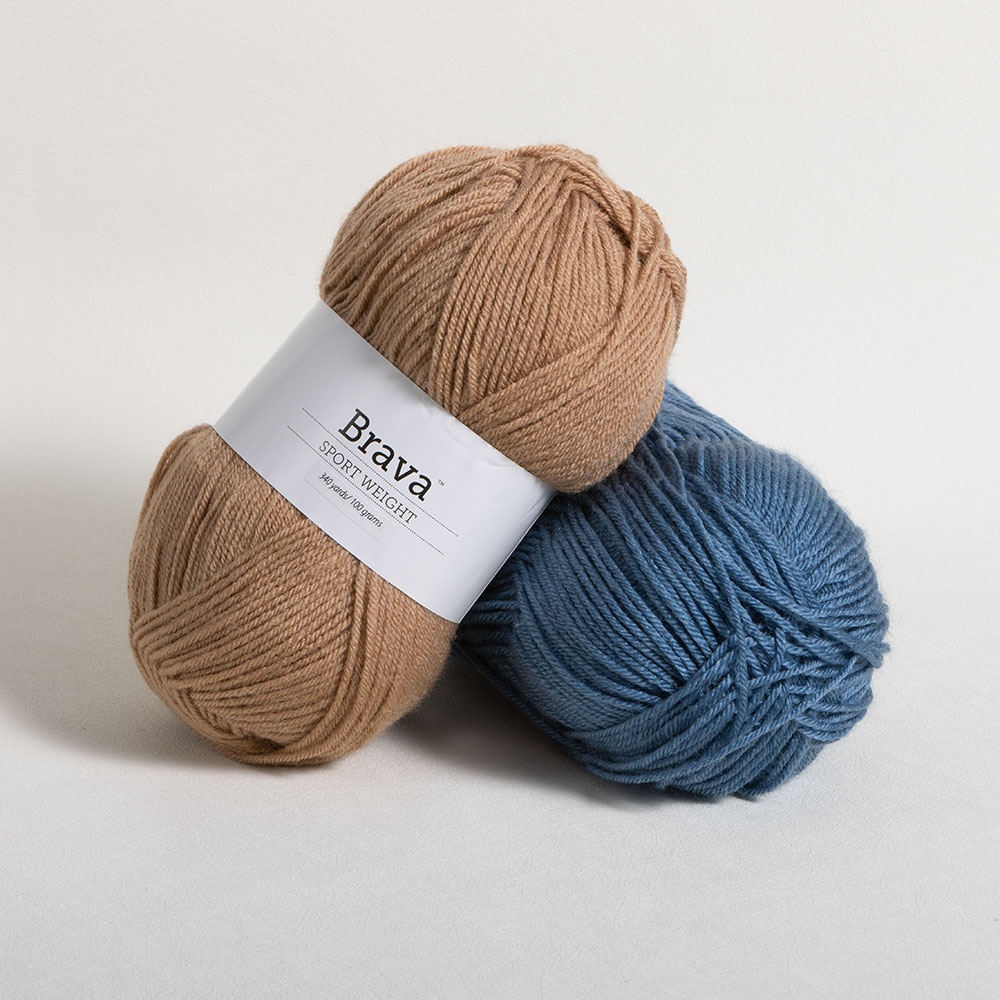 Buy Now →
  Buy Now →
 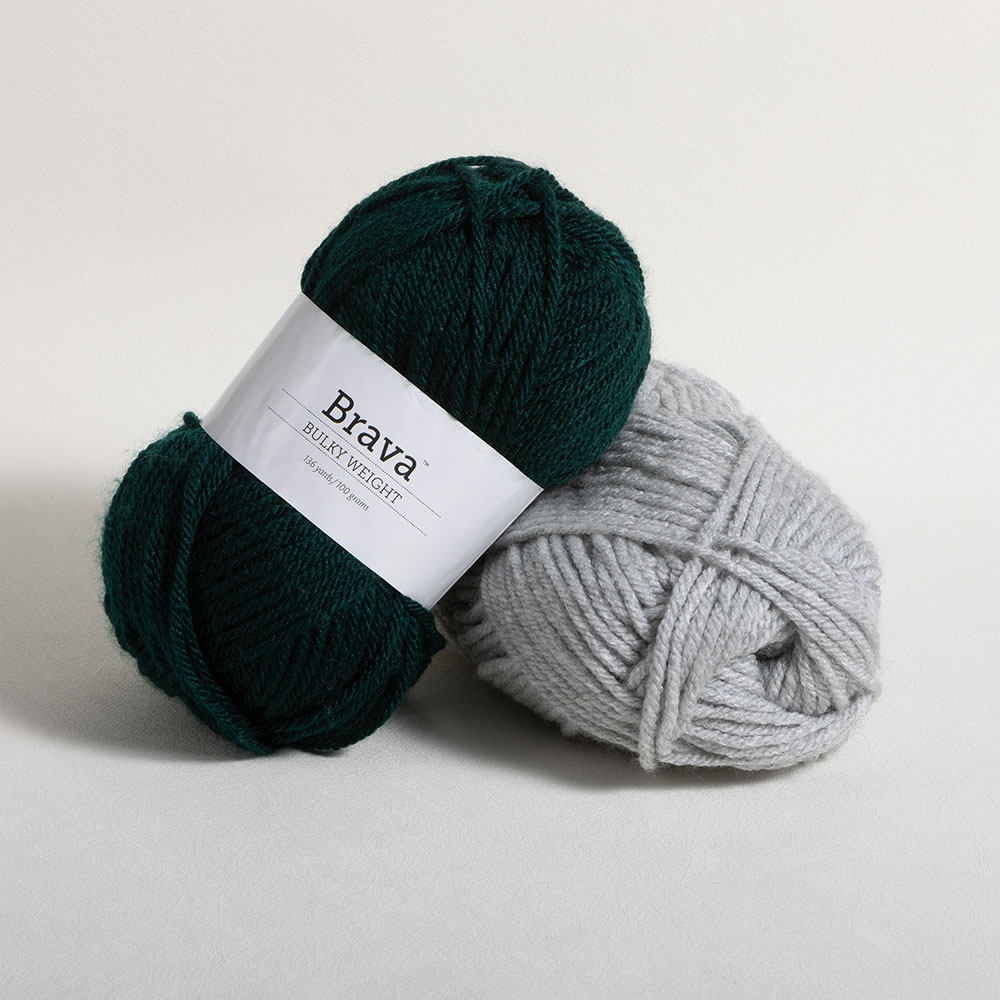 Buy Now →
  Buy Now →
Chibi Metal Yarn Needles – Amazon
Buy Now →
Knitter’s Pride Rainbow Folding Scissors
Buy Now →
WeCrochet Locking Stitch Markers
Buy Now →

Sizing:
This headband is custom fit. If you can, measure the recipient’s head circumference. You will be using this measurement to make the headband the correct length. When instructions tell you to measure the headband, stretch the headband a bit while measuring. This causes the finished headband to be a little smaller than the head, so it stretches a little to comfortably stay on the head. The finished headband can also be adjusted by tying it tighter or looser around the head. If you don’t want the headband to stretch around the head, don’t stretch the headband while measuring. If you cannot measure the recipient’s head, here are the standard head circumference guidelines according to the Craft Yarn Council (www.craftyarncouncil.com/standards/head-circumference-chart):
Preemie: 9”-12” (23-30.5 cm)
Baby: 14”-16” (35.5-40.5 cm)
Toddler: 16”-18” (40.5-46 cm)
Child: 18”-20” (45.5-51 cm)
Tween: 20”-22” (51-56 cm)
Woman: 21”-23” (53-58.5 cm)

Abbreviations:
st: stitch
sts: stitches
beg: beginning
ea: each
nxt: next
sp: space
ch: chain stitch
hdc: half-double crochet
dc: double crochet
sc2tog: single crochet 2 stitches together
hdc2tog: half-double crochet 2 stitches together
dc4tog: double crochet 2 stitches together

Knotted Bow Headband Instructions
NOTE:
Beginning chain space is always counted as a stitch.
When instructions tell you to repeat a previous row, do not go by the stitch count given on the row you are repeating, but go by the stitch count on the row that is telling you to repeat that previous row. So, for example, rows 3 and 4 have 9 sts. Row 5-6 tells you to “Repeat rows 3-4. You should have 11 sts”. The rows you are repeating had 9 sts, but when you repeat those rows for rows 5-6, you should now have 11 sts.
When pattern says “You should have x number of sts, including beg ch sp”, that is including the beg ch sp at the beginning of the current row. It does not include the beg ch sp you worked into from the previous row below.

First Bow Section:
Row 1: ch 4, 4 dcin 4th ch from hook. You should have 5 sts, including beg ch sp.
Row 2: ch 3, turn. Hdc in same st, hdc in ea st across to beg ch sp from row below, *hdc, dc* in beg ch sp from row below. You should have 7 sts, including beg ch sp.
Row 3: Repeat Row 2. You should have 9 sts, including beg ch sp.
Row 4: ch 2, turn. Hdc in nxt st, hdc across to beg ch sp from row below, hdc in beg ch sp from row below. You should have 9 sts, including beg ch sp.
Row 5-6: Repeat rows 3-4. You should have 11 sts, including beg ch sp.
Row 7: ch 2, turn. Hdc2tog, hdc across to last st and beg ch sp from row below, hdc2tog into last st and beg ch sp from row below. You should have 9 sts, including beg ch sp.
Row 8: Repeat row 4. You should have 9 sts, including beg ch sp.
Row 9: Repeat row 7. You should have 7 sts, including beg ch sp.
Row 10-15: Repeat row 4. You should have 7 sts, including beg ch sp.
Place a stitch marker at the end of row 15 to mark the end of this section.
Headband:
The main part of the headband is worked in 3 sections: the increase section, the straight section, and the decrease section. We will now work the increase section, which increases the width of the headband. If you would not like to increase the width, and you want the headband to continue to be 7 sts wide, skip the increase section and work the straight section until the straight section is as long as the head circumference when stretched. Be sure to place a stitch marker at the end of row 15 (as noted above) so you remember not to include rows 1-15 in your measurement.
If you want to, you can also increase the width of the headband without increasing it to the full 13 sts that the pattern increases to. (See instructions below.)
Increase Section:
Row 16: ch 2, turn. Hdc in nxt st, hdc across to beg ch sp from row below, *hdc, dc* into beg ch sp from row below. You should have 8 sts, including beg ch sp.
Row 17-18: Repeat row 16. You should have 10 sts, including beg ch sp.
If you only want the headband to be 10 sts wide, stop here. Do not finish the rest of the increase section. Skip to the straight section and work the straight section until it is the correct length. When you work the decrease section, you will skip rows 29-37 and begin with row 38.
Row 19-20: Repeat row 4. You should have 10 sts, including beg ch sp.
Row 21: Repeat row 16. You should have 11 sts, including beg ch sp.
If you only want the headband to be 11 sts wide, stop here. Do not finish the rest of the increase section. Skip to the straight section and work the straight section until it is the correct length. When you work the decrease section, you will skip rows 29-34 and begin with row 35.
Row 22-23: Repeat row 4. You should have 11 sts, including beg ch sp.
Row 24: Repeat row 16. You should have 12 sts, including beg ch sp.
If you only want the headband to be 12 sts wide, stop here. Do not finish the rest of the increase section. Skip to the straight section and work the straight section until it is the correct length. When you work the decrease section, you will skip rows 29-31 and begin with row 32.
Row 25-26: Repeat row 4. You should have 12 sts, including beg ch sp.
Row 27: Repeat row 16. You should have 13 sts, including beg ch sp. Your headband is now 13 sts wide. Do not skip any of the rows in the decrease section.
Place a stitch marker at the end of the last row to mark the end of the increase section.
Slightly stretch your work and measure the length of the increase section. Double this measurement and subtract it from the total head circumference. The remaining measurement is how long the straight section should be.
Straight Section:
Row 28: Repeat row 4: You should have 13 sts, including beg ch sp.
Repeat row 28 till measurement from last row of increase section to edge (with piece stretched) is the correct length for the straight section.
Place a stitch marker at the end of the last row to mark the end of the straight section.
Decrease Section:
Row 29: ch 2, turn. Hdc in nxt st, hdc across to last st and beg ch sp from row below. Hdc2tog into last st and beg ch sp. You should have 12 sts, including beg ch sp.
Row 30-31: Repeat row 4. You should have 12 sts, including beg ch sp.
Row 32-34: Repeat rows 29-31. You should have 11 sts, including beg ch sp.
Row 35-37: Repeat rows 29-31. You should have 10 sts, including beg ch sp.
Row 38-40: Repeat row 29. You should have 7 sts, including beg ch sp.
Place a stitch marker at the end of the last row to mark the end of the decrease section.
Slightly stretch your work and double-check that your headband is the correct length. You should be measuring the combined length of the increase section, straight section, and decrease section. If this measurement is correct according to the head circumference, continue by working the second bow section below. If you would like to adjust the length, unravel the decrease section and add or remove rows to the straight section, then re-work the decrease section and continue to the second bow section below.
Second Bow Section:
Row 41-46: Repeat row 4. You should have 7 sts, including beg ch sp.
Row 47-53: Repeat rows 3-9. You should have 7 sts, including beg ch sp.
Row 54: Repeat row 7. You should have 5 sts, including beg ch sp.
Row 55: ch 2, turn. Dc4tog.

Tie off, weave in ends. If you can, wrap the headband snugly around the recipient’s head and tie the ends in a double knot. If not, you can wrap the headband snugly around a sturdy piece of cardboard that is half as long as the recipient’s head circumference. Then tie the ends of the headband in a double knot and slide the cardboard out. Once you have made sure the headband fits correctly, you can tack the ends of the bow down to the headband if desired, but only if you are not going to adjust the headband anymore.
This pattern is intended for your personal use only. You may not share it, copy it, sell it, give it away, or mass-produce the finished product. However, you may sell the finished items on a small scale, as long as you convey in your item description that you used a Yay For Yarn pattern. Yay For Yarn Copyright© 2018- Current. All patterns and photos are owned by Yay For Yarn.
")


I can’t wait to make each size! Thank you.