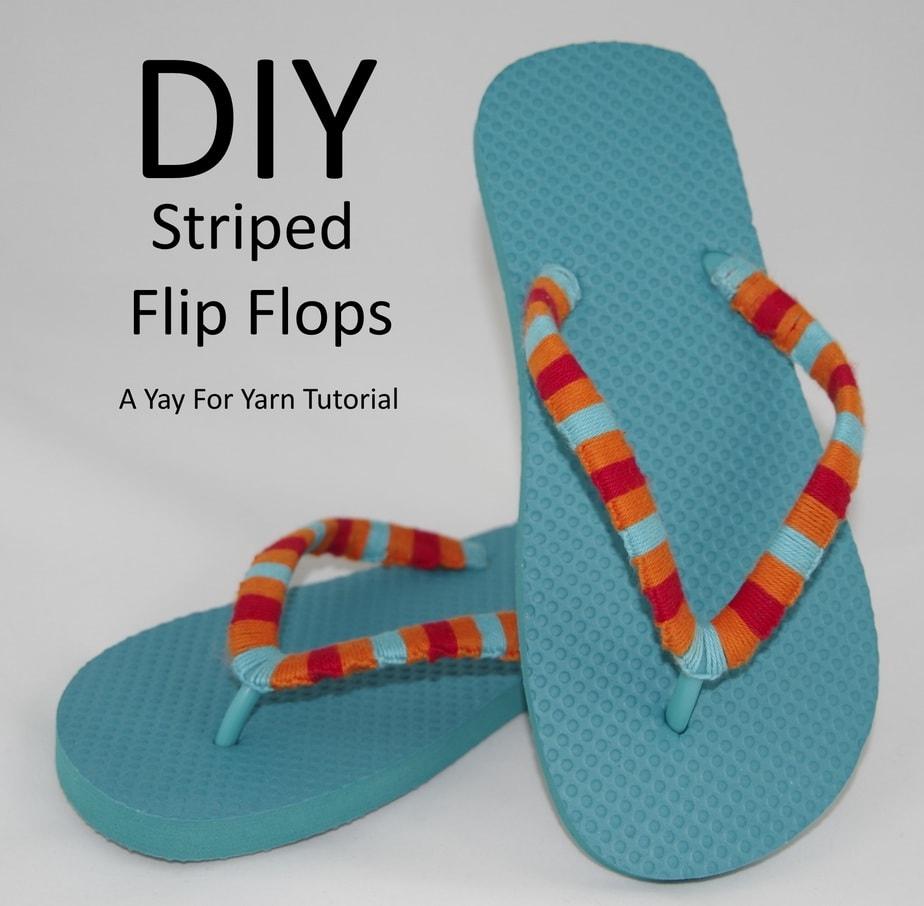
Yarn bomb your flip flops! You can make a pair to go with each of your favorite summer outfits. Personalize these flip flops to match your unique style!
Scroll to the bottom of this post to see the video tutorial for this project.
You will need:
1 pair of foam flip flops in your size
1 package of Lion Brand BonBons yarn in the “Beach” colorway (1 package will decorate many pairs of flip flops). I used the Turquoise, Orange, and Red BonBons for this pair.
Scissors
Yarn Needle (preferably metal) for finishing.
We will start at the base of the strap on the right side of the shoe.
To Begin:
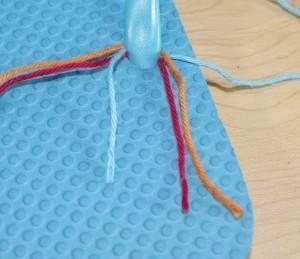
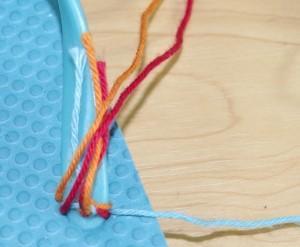
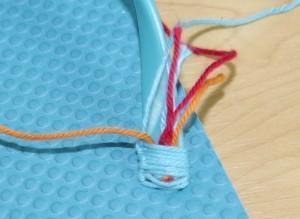
Unwrap the end of the yarn from each BonBon. Take the first yarn end and hold it behind the beginning of the strap. Slide it down so it is wedged between the strap and the foam sole. The yarn tail should come from underneath the right side of the strap, and the yarn that is coming from the ball should come from underneath the left side of the strap. Repeat with the second color of yarn (the color you would like to start with) in the opposite direction. The yarn tail should come from underneath the left side of the strap, and the yarn that is coming from the ball should come from underneath the right side of the strap. Now do this again with the third color, in the same direction as the first color.
Take the two tails on the right and tie them in a double knot with the tail on the left. Hold the color for the first stripe to the right. Lay the other two colors and all of the tails against the inside of the strap. They will be encased in the stitches as you work.
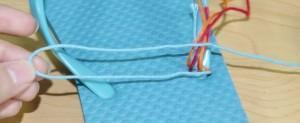
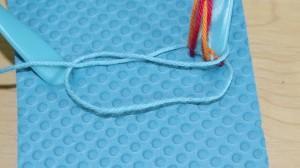
To make a blanket stitch, bring a loop of your working yarn to the left.
Now bring the ball of working yarn behind the strap and up through the loop.
Tug on the yarn to tighten the stitch. You have made 1 blanket stitch around the strap. For all stitches hereafter, slide the stitch down the strap so it sits snugly up against the previous stitch.
For my stripe pattern, I chose to work 7 more blanket stitches in turquoise for a total of 8 stitches. You can work any stripe pattern you wish.
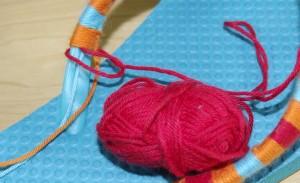
To change colors, lay the old color yarn against the back of the strap. Move the new color yarn to the left.
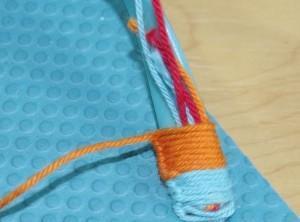
Begin making stitches in the second color. I made 8 stitches with my orange yarn.
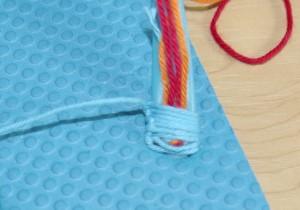
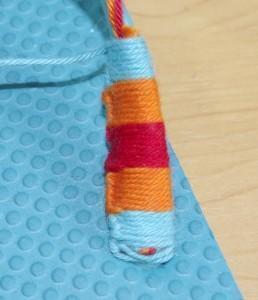
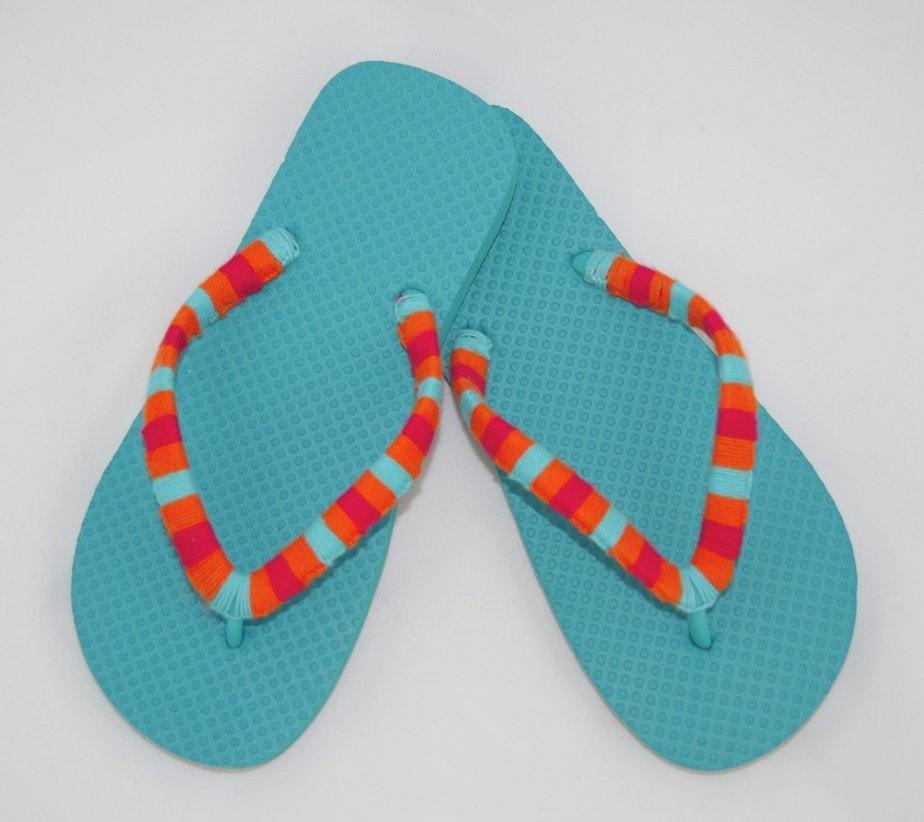
Continue changing colors and working stitches in your desired stripe pattern until you have covered your tails and / or you have worked to the point where the strap twists and you can easily see the outside of the strap from the side. For my stripes, I worked 8 stitches in turquoise, 8 stitches in orange, 8 stitches in red, 8 stitches in orange, and 8 stitches in turquoise.
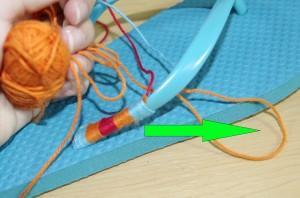
We will now be working stitches from the outside of the strap. To do this, bring a loop of the working yarn behind the strap and the other color yarns to the right. Bring the ball of yarn down through this loop, as shown by the green arrow.
Tug on the yarn to tighten the stitch. Slide the stitch down the strap so it sits snugly up against the previous stitch. To change colors when stitching from the front, lay the old color up against the back of the strap and bring the next loop of new color from behind the strap to the right as shown above.
Continue making stitches in this manner until you have reached the toe-piece. I chose to work 4 stitches of the current color before skipping the toe-piece. I then worked the last 4 stitches of my stripe around the new section of strap.
Now work all of your stitches around the new section of strap. Continue carrying the unused colors of yarn behind the strap.
When you reach the point where the strap twists and it becomes difficult to work the stitches from the outside, switch back to the original method of making stitches from the inside of the strap.
Stop making stitches when you reach the end of the strap. You should not be able to squeeze any more stitches in between the strap and the foam. Cut your working yarn and the other two unused yarns, leaving 2″ tails.
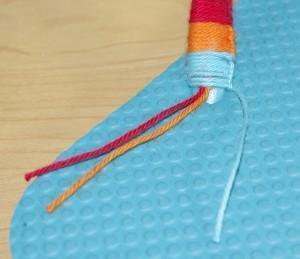
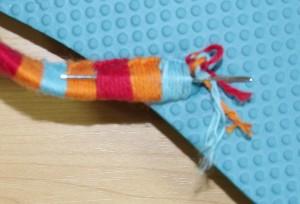
Tie the tail from the last stripe into a double knot with the two unused tails.
Thread the tails through the eye of the yarn needle. Wiggle the yarn needle under the stitches that surround the strap as shown.
Pull the yarn needle through and tug on the tails until the knot slips underneath the stitches. Trim the ends of the tails to finish.
Repeat all instructions for the other flip flop. You now have a unique, striped pair of flip flops!
Click on the photos below to see more styles of flip flops you can make.





0 Comments