

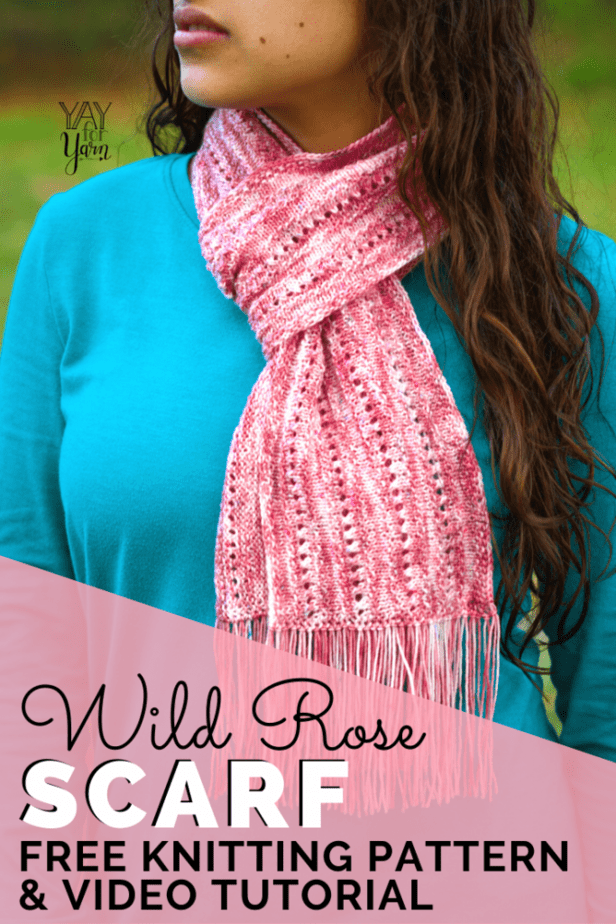
This delicate, lightweight lace scarf is knit from just one skein of hand-dyed sock yarn! Make one today with this free pattern & video tutorial.
Do you ever have a hard time deciding what to make with that single skein of hand-dyed yarn that’s been sitting in your stash for ages? This pattern is for you!
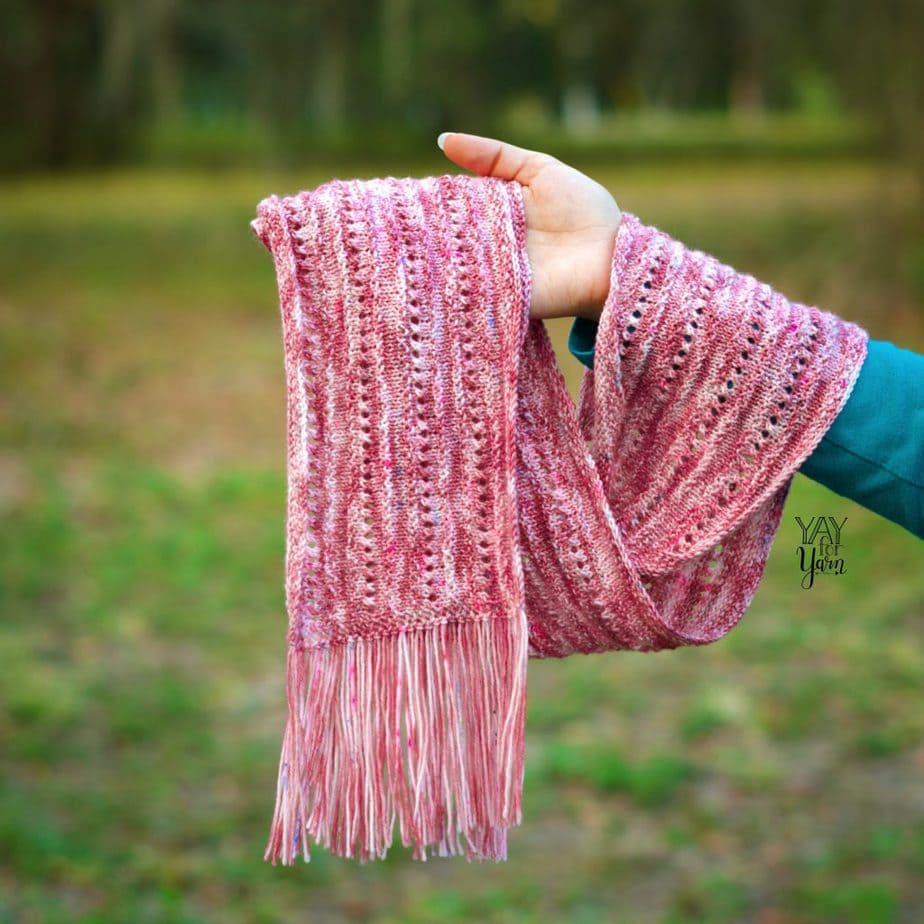
The Wild Rose Scarf features long rows of delicate eyelets, and only uses one 100g skein of fingering weight yarn. Since the yarn is thin, the finished scarf is very lightweight, perfect for spring.
I used Everyday Fingering in Wild Rose, sent to me by Specktacular Yarns. (Thanks, Jennifer!) This colorway is a tonal rose, with bright pops of bright pinks, blues, and teals. I love how this yarn looks in a lace stitch pattern!
Ready to knit your own Wild Rose Scarf? Grab that hand-dyed sock yarn, and let’s get started!
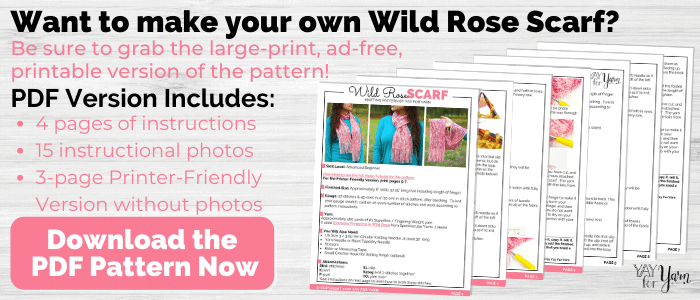
Wild Rose Scarf Knitting Pattern
by Yay For Yarn
Skill Level: Advanced Beginner
Finished Size: Approximately 6” wide, 57.25” long (not including length of fringe)
Gauge: 27 stitches & 45 rows in 4” (10 cm) in stitch pattern, after blocking. To knit your gauge swatch, cast on an even number of stitches and work according to pattern instructions.
Yarn:
Approximately 460 yards of #1 Superfine / Fingering Weight yarn (I used Everyday Fingering in Wild Rose from Specktacular Yarns, 1 skein)
You Will Also Need:
US Size 3 / 3.25 mm Circular Knitting Needle, at least 32” long
Yarn Needle or Blunt Tapestry Needle
Scissors
Ruler or Measuring Tape
Small Crochet Hook (for adding fringe, optional)
Abbreviations:
St(s): stitch(es)
K: knit
P: purl
SL: slip
K2tog: knit 2 stitches together*
YO: yarn over*
*See instructions below to learn how to work these stitches.
Yarn Over:
Bring the yarn to the front, and wrap it over the right needle from front to back. This stitch is worked into as normal on the following row. It creates the little holes or eyelets in the lace.
Knit 2 Together:
Insert the needle from front to back into the next 2 sts at the same time. Knit through both stitches as though they were one.
How to work the Knitted Cast On
Make a Slip Knot and place it on the left needle. Insert the right needle into that slip knot as if to knit. Knit through the slip knot as normal, but do not lift the slip knot off of the left needle. Stretch the loop that is on the right needle, lift it up, and slide it down onto the left needle so the right needle appears to be inserted into the loop as if to knit.
For all following stitches:
Step 1: The right needle is already inserted into the first loop on the left needle as if to knit. Knit through the stitch as normal, but do not lift the old stitch off of the left needle.
Step 2: Stretch the loop that is on the right needle, lift it up, and slide it down onto the left needle so the right needle appears to be inserted into the loop as if to knit.
Repeat steps 1 and 2 until you have cast on the correct number of stitches.

Wild Rose Scarf Instructions
Cast on 350 sts using the knitted cast on. We will be working back and forth in rows.
Note: You should always have 350 sts on your needle at the end of every row.
Row 1: SL1, K1. (K1, P1) across to last 2 sts, K2.
Row 2: SL 1, K1. (P1, K1) across to last 2 sts, K2.
Rows 3-4: Repeat rows 1-2.
Row 5: SL1, K across.
Row 6: SL1, K1. P across to last 2 sts, K2.
Rows 7-8: Repeat rows 5-6.
Rows 9-10: Repeat rows 1-2.
Rows 11-12: Repeat rows 5-6.
Row 13: SL1, K1. (K2tog, YO) across to last 2 sts, K2.
Row 14: Repeat row 6.
Rows 15-16: Repeat rows 5-6.
Repeat Rows 3-16 three more times.
Repeat Rows 3-8 once more.
Repeat Rows 1-4 once more.
Bind off loosely. Do not weave in beginning and ending yarn tails, they will be included in the fringe of the scarf.
To Block: (video tutorial here)
For natural fibers, pin project out on foam blocking mats. Spray with water until fully saturated, allow to dry.
OR
For acrylic fibers, pin project out on an ironing board or several layers of towels. Hold a steaming iron 2”-3” over the surface of the fabric, making sure all of the fabric is penetrated by the steam. Allow to cool / dry.
Fringe
With your ruler or measuring tape, cut some 10” lengths of yarn. Attach them as fringe to the ends of the scarf as follows: With the right side of the scarf facing up, insert your crochet hook into a stitch on the edge of the scarf, making sure the hook is inserted from back to front.
Fold a length of yarn in half, and grab the folded part with the hook. Pull the folded “loop” of the yarn through the edge of the scarf, then grab the “tails” of the length of yarn and pull them all the way through the folded loop. Tug gently to tighten.
Repeat those steps until you have used up all the lengths of yarn you have cut, and continue cutting more lengths of yarn and attaching them until you have attached one folded length of yarn to each slipped stitch on the edge of the scarf. The yarn tails from the scarf can be pulled through the folded loops along with the tails from the fringe on the very corners of the scarf.
Once you have attached all the fringe, I recommend steaming your fringe to make it lay very straight. This will help remove any kinks or bends that may be in your fringe. I like to hold a steaming iron 2”-3” above the surface of the fringe, and then comb through the fringe with my fingers to straighten the yarn. If you do not want to steam your fringe, you can also wet it, straighten it, and lay it out to dry on your blocking mats or a towel.
Then, we trim the fringe. Trim it straight across with your scissors, so that the ends of the fringe hang straight and even.
Enjoy your finished Wild Rose Scarf!
This pattern is intended for your personal use only. You may not share it, copy it, sell it, give it away, or mass-produce the finished product. However, you may sell the finished items on a small scale, as long as you convey in your item description that you used a Yay For Yarn pattern.
Yay For Yarn Copyright© 2020 – Current. Pattern and photos are owned by Yay For Yarn.
Pin the image below to save this project for later!
")


Hello and thank you for your patterns and tutorials. I have been a subscriber since last year. I was wondering if you could re-write this scarf pattern to be knitted into a cowl. I love the pattern.
Thanks for considering!
Thank you for the suggestion!
Really lovely pattern Brianna once again .
Thank you
Eileen Leverton
This is very pretty. Thank you for sharing the pattern.