

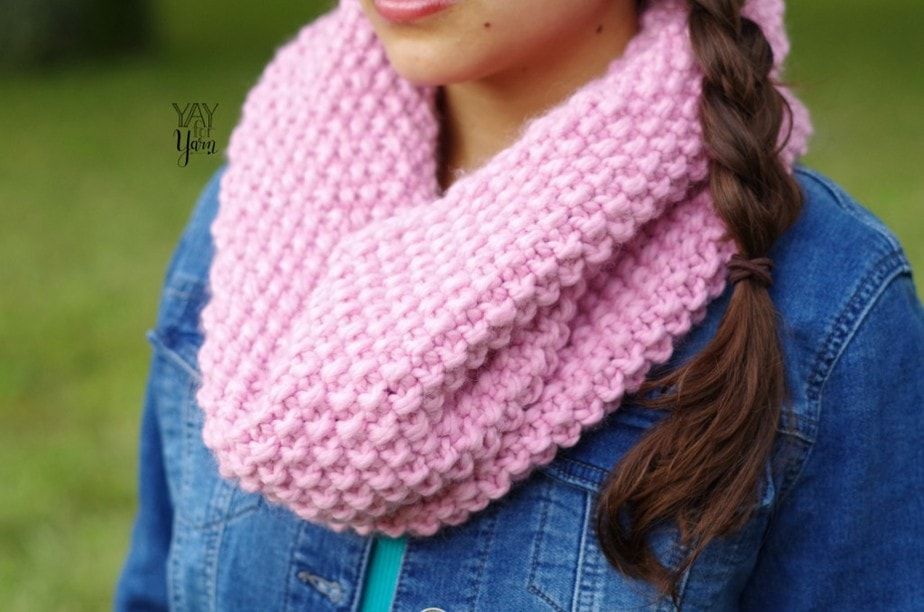
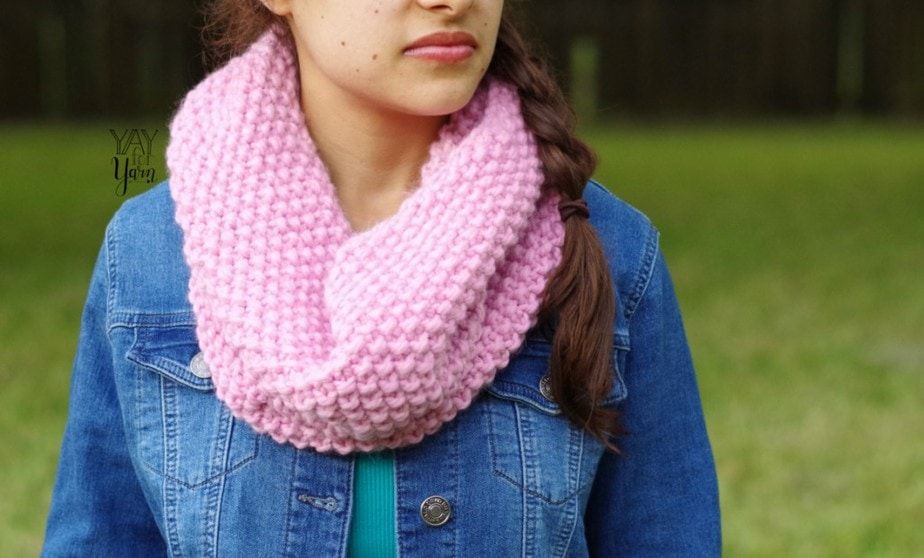
This thick, squishy cowl is sure to keep you warm through the fall and winter. It’s an easy knitting project for beginners that works up quickly!
Got some super bulky yarn in your stash? This cowl is great for anytime you need a quick gift or mindless, relaxing project. The bumpy texture comes from the super-easy seed stitch, made by alternating knit and purl stitches.
Table of Contents
Seed Stitch Cowl Knitting Pattern
by Yay For Yarn
Skill Level: Advanced Beginner
You Will Need:
Approx. 175 Yards of #6 Super Bulky Yarn (I used Lion Brand Wool-Ease Thick and Quick, 2 skeins)
US Size 11 (8 mm) circular knitting needle, no more than 36” (91 cm) long
Scissors
Large Yarn Needle or Blunt Tapestry Needle
Ruler or Measuring Tape
Stitch Marker large enough to slide onto the knitting needle
Shop Supplies for this Project
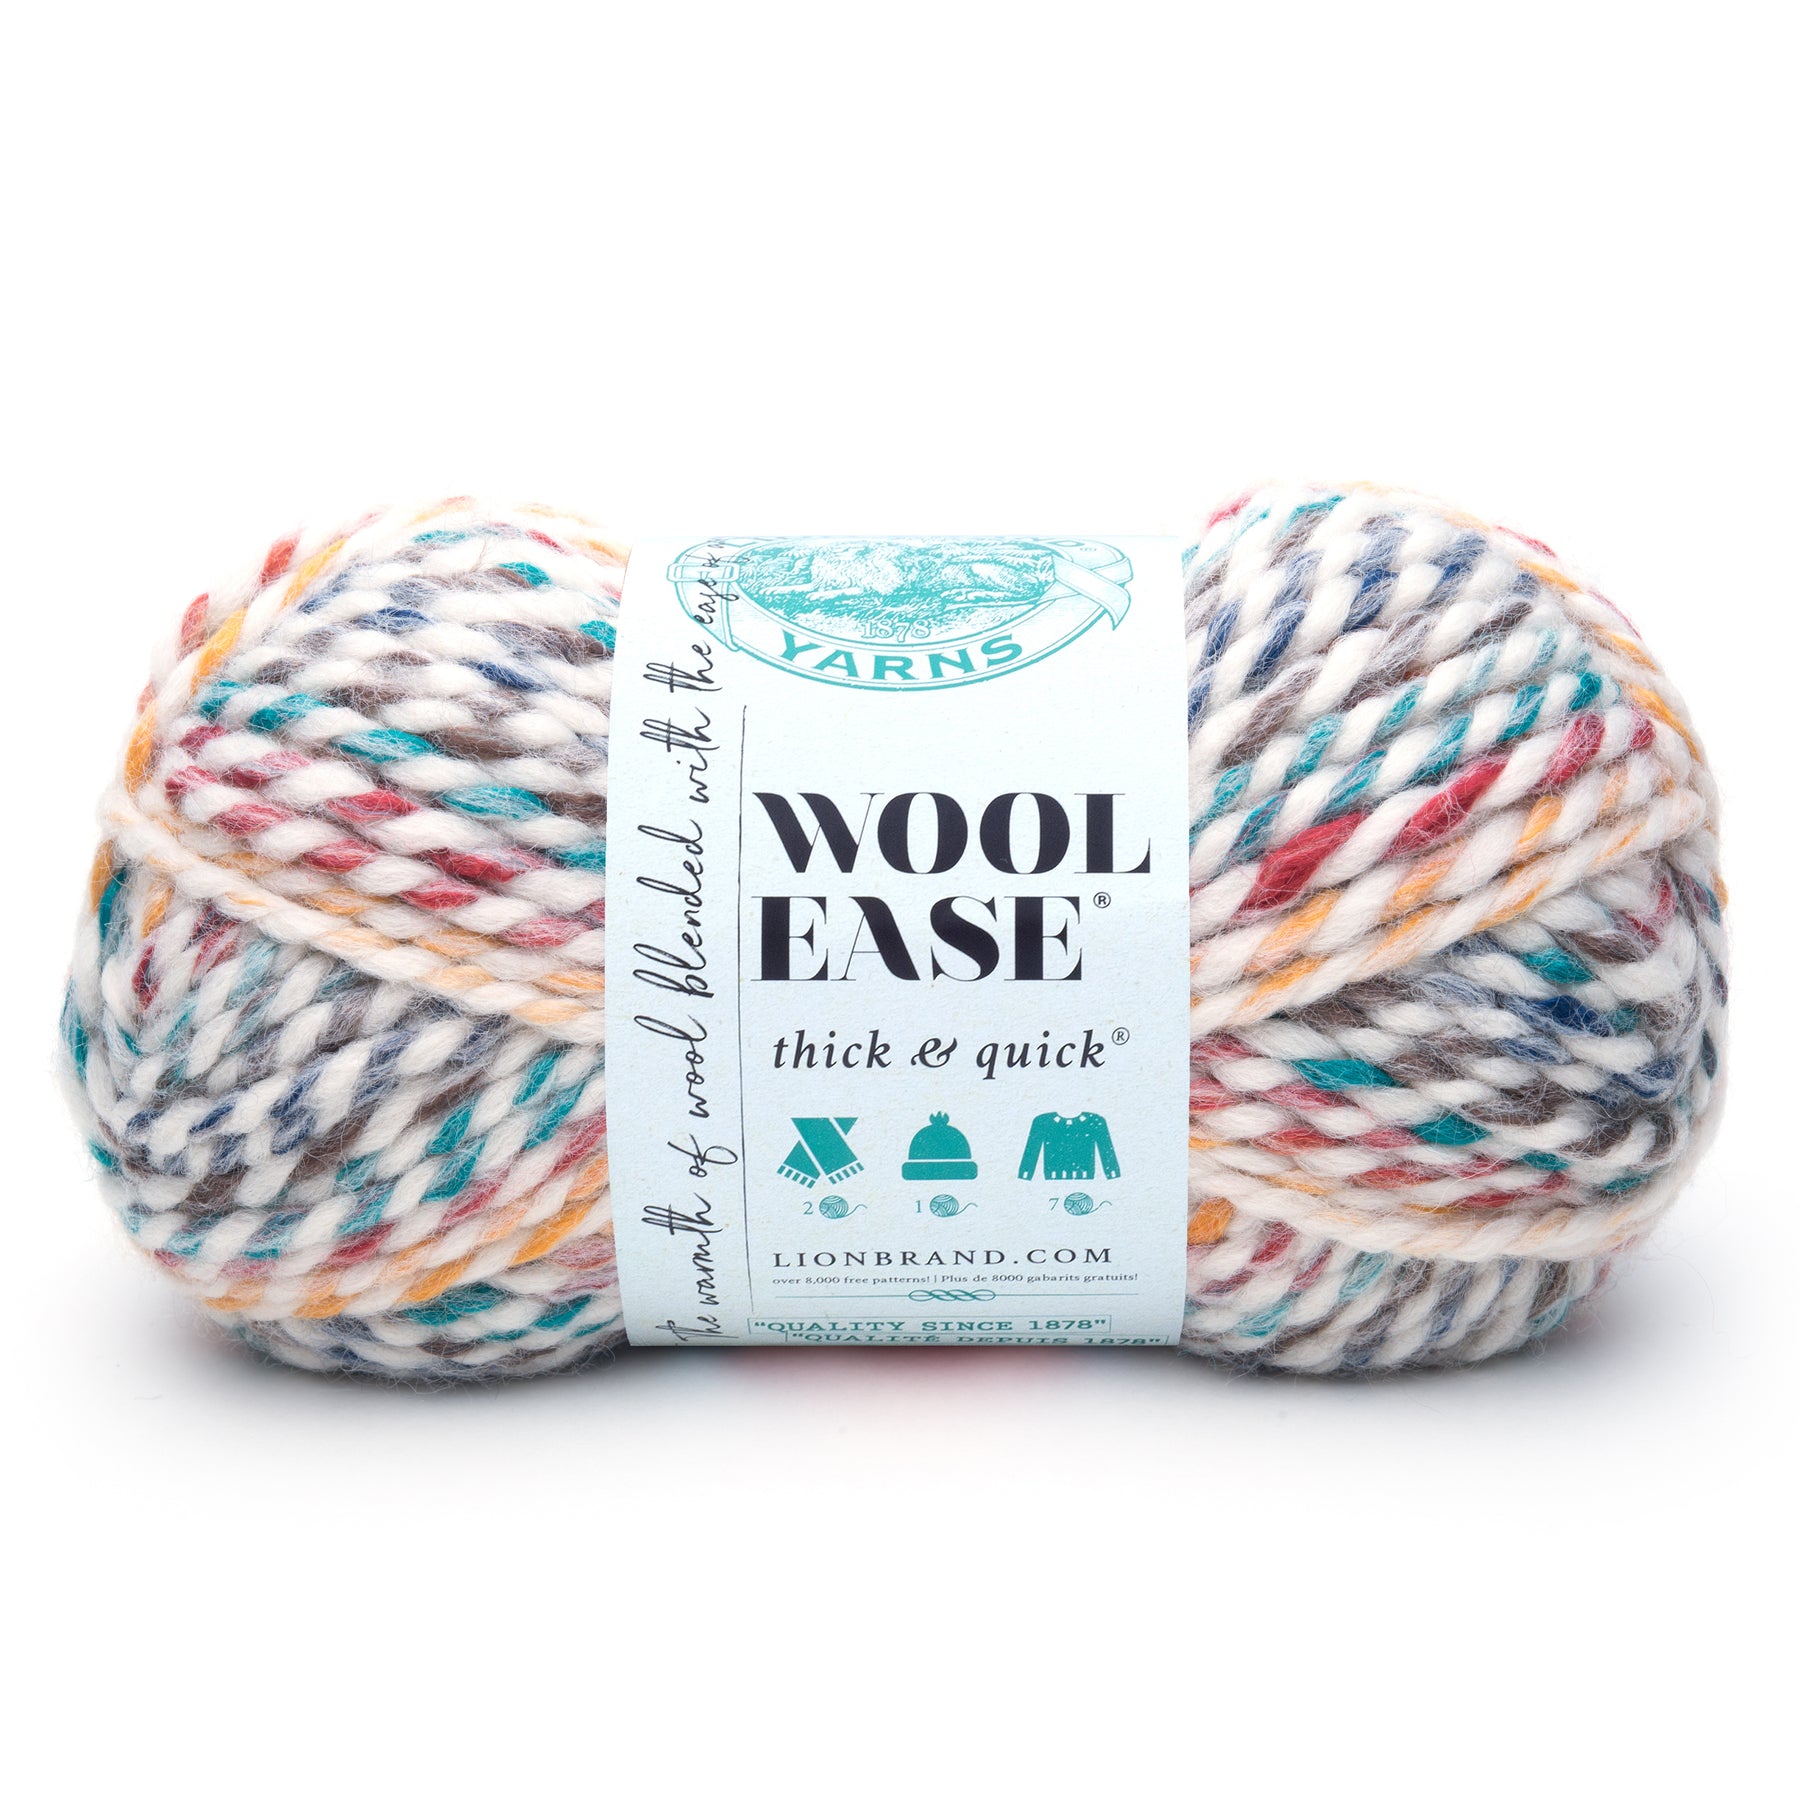
Lion Brand Wool-Ease Thick & Quick
Buy Now →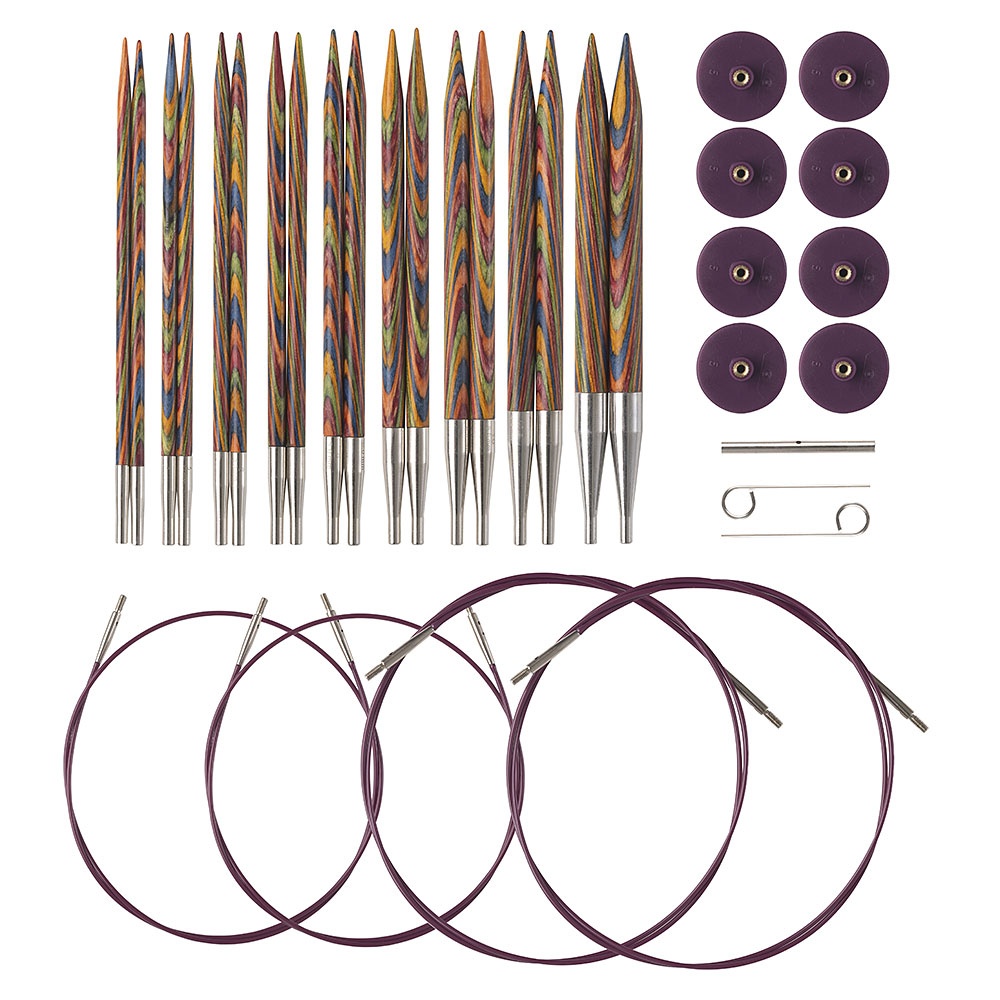
KnitPicks Options Rainbow Interchangeable Knitting Needles
Buy Now →
Knitter’s Pride Rainbow Folding Scissors
Buy Now →
Chibi Metal Yarn Needles – Amazon
Buy Now →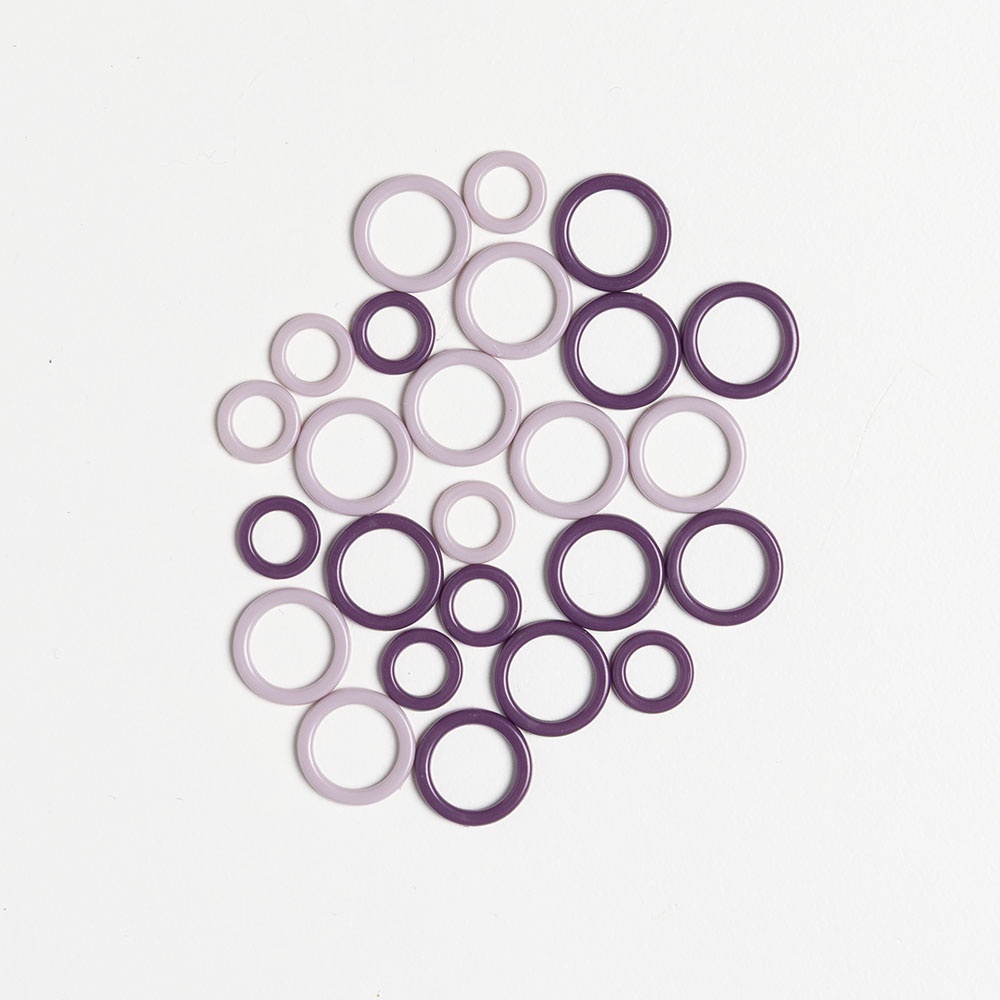
KnitPicks Knitting Stitch Markers
Buy Now →
Gauge: 8 ½ stitches / 17 rows = 4” (10 cm) in Seed Stitch
Finished Size: about 32” (81 cm) in circumference by 12” (30.5 cm) high
Note: This cowl can be made in any yarn at any gauge. If you prefer to use a different yarn weight, please use a needle size appropriate for the thickness of the yarn you are using. If you use a different yarn weight, you may also need to change the size of the cowl. To change the size of the cowl, cast on any even number of stitches. If you use a different yarn weight and / or change the size, please make sure you have enough extra yarn to do so.
Abbreviations:
K: knit
P: purl
sts: stitches
How to work the Knitted Cast On
Make a Slip Knot and place it on the left needle. Insert the right needle into that slip knot as if to knit. Knit through the slip knot as normal, but do not lift the slip knot off of the left needle. Stretch the loop that is on the right needle, lift it up, and slide it down onto the left needle so the right needle appears to be inserted into the loop as if to knit.
For all following stitches:
Step 1: The right needle is already inserted into the first loop on the left needle as if to knit. Knit through the stitch as normal, but do not lift the old stitch off of the left needle.
Step 2: Stretch the loop that is on the right needle, lift it up, and slide it down onto the left needle so the right needle appears to be inserted into the loop as if to knit.
Repeat steps 1 and 2 until you have cast on the correct number of stitches.

Seed Stitch Cowl Instructions
Note: Feel free to customize the cowl to any size you like. Just cast on any even number of sts. (If you decide to make the cowl larger, please make sure you have enough yarn to do so.)
With Knitted Cast On, cast on 68 sts. Place marker on the needle with the yarn coming from it, and hold that needle in the right hand. The other needle with the yarn tail should be in the left hand. Join to work in the round, making sure the cast-on edge is not twisted.
Round 1: *K1, P1* around. Slip marker.
Round 2: *P1, K1* around. Slip marker.
Repeat Rounds 1-2 until piece measures 12” (30.5 cm) high from cast-on edge.
Remove marker. Bind off all sts loosely.
Finishing
Cut yarn, leaving a 6”-8” (15-20 cm) tail. Stretch last loop on needle until yarn tail comes out. Thread the yarn tail through your yarn needle. We will now seamlessly join the end of the bind off to the beginning.
At the beginning of the bind-off, find the first bound-off stitch. It is the first loop that is laying down on the bind-off edge. Insert the yarn needle from front to back under both strands of that stitch.
Now, insert the needle down into the center of the last bound-off stitch (where the yarn tail first came out).
We have now seamlessly joined the beginning and end of the bind off, creating what looks like a stitch on the edge.
Make a small knot on the back of the work. Weave in all remaining yarn tails.
To Block:
For natural fibers, pin project out on foam blocking mats. Spray with water until fully saturated, allow to dry.
OR
For acrylic fibers, pin project out on an ironing board or several layers of towels. Hold a steaming iron 2”-3” over the surface of the fabric, making sure all of the fabric is penetrated by the steam. Allow to cool / dry.
Enjoy your finished Seed Stitch Cowl!
This pattern is intended for your personal use only. You may not share it, copy it, sell it, give it away, or mass-produce the finished product. However, you may sell the finished items on a small scale, as long as you convey in your item description that you used a Yay For Yarn pattern.
Yay For Yarn Copyright© 2019 – Current. All patterns and photos are owned by Yay For Yarn.
Pin the image below to save this project for later!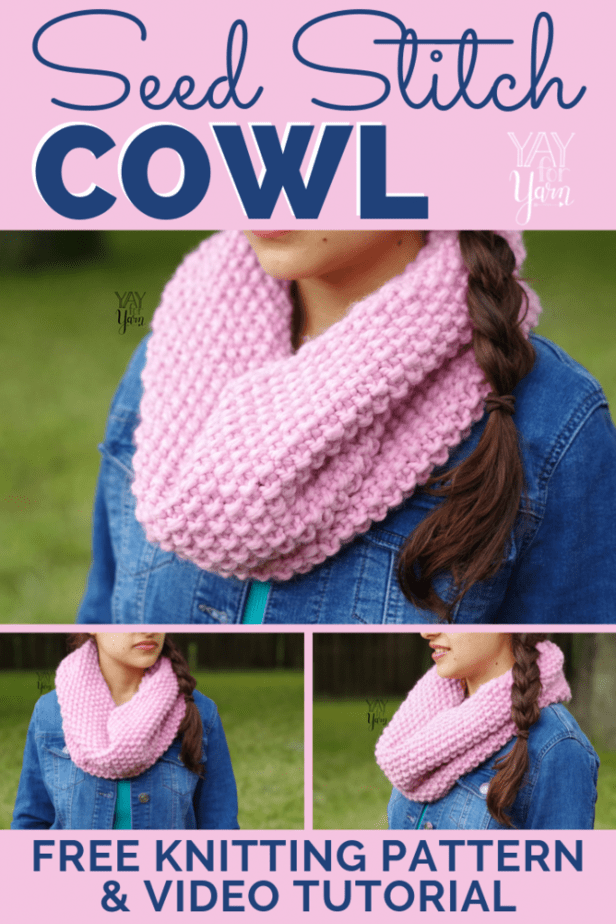
")


Do you have this pattern using straight needles?
Hi Shirley! I don’t have instructions for this project using straight needles, but you could work seed stitch back and forth in rows on straight needles if you like. This could make a scarf, or a cowl if you decide to sew the ends together. If you aren’t familiar with working seed stitch back and forth in rows, just do a quick Google search for “seed stitch knitting tutorial”, and it will pull up some tutorials for you. I hope this helps!
Casting on 68 stitches gives me two purls on a row at the end. Shouldn’t cast on be an od number of stitches?
Hi Chris. Seed stitch in the round is worked over an even number of stitches. When you begin the next round, the first stitch of the new round will be the same as the last stitch of the previous round. So if you work a round of *K1, P1*, the last stitch will be a purl stitch. Then, the next round will be to *P1, K1* around, which begins with a purl stitch. So the stitch before and after the marker should be the same. However, if you have not slipped the marker and begun the next round yet, and you have two purl stitches before the end-of-round marker, there may be a mistake somewhere in your round. In that case, you’ll want to double check your stitch count and the stitches you worked, making sure there are not two knits or two purls next to each other anywhere in the round. If there is a mistake, and you want to fix it, you can “tink” the work, also called un-knitting (“tink” is “knit” spelled backwards). This is a way of fixing a mistake in the round or row without unraveling the work. I hope this helps!