

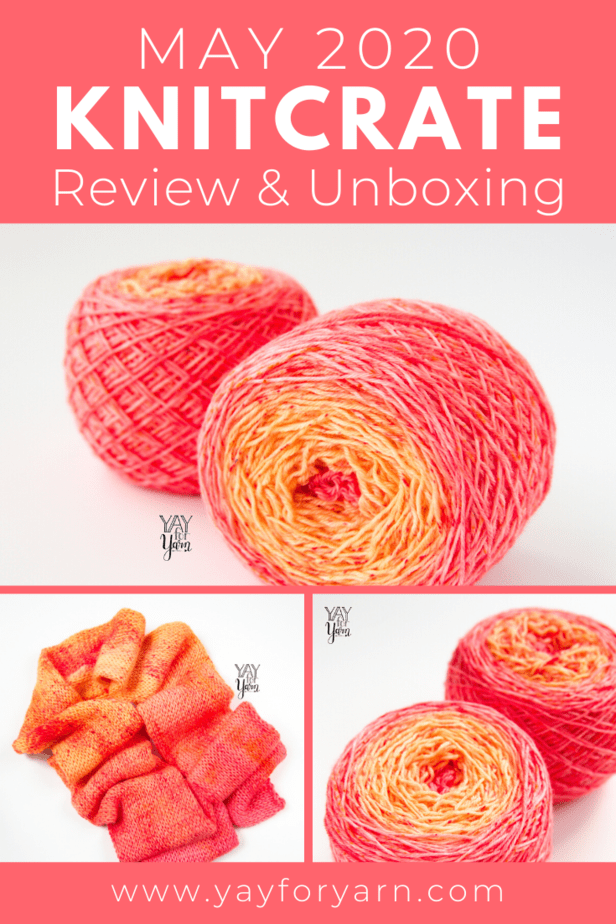
May 2020 KnitCrate Review – This month’s crate is a dye-your-own-yarn kit! Plus, don’t miss this exclusive coupon code, just for my readers.
Dyeing my own KnitCrate Yarn
With this KnitCrate, I got to try my hand at hand-dyeing yarn. This process was entirely new to me, but it was so much fun!
The original yarn that was planned for May’s crates could not be produced, because their yarn mills had to temporarily close. So instead, KnitCrate sent out some bare yarn from their sister company, Dyer Supplier, along with the supplies to dye the yarn yourself.
At first, I didn’t know what to expect, but after having tried it myself, I think it was even more fun than getting the usual hand-dyed yarn in my crate. Let’s look at what came in the crate, and then I’ll show you how I dyed my skeins.
What is a KnitCrate?
KnitCrate is a monthly yarn subscription service, delivering high-quality, hand-dyed yarn to your doorstep. They offer several different crates, with different types of yarn and projects. The crate shown in the video above is the KnitCrate Membership, which includes 2 skeins of premium yarn in the featured colorway, and 2 exclusive patterns (1 knitting pattern, 1 crochet pattern). All KnitCrates ship worldwide with free shipping and handling. Members also receive reward points and discounts towards future purchases.
Use Coupon Code “YAYFORYARN20” for 20% off your first KnitCrate.

The Dye
Each month’s crate has a theme, and this month’s theme is “Blank Canvas”. Normally, there are three possible colorways, but since the yarn is un-dyed, there are three possible pairs of dye colors. The dye is actually Kool-Aid, which contains food coloring to dye the yarn and citric acid to set the dye. I got red and orange Kool-Aid packets in my crate. The nice thing about dyeing with food coloring is that it is food safe, so you can use your existing kitchen pots and utensils. (Commercial dyes require several safety precautions, including making sure the pots and utensils you use for dyeing are never used with food after they have been used with the dyes.)
The Yarn
In the Blank Canvas crate, there are several possible yarn bases. I got the Nice and Round base, which is a fingering-weight Superwash Merino Wool. It feels nice and squishy, with the typical springy-ness of superwash merino. The crate includes 2 skeins of bare yarn.
The Extra
Besides the the yarn and Kool-Aid packets, the crate also included a set of sticky notes in various sizes and colors. These can be very useful when you’re following a pattern, to help you keep track of what row you are on, or to take notes without writing in your pattern book.
(I also got a pair of zip ties for dyeing the yarn.)

How I Dyed my Yarn with Kool-Aid
Rebecca from ChemKnits Tutorials on YouTube created several videos for this crate, to show how to dye the yarn with Kool-Aid. I followed the instructions in two of her videos, but modified the technique to create my own colorway. Instead of dyeing the untwisted skeins of yarn, I made a knitted blank and dyed it.
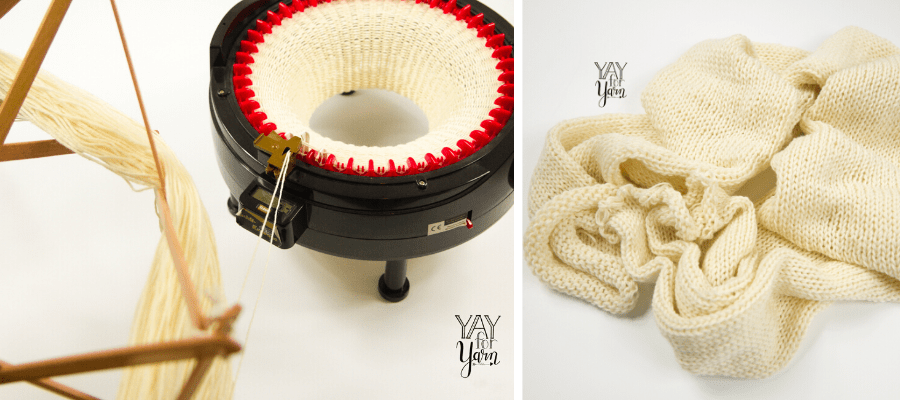
To do this, I used my Addi King Knitting Machine to knit a long tube of the un-dyed yarn. I held one strand from each skein together to make a double-knit blank. By knitting both skeins together into the same tube, you can get both skeins to look basically the same. I wanted to dye my yarn with a gradient or ombre effect, which requires knitting it into a blank first. I just put both skeins of yarn onto my yarn swift and fed the ends right into my Addi machine.
Then, I followed Rebecca’s Dip Dyeing Yarn with Kool-Aid tutorial, except I dip dyed the knitted tube instead of the untwisted skeins. I wanted softer colors, so instead of the whole packet of each, I used partial packets of the Kool-Aid powder. I used about 2/3 of the orange packet for the first dip dye, and about 1/3 of the red packet for the second.

Here’s my yarn simmering in the dye pot after dip dyeing it in the orange Kool-Aid.
Once the dip-dyed knitted blank was cool, I squeezed out the extra water and speckled the blank with the remaining powder. I followed Rebecca’s tutorial on speckling in this video, but I sprinkled the powder on both sides of my blank instead of on the skeins of yarn.

Finally, I washed the blank and allowed it to dry. To make my yarn back into two skeins, I unraveled the blank, separated the two strands of yarn, and wound them separately into cakes on my yarn ball winder.
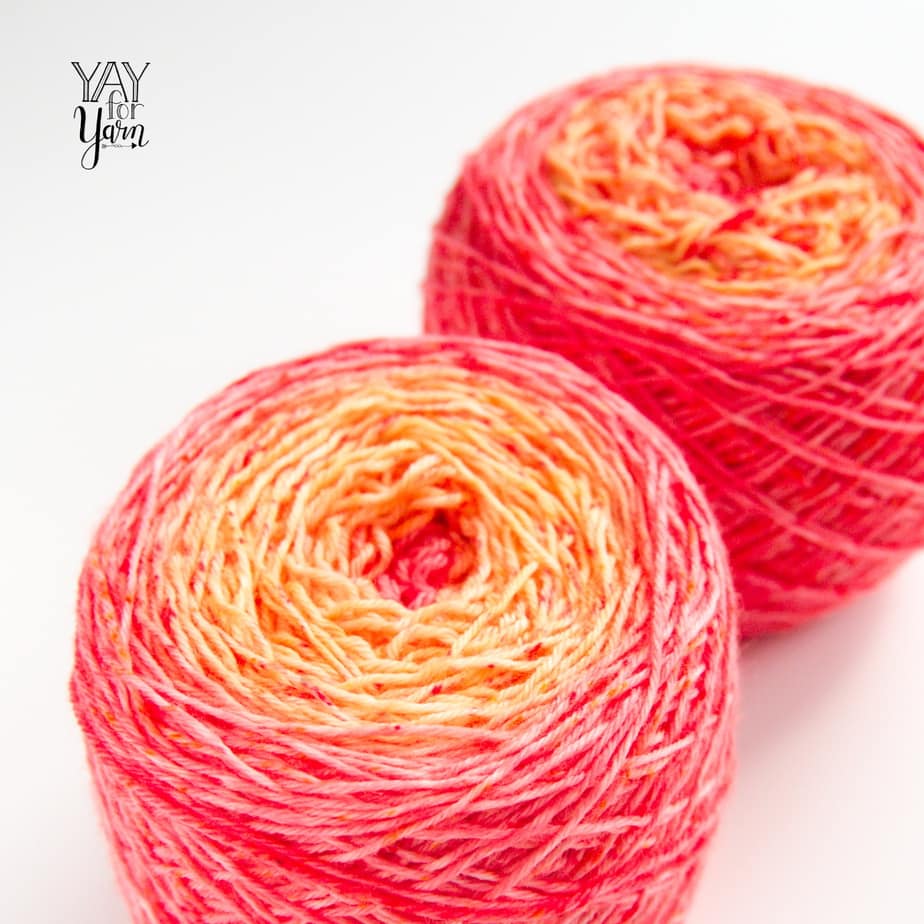
Ta-Da! I’m so happy with how the finished yarn turned out! It’s a smooth gradient from peachy orange to coral, covered with red and orange speckles. I can’t wait to use it in a project!

Thanks so much to KnitCrate for sending me this crate to review!
Click Here to see more KnitCrate Unboxings from previous Membership Crates.
Have you ever dyed your own yarn?
Pin the image below to save this article for later!
")


I loved your video. I have a subscription to knitcrate but I have jet to die my hanks of yarn. I also dye yarn mostly from fleece I have spun into yarn, I like the process of starting from the fleece and scouring it, carding it, combing it dying then or spinning it into yarn and then dying it.