
")
This beginner-friendly hat is crocheted in a simple stitch that looks like knitting! Made from a rectangle, it’s a quick and easy hat that can be made in LESS THAN 2 HOURS!
Table of Contents
Easy Knit-Look Crochet Hat Pattern
by Yay for Yarn
Skill Level: Advanced Beginner
You Will Need:
Approx. 70 (85, 97, 126, 146, 168, 190, 205, 224, 242) yards of #5 Bulky Weight Yarn
Approx. 12 (13, 14, 17, 20, 23, 26, 28, 29, 30) additional yards of #5 Bulky Weight Yarn for Pom Pom
US Size K (6.5 mm) Crochet Hook
Scissors
Measuring Tape
Yarn Needle or Blunt Tapestry Needle
Pom Pom Maker of your choice (or use a purchased pom pom and omit the yarn required for making the pom pom)
Shop Supplies for this Project
 Buy Now →
 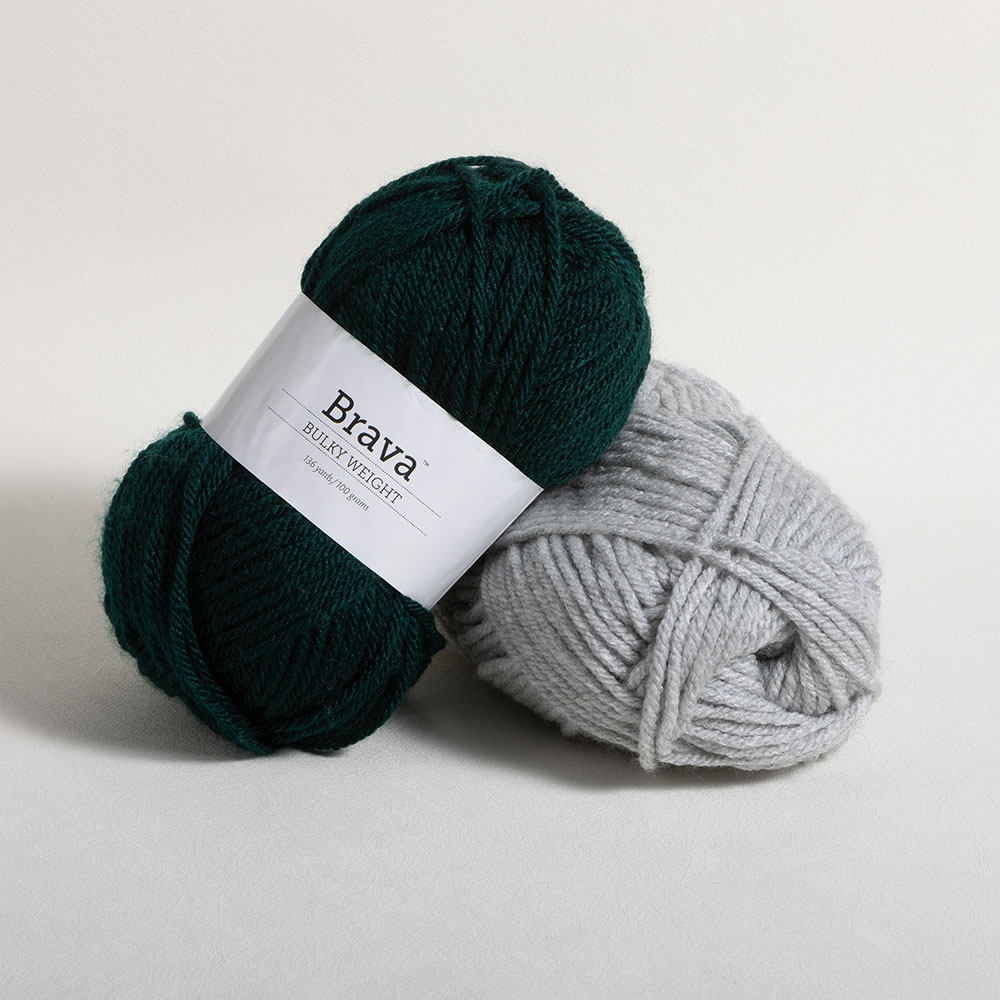 Buy Now →
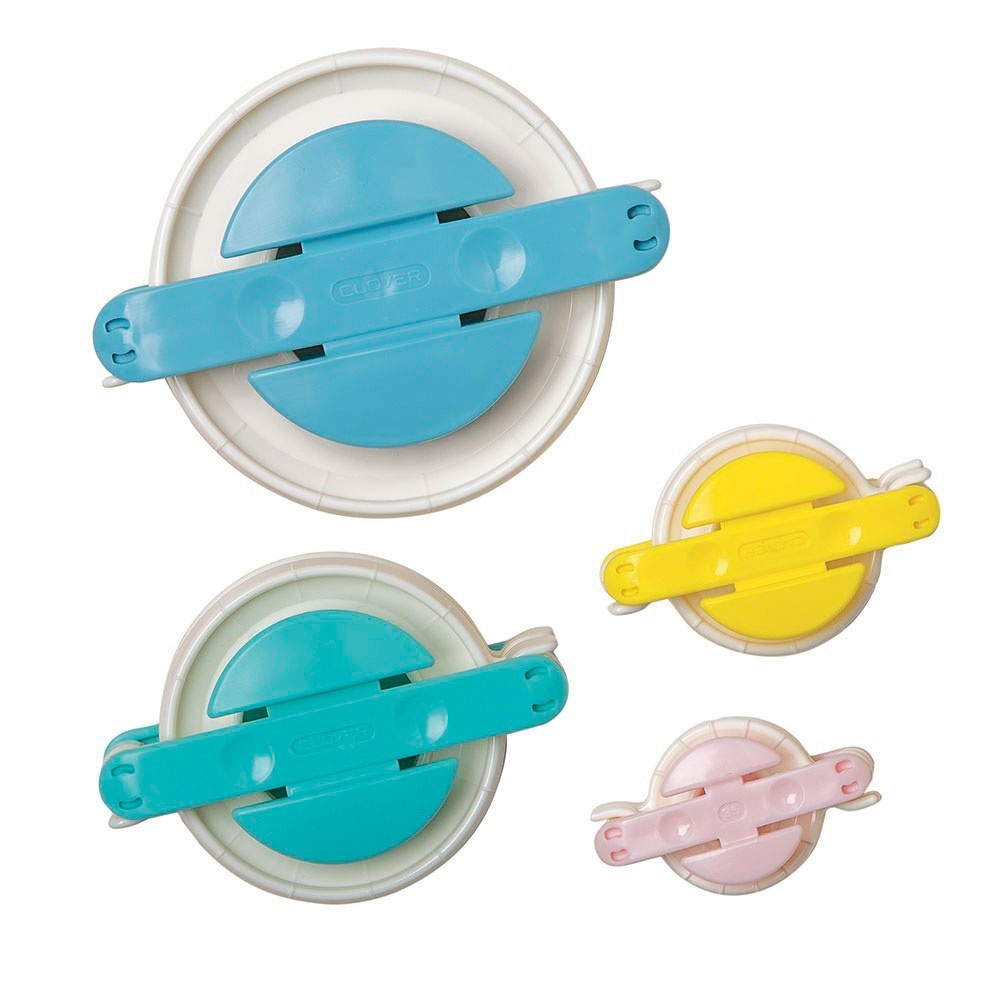
Clover Pom Pom Makers – KnitPicks
Buy Now →
Chibi Metal Yarn Needles – Amazon
Buy Now →
Knitter’s Pride Rainbow Folding Scissors
Buy Now →
Make a matching scarf or cowl with these free patterns:
Sizing:
Instructions and yarn requirements for size Preemie are given outside the parentheses, and instructions and yarn requirements for all larger sizes are given inside the parentheses like this: Preemie (0-6 Months, 6-12 Months, 12-18 Months, Child Small, Child Medium, Child Large, Adult Small, Adult Medium, Adult Large).
Because there are so many sizes included in this pattern, I recommend using a highlighter or pen to mark all of the correct numbers for the size you are working before you begin.
Sizes (according to the wearer’s head circumference measurement):
Preemie: 12” (30.4 cm) circumference
0-6 Months: 13” (33 cm) circumference
6-12 Months: 14” (35.5 cm) circumference
12-18 Months: 16” (40.6 cm) circumference
Child Small: 17” (43.2 cm) circumference
Child Medium: 18” (45.7 cm) circumference
Child Large: 19 ¼” (48.9 cm) circumference
Adult Small: 21” (53.3 cm) circumference
Adult Medium: 22” (55.8 cm) circumference
Adult Large: 23” (58.4 cm) circumference
Hat is designed with negative ease, meaning the hat is a little smaller than the wearer’s head circumference, so it will stretch to comfortably stay on the head.
Actual Finished Size (circumference / hat length):
Preemie: 11” / 6” (includes 1 ½” brim), (28 cm / 15.2 cm, includes 3.8 cm brim)
0-6 Months: 12” / 6 ¾” (includes 1 ¾” brim), (30.4 cm / 17.1 cm, includes 4.4 cm brim)
6-12 Months: 13” / 7 ¼” (includes 1 ¾” brim), (33 cm / 18.4 cm, includes 4.4 cm brim)
12-18 Months: 14 ½” / 8 ¾” (includes 2” brim), (36.8 cm / 22.2 cm, includes 5 cm brim)
Child Small: 15 ½” / 9 ½” (includes 2 ¼” brim), (39.3 cm / 24.1 cm, includes 5.7 cm brim)
Child Medium: 16 ½” / 10” (includes 2 ½” brim), (41.9 cm / 25.4 cm, includes 6.3 cm brim)
Child Large: 17 ¾” / 10 ¼” (includes 2 ½” brim), (45 cm / 26 cm, includes 6.3 cm brim)
Adult Small: 19” / 11” (includes 3” brim), (48.2 cm / 28 cm, includes 7.6 cm brim)
Adult Medium: 20” / 11 ¼” (includes 3” brim), (50.8 cm / 28.5 cm, includes 7.6 cm brim)
Adult Large: 21 ¼” / 11 ½” (includes 3” brim), (53.9 cm / 29.2 cm, includes 7.6 cm brim)
Gauge: 10 Rhdc sts = 3” (7.6 cm), 7 Rhdc rows = 3” (7.6 cm)
Abbreviations:
beg: beginning
ea: each
nxt: next
st: stitch
sts: stitches
sp: space
sk: skip
ch: chain
hdc: half-double crochet
dc: double crochet
*Fhdc: foundation half-double crochet
*Rhdc: ribbing half-double crochet
*This is a special stitch. See instructions below to learn how to work this stitch.
Fhdc: (video tutorial here) Yarn over, insert hook into base of previous st. Yarn over, pull up a loop. Yarn over, pull through 1 loop, Yarn over, pull through all 3 loops on hook.
Rhdc: (video tutorial here) Yarn over, insert hook, not into the top of the hdc below, but into the horizontal strand that runs across the front of the hdc below. Yarn over, pull up a loop. Yarn over, pull through all 3 loops on hook.
Easy Knit-Look Crochet Hat Instructions
To Crochet the Hat:
Row 1: ch 2. sk 1st ch, Fhdc in 2nd ch from hook. Work 19 (22, 24, 28, 31, 33, 35, 36, 37, 38) more Fhdc. You should have 20 (23, 25, 29, 32, 34, 36, 37, 38, 39) sts, not including beg ch sp.
Row 2: ch 2, turn. Rhdc in same st and in ea st across. You should have 20 (23, 25, 29, 32, 34, 36, 37, 38, 39) sts, not including beg ch sp.
Repeat Row 2 until you have a total of 26 (28, 30, 34, 36, 39, 42, 44, 47, 50) rows, including the first row. Tie off, leaving a tail at least 1 yard long.
Make Pom Pom from remaining yarn, following the instructions for your pom pom maker, or using the method of your choice. (I used a Clover pom pom maker, see tutorial here.)
Leave a few extra inches of the yarn tail from tying your pom pom together. This will make it easier to find the strands of yarn that are holding the pom pom together, which we will be stitching through to attach the pom pom to the hat.
To Assemble Hat:
Bring the two short edges of the rectangle together, lining up the corners of the short edges. Look closely at both short edges. One edge is the foundation half-double crochet edge, and the other is the top of the last row of stitches (where the long yarn tail is coming from). Thread the long yarn tail from the hat through your yarn needle.
Take a stitch through the corner of the foundation edge and through the corner on the top edge.
Insert your needle through the 1st st on the foundation edge and the 1st st on the top edge, pointing away from you. Then bring the needle back towards you through the next st on the top edge, and pull it through.
*Insert your needle through the next st on the foundation edge and the SAME STITCH YOUR YARN IS COMING FROM (from the previous st) on the top edge, with the needle pointing away from you. Then bring the needle back towards you through the next st on the top edge, and pull it through.* Repeat between *and* until you have seamed the two short edges together, stopping at the other corner.
When you have finished the seam, take another small stitch through where the corners meet, wrap the yarn around the needle, and pull the needle through to make a knot.
Cinching the Top Closed
Your hat is now a tube. Now we will cinch the hat closed around the top of the tube. With your yarn needle, pick up a strand of yarn from the top edge of the hat every ½” (1.3 cm) to ¾” (1.9 cm) as you go around the top of the hat.
Pull on the seaming yarn to cinch the hat closed. You want to make the hole in the center very small.
Take a small stitch next to the hole, and pulling the seaming yarn tightly, wrap the yarn around the needle and pull the needle through to make a knot.
To attach pom pom, find the strands of yarn that run around the center of the pom pom to hold it together. We will be stitching through those strands to attach the pom pom to the hat.
Take a stitch through the center strands of the pom pom, then stitch back through the hat, right next to the center hole.
*Bring the needle back up through the hat, on a different side, right next to the hole. Take another stitch through the center strands of the pom pom. Then stitch back through the hat, going down through in a different spot, right next to the hole.* Repeat between *and* until you have stitched the pom pom down about 4 or 5 times, all around the center hole. Turn the hat inside-out and take a small stitch next to the center hole, wrap the yarn around the needle, and pull the needle through to make a knot. Weave in ends, and turn up the brim of your hat.
This pattern is intended for your personal use only. You may not share it, copy it, sell it, give it away, or mass-produce the finished product. However, you may sell the finished items on a small scale, as long as you convey in your item description that you used a Yay For Yarn pattern.
Yay For Yarn Copyright© 2018 – Current. All patterns and photos are owned by Yay For Yarn.
Pin the image below to save this project for later!

What’s the easiest thing you’ve ever crocheted?
")


Hi there, I’d love to try this pattern. I’m a relative beginner at crochet. I’ve been given a huge load of worsted weight yarn and wondered it I could use it for this pattern? Would I have to make it holding two strands at the same time, or could I use it single stranded and use a smaller size crochet hook, please? Any advice would be fabulous! Sorry if my questions are silly ones! Love the hat!
Hi Deb! You could follow this pattern by working with two strands of worsted weight yarn if you like, as long as you match the pattern gauge. Or, if you wanted to make a hat like this with a single strand of worsted weight yarn, you could use this pattern: The Easiest Crochet Hat EVER (Made from a Rectangle!) – FREE Crochet Pattern for Beginners
Hi! Can I make this hat without the pompom? How would I avoid having a hole at the top of the hat?
Hi Kristina! Yes, you can make this hat without the pom pom. To completely close the hole at the top of the hat, here’s what you can do. After you’ve cinched the hat closed the first time, there will still be a small hole. To close it tighter, go around the hole again with your yarn needle, only picking up a few of the strands of yarn from the previous cinching step. When you cinch that smaller number of strands a second time and knot to secure, that will close the hole all the way. I hope this helps!
Great pattern – easy to follow and looks great!
Love your tutorial. You have such a soothing voice. I made my rectangle but my ribbing is not as close as yours. I think I’m doing something wrong
Hi Debbie! Did you get the same row gauge as listed in the pattern? If you worked into the third strand / loop of the previous row, and your ribbing does not look as close, it may be that your stitches are a little taller than mine. That is okay, as long as the rectangle is the right size for the hat you are making. However, you might check out this tutorial to see if this could by why your stitches are taller. I hope this helps!
Thanks, such an excellent video. You are a teacher indeed!! The techniques were explained so clearly that, as my college professor used to say, “even a chimpanzee could understand them.” Now I most certainly know how crochet the knit look. Thanks a million.
Thanks so much, Rochelle! I’m so glad you found the instructions clear and easy to understand!
The best video yet. You are a born teacher. Thank you.
Thanks so much for your kind words, Fran! I’m so glad you enjoyed the video!