

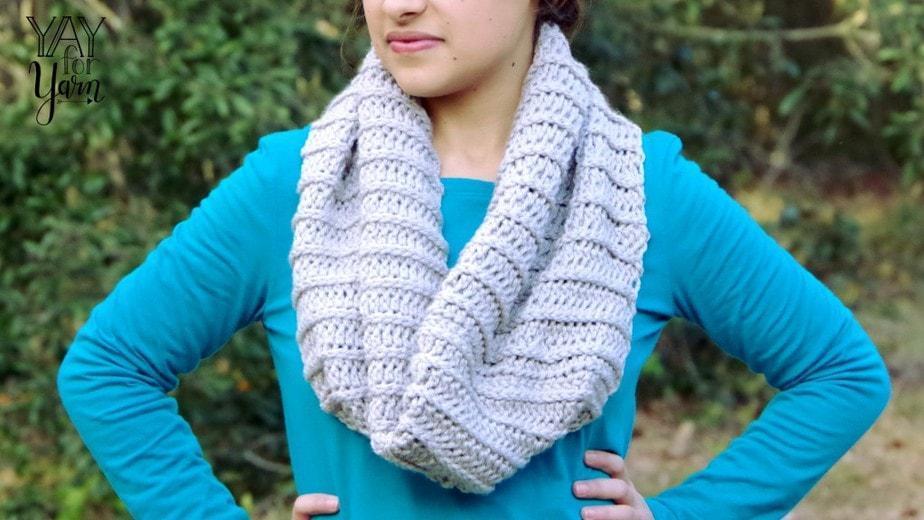
This thick, squishy cowl may look knitted, but it’s actually crocheted! Made from a rectangle, it’s a quick & easy project that works up in just a few hours.
Table of Contents
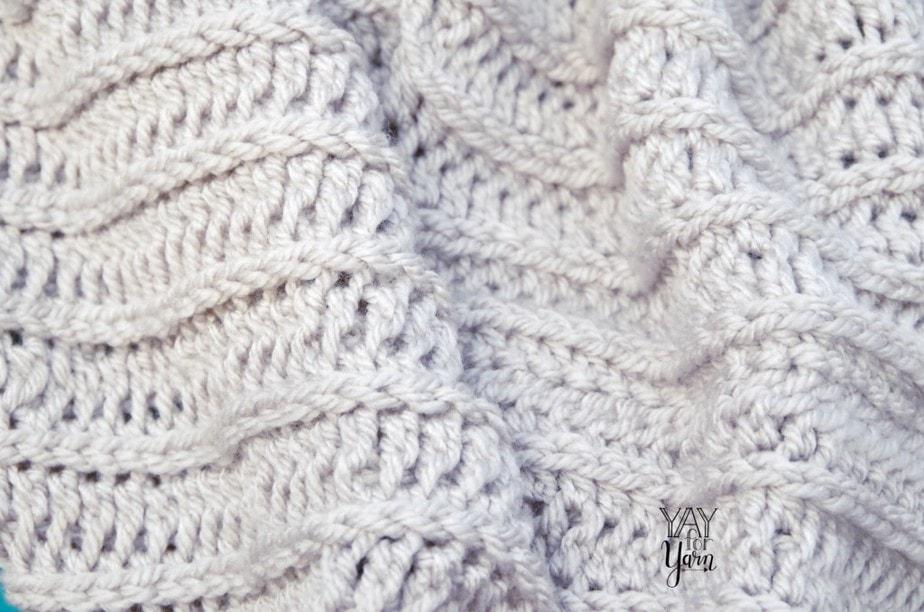
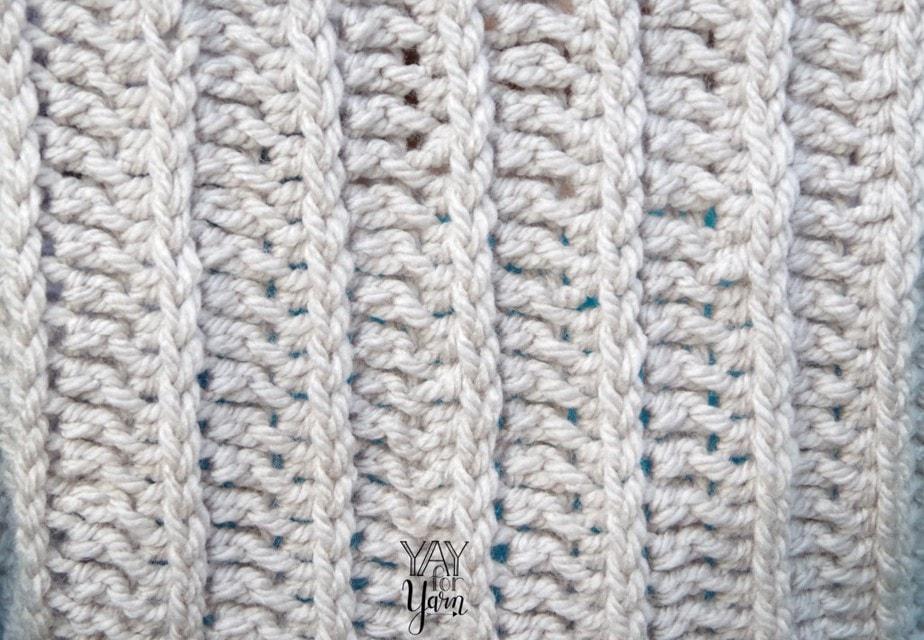
The secret to this knit-look crochet stitch is just a simple variation on the half-double crochet, but it totally changes the look of the fabric.
Want a matching hat? Get the FREE Crochet Pattern for my Knit-Look Crochet Hat here! Or, Get the FREE Crochet Pattern for my Knit-Look Crochet Scarf here.
Knit-Look Crochet Cowl Pattern
by Yay For Yarn
Skill Level: Advanced Beginner
You Will Need:
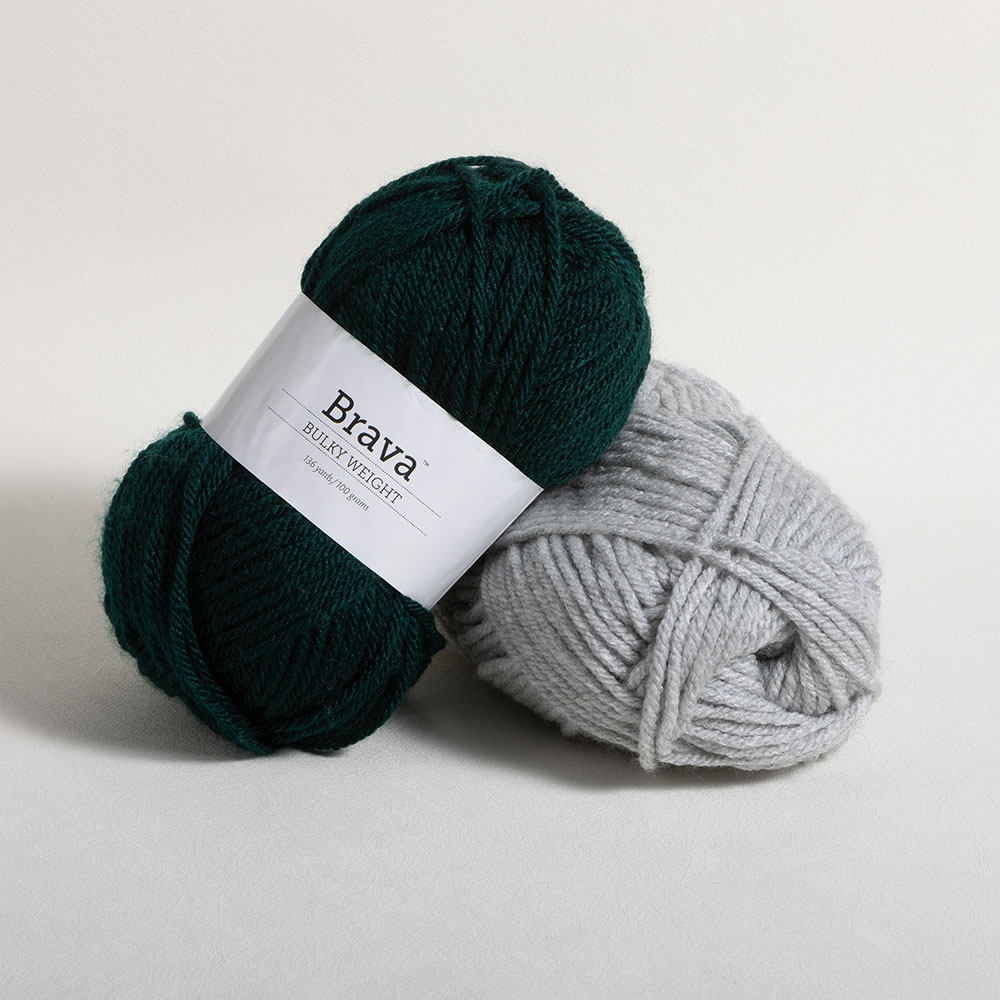
Approx. 290 yards of #5 Bulky Weight Yarn
US Size L (8.0 mm) Crochet Hook
Scissors
Yarn Needle or Blunt Tapestry Needle
Measuring Tape
Shop Supplies for this Project
 Buy Now →
 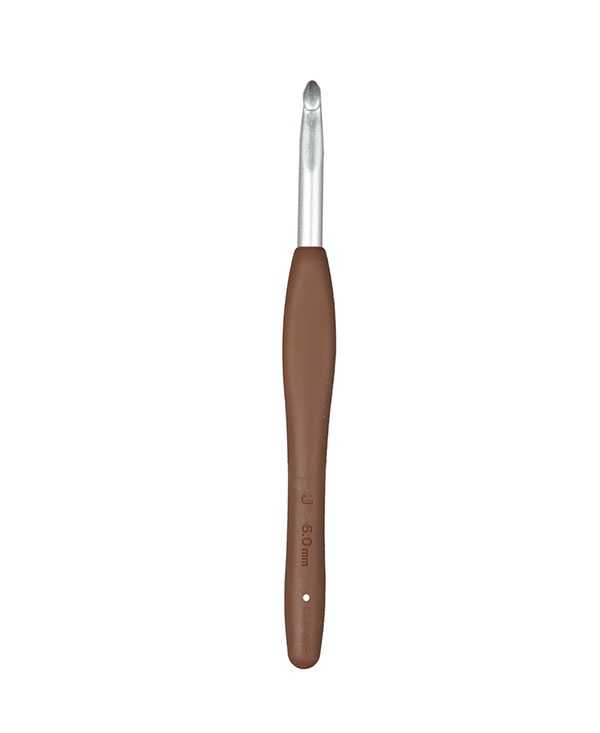 Buy Now →
Chibi Metal Yarn Needles – Amazon
Buy Now →
Knitter’s Pride Rainbow Folding Scissors
Buy Now →
Finished Size: 12” (30.5 cm) wide by 36” (91.4 cm) in circumference
Gauge: 12 Rhdc stitches = 4” (10 cm); 8 Rhdc rows = 4” (10 cm)

Abbreviations:
beg: beginning
ea: each
nxt: next
st: stitch
sts: stitches
sp: space
sk: skip
ch: chain
hdc: half-double crochet
*Fhdc: foundation half-double crochet
*Rhdc: ribbing half-double crochet
*This is a special stitch. See instructions below to learn how to work this stitch.
Fhdc: Yarn over, insert hook into base of previous st. Yarn over, pull up a loop. Yarn over, pull through 1 loop, Yarn over, pull through all 3 loops on hook.
Rhdc: Yarn over, insert hook, not into the top of the hdc below, but into the horizontal strand that runs across the front of the hdc below. Yarn over, pull up a loop. Yarn over, pull through all 3 loops on hook.
Knit-Look Crochet Cowl Instructions
To Crochet the Cowl:
Row 1: ch 2. sk 1st ch, Fhdc in 2nd ch from hook. Work 35 more Fhdc. You should have 36 sts, not including beg ch sp.
Row 2-66: ch 2, turn. Rhdc in same st and in ea st across. You should have 36 sts, not including beg ch sp.
Note: If you want the cowl to be wider or narrower, you can add or remove stitches from Row 1 (the Fhdc row). You can begin with any number of stitches you like. If you want the cowl longer or shorter, you can change the number of total rows to change the length. Just make sure the total number of rows (including row 1) is an even number.
Tie off, leaving a tail at least 1 yard long, and block your work.

To Block:
Lay piece out on a thick towel or ironing board. Hold a steaming iron 2”-3” (5 cm – 7.6 cm) above the surface of the fabric, moving it around to make sure all of the crochet fabric is steamed. Allow to cool.
OR
Lay piece out on foam blocking mats and pin to mats at finished measurements. Spray with water until all crochet fabric is damp. Allow to dry.
To Assemble Cowl:
Bring the two short edges of the rectangle together, lining up the corners of the short edges. Look closely at both short edges. One edge is the foundation half-double crochet edge, and the other is the top of the last row of stitches (where the long yarn tail is coming from). Thread the long yarn tail from the cowl through your yarn needle.
Take a stitch through the corner of the foundation edge and through the corner on the top edge.
Insert your needle through the 1st st on the foundation edge and the 1st st on the top edge, pointing away from you. Then bring the needle back towards you through the next st on the top edge, and pull it through.
*Insert your needle through the next st on the foundation edge and the SAME STITCH YOUR YARN IS COMING FROM (from the previous st) on the top edge, with the needle pointing away from you. Then bring the needle back towards you through the next st on the top edge, and pull it through.* Repeat between *and* until you have seamed the two short edges together, stopping at the other corner.
When you have finished the seam, take another small stitch through where the corners meet, wrap the yarn around the needle, and pull the needle through to make a knot. Weave in ends.
This pattern is intended for your personal use only. You may not share it, copy it, sell it, give it away, or mass-produce the finished product. However, you may sell the finished items on a small scale, as long as you convey in your item description that you used a Yay For Yarn pattern.
Yay For Yarn Copyright© 2019 – Current. All patterns and photos are owned by Yay For Yarn.
Pin the image below to save this project for later!
Be sure to tag your project photos on social media with #knitlookcrochetcowl so I can see your lovely creations!
Have you ever tried a Knit-Look Crochet stitch?
")


0 Comments