

Free Pattern! This Brioche Cowl is warm, squishy, and airy, knit in 3 colors. This tutorial will teach you to work my Shortcut Brioche stitch in the round. If you can work in the round and work “knit 1, purl 1” ribbing, you can knit this cowl!
Table of Contents
Chunky Brioche Cowl Knitting Pattern
by Yay For Yarn
Scroll to the bottom of this post to see the video tutorial.
You will need:
US size 11 (8 mm) 32” circular knitting needle
Scissors
Ruler (for measuring gauge)
Yarn Needle or Blunt Tapestry Needle
Large Stitch Marker
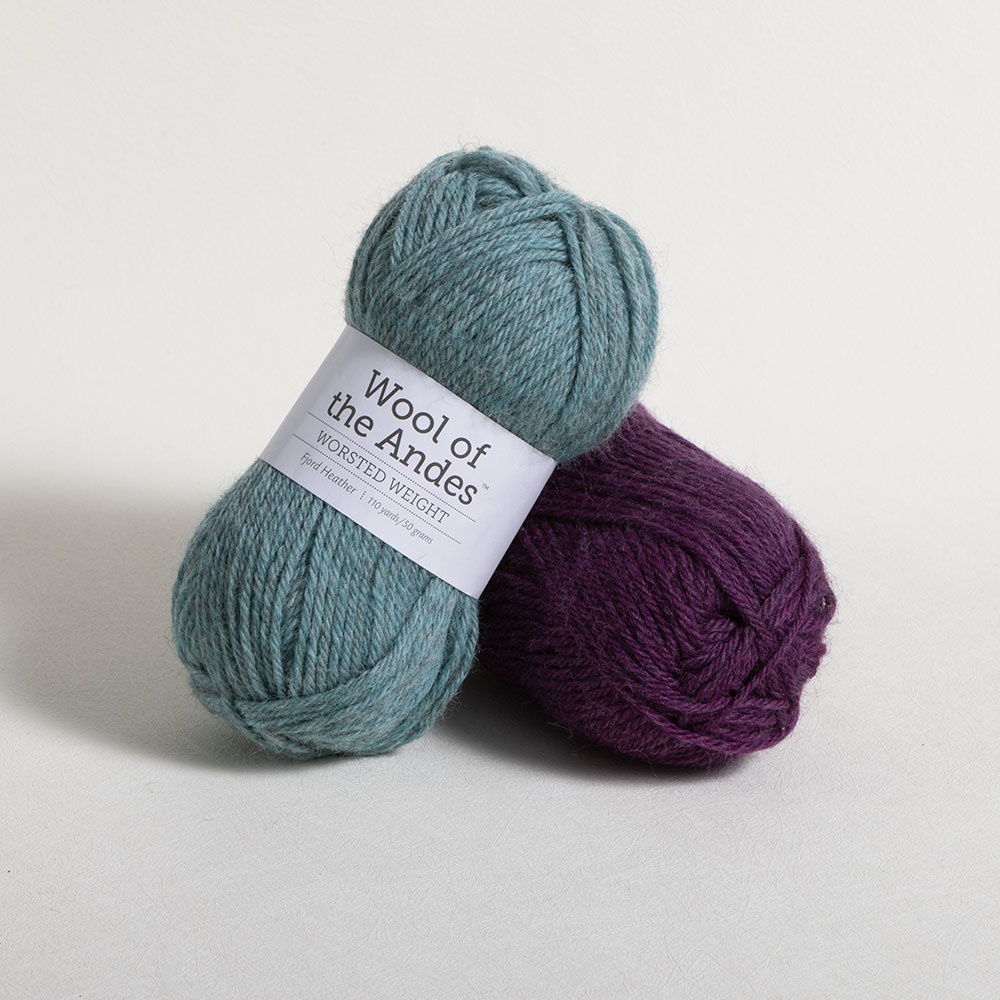
Yarn
About 120 yards of #4 Worsted Weight yarn in Color A
About 120 yards of #4 Worsted Weight yarn in Color B
About 120 yards of #4 Worsted Weight yarn in Color C
(I used Hobby Lobby “I Love This Wool” in Cocoa, Umber, and Ivory. If you can’t get the same yarn I used, I recommend KnitPicks Wool of the Andes Worsted as an excellent substitute.)
Shop Supplies for this Project
 Buy Now →
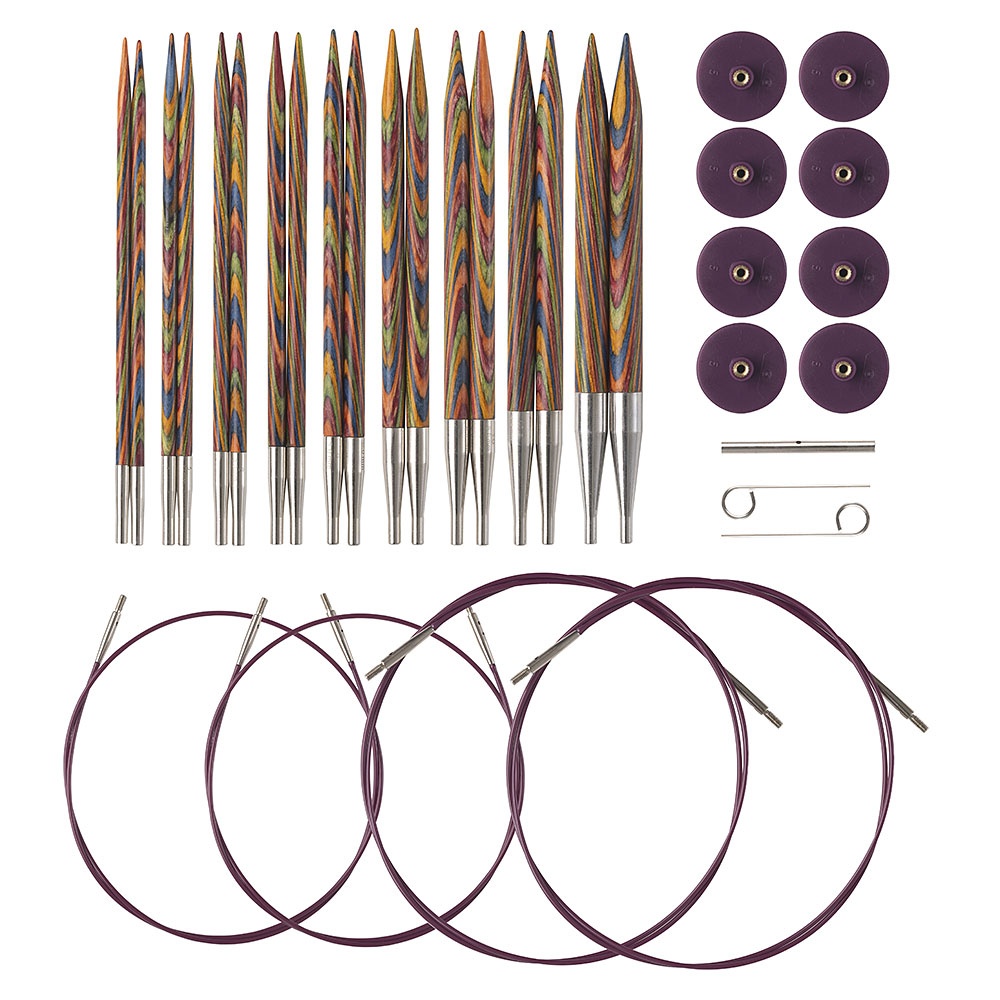
KnitPicks Options Rainbow Interchangeable Knitting Needles
Buy Now →
Chibi Metal Yarn Needles – Amazon
Buy Now →
Knitter’s Pride Rainbow Folding Scissors
Buy Now →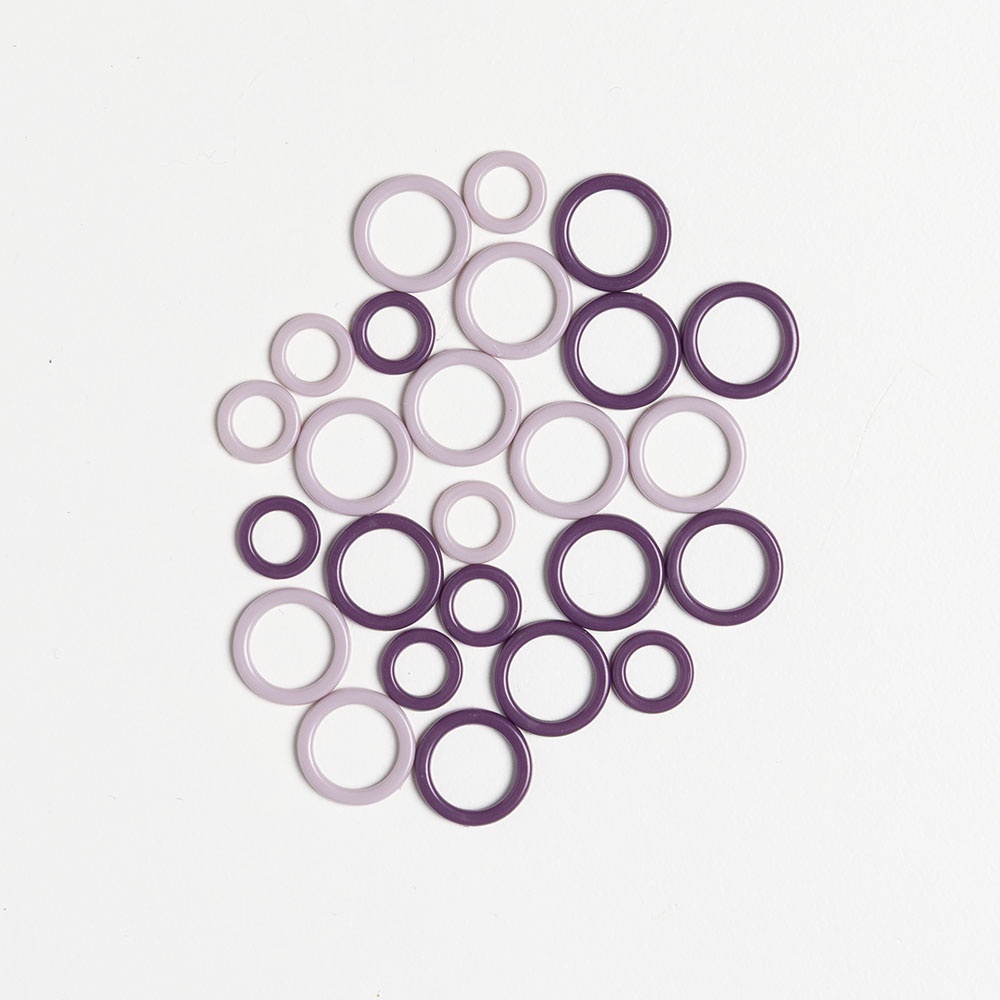
KnitPicks Knitting Stitch Markers
Buy Now →
Gauge: 10.5 stitches in Shortcut Brioche Stitch = 4” (10 cm) (Exact gauge is not critical for this project.)
Finished Size: 30” (76 cm) in circumference (un-stretched), 24” (61 cm) long
Abbreviations
K: knit
P: purl
CO: cast on
BO: bind off
sts: stitches
K1b: knit one below (This is a special stitch. See instructions below to learn how to work this stitch.)
P1b: purl one below (This is a special stitch. See instructions below to learn how to work this stitch.)
K1b (knit one below): Normally, when you work a knit stitch, you insert your right hand needle into the next stitch on the left hand needle. Instead, insert your right hand needle into the stitch below the next stitch on the left needle. Knit that stitch, slipping the stitch above off of the left needle at the same time.
P1b (purl one below): Normally, when you work a purl stitch, you insert your right hand needle purlwise into the next stitch on the left hand needle. Instead, insert your right hand needle purlwise into the stitch below the next stitch on the left needle. Purl that stitch, slipping the stitch above off of the left needle at the same time.
Note: You should always have 64 sts at the end of each round.
Chunky Brioche Cowl Instructions
With Color A, CO 64 sts loosely. Place the stitch marker on your right needle. Join to work in the round, making sure your sts are not twisted.
Round 1: *K1, P1* around to marker. Slip marker.
Round 2: *K1b, P1* around to marker. Slip marker.
Round 3: *K1, P1b* around to marker. Slip marker.
Repeat Rounds 2-3 until piece measures 8” (20.3 cm) long from cast-on edge. Change to Color B.
Repeat Rounds 2-3 until piece measures 16” (40.6 cm) long from cast-on edge. Change to Color C.
Repeat Rounds 2-3 until piece measures 24” (60.9 cm) long from cast-on edge.
BO with the stretchy bind-off shown in the video tutorial, or with a stretchy bind-off of your choice. Cut yarn and use a yarn needle to close the gap in the bind-off edge as shown in the video tutorial. Weave in ends.
This pattern is intended for your personal use only. You may not share it, copy it, sell it, give it away, or mass-produce the finished product. However, you may sell the finished items on a small scale, as long as you convey in your item description that you used a Yay For Yarn
pattern.
Yay For Yarn Copyright© 2017 – Current. All patterns and photos are owned by Yay For Yarn.
")


How do you correct mistakes in this pattern?
Hello Colleen,
It is possible to fix mistakes in this stitch, but it is very difficult to explain in writing. I will put this topic on my “to-do list” for videos I need to make, but it will be awhile before I can make a video on this. I will try my best to write this so it will make some sense.
Normally, you would fix mistakes in stockinette stitch by dropping the column of stitches that has the mistake in it and unraveling that stitch down just past the mistake. You would then use a crochet hook to pick up the loop that you have unraveled to, and work your way up the column of unraveled stitches as though you were fixing a dropped stitch. The method for fixing mistakes in brioche stitch is somewhat similar.
Think of the brioche fabric as a k1, p1, rib for a moment. The “knit” columns on the right side are “purl” columns when viewed from the wrong side, and vise versa. To fix a mistake, the work must be turned so that the column the mistake is in is facing you as a “knit” column. Knit across the row in brioche stitch until you reach the column of stitches with the mistake in it.
If you look closely at the brioche fabric, you will see that each “knit stitch” in any column has a strand of yarn running over the top of the loop that is that stitch. The loop above it has been pulled through both the loop and that strand of yarn. So, you unravel the column of stitches down slightly past the mistake. With the crochet hook, pick up the loop that you have unraveled to. Normally when you fix a dropped stitch in stockinette, you would “grab” the horizontal strand of yarn above the current loop on the hook. Then you would pull that strand through the loop to create a new loop, and continue that process until you use up all the horizontal strands. Then you’d put the loop back on the needle.
For Shortcut Brioche stitch:
1. Insert the tip of your crochet hook under the first horizontal strand, but don’t “grab” it with the hook. It should just sit on the hook right above the loop.
2. Grab the second horizontal strand with the hook and pull it under the previous strand and through the loop on the hook.
Repeat these steps until you have one horizontal strand left. Don’t do anything with that strand yet. Place the loop that is on your crochet hook back on the LEFT knitting needle. Then, pick up that last strand and place it on your left needle with the loop. This will count as a “yarn over”. Normally, in the shortcut brioche stitch you would “K1below” into the next column of knit stitches. Instead, knit the loop (that was just placed on the needle) together with the “yarn over”. Now you can finish the row of shortcut brioche stitch as normal.
I hope this helps! If this is not clear, please let me know and I will try to explain it better.
Thanks!
Yay For Yarn