

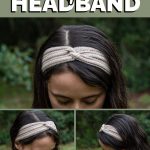
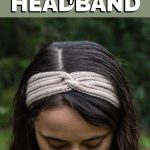
This simple twisted headband is cute and comfy for the summer! Make one today from leftover fingering / sock weight yarn with this FREE Knitting Pattern.
Table of Contents

Can you knit a rectangle? A rectangle in a simple stitch pattern is all you’ll need to make the Eyelet Headband. Featuring an eyelet column stitch pattern and a faux twist at the front, this knitted headband is a quick and easy summer accessory. If you’ve got some leftover fingering weight yarn laying around, here’s a great project for using it up! This headband is designed to be lightweight enough to wear all year round, so it won’t be too hot for spring and summer. It’s a simple, feminine accessory that will look great with many hairstyles, from ponytails to messy buns. The pattern includes toddler, child, and adult sizes, and a full video tutorial for visual learners.
Headband Knitting FAQs
How do you knit a headband for beginners?
To knit a headband, you’ll just need to knit a long rectangle that is just long enough to wrap around the wearer’s head. You can use basic knit and purl stitches, cables, ribbing, lace, or any stitch pattern you like that will lay flat without curling up too much. Then, you join the ends together and weave in the yarn tails to finish the headband.
How many stitches should I cast on for a headband?
The number of stitches to cast on for a headband will depend on how wide you want the headband to be. The width of a knitted headband will be determined by the width of the cast on row. The Eyelet Headband is 2.6” (6.5 cm) wide, which is a medium width for a headband.
How do you size a knitted headband?
Since knitting is stretchy, it’s best to make your finished knitted rectangle slightly shorter than the wearer’s head circumference. (This is called negative ease.) When the rectangle used to make the headband is just a little shorter than the wearer’s head circumference, the headband will comfortably stretch to fit without being too tight or slipping off too easily.
I recommend making your headband rectangle about 2″ to 3″ shorter than the wearer’s head circumference for a comfortable fit.
What size yarn should you use for a knitted headband?
You can use whatever size yarn you like to make a headband, depending on what type of headband you’d like to make. The Eyelet Headband is knit from #1 Superfine / Fingering / Sock Yarn to make it lightweight and summer-friendly. Knitting a headband from bulky weight yarn or worsted weight yarn will produce a thicker, bulkier headband, more suitable for wearing in the winter as an ear warmer.
Can you knit a headband with straight needles?
Yes! You can knit a headband with any knitting needles you like. The needle size should be appropriate for the thickness of the yarn you are using, but any type of knitting needle will work. A headband is made by just knitting a long, narrow rectangle, which can be done on any knitting needles you may have.
How do you knit a twisted headband?
Once you’ve knit a long rectangle using the basic knit stitches, you’ll need to join the two short ends of the rectangle together with a seam. There are two basic ways to make a twisted headband.
One way is to lay the headband rectangle flat, and twist it before sewing the ends together. For this method, a reversible stitch pattern must be used, as both the wrong side and the right side of the knitting will show.
Another way to twist a headband is to fold the ends together in a way that makes the headband look twisted without actually twisting it. This method does not require the knitted fabric to be reversible.
In this headband knitting pattern, the ends are folded together to create a twisted look, but the seam is still straight and pretty easy to sew.
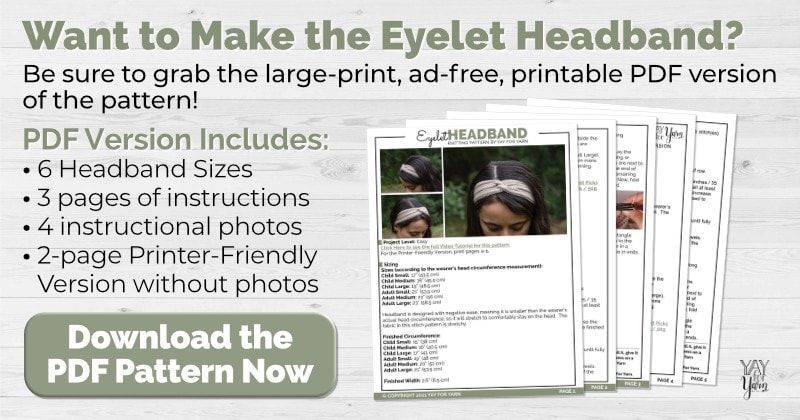
The Eyelet Headband pattern includes all of the information and instructions needed to knit a headband for beginners, so you don’t have to guess or figure out how many stitches to cast on, how long to make the headband, or how much yarn you’ll need.
The pattern also includes a full video tutorial to walk you through each step of the project. Ready to get started? Scroll down to view the FREE Eyelet Headband Knitting Pattern.
Pin the image below to save this project for later!

Eyelet Headband Knitting Pattern
by Yay For Yarn
Project Level: Easy
Sizing
Sizes (according to the wearer’s head circumference measurement):
Child Small: 17” (43.5 cm)
Child Medium: 18” (45.5 cm)
Child Large: 19” (48.5 cm)
Adult Small: 21” (53.5 cm)
Adult Medium: 22” (56 cm)
Adult Large: 23” (58.5 cm)
Headband is designed with negative ease, meaning it is smaller than the wearer’s actual head circumference, so it will stretch to comfortably stay on the head. The fabric in this stitch pattern is stretchy.
Finished Circumference:
Child Small: 15” (38 cm)
Child Medium: 16” (40.5 cm)
Child Large: 17” (43 cm)
Adult Small: 19” (48 cm)
Adult Medium: 20” (51 cm)
Adult Large: 21” (53.5 cm)
Finished Width: 2.6” (6.5 cm)
– Instructions and Yarn Requirements for size Child Small are given outside the parentheses, and instructions and yarn requirements for all larger sizes are inside the parentheses like this:
Child Small (Child Medium, Child Large, Adult Small, Adult Medium, Adult Large).
– When only one number is given, it applies to all sizes. To follow pattern more easily, circle or highlight all numbers that apply to your size before beginning.
You Will Need:
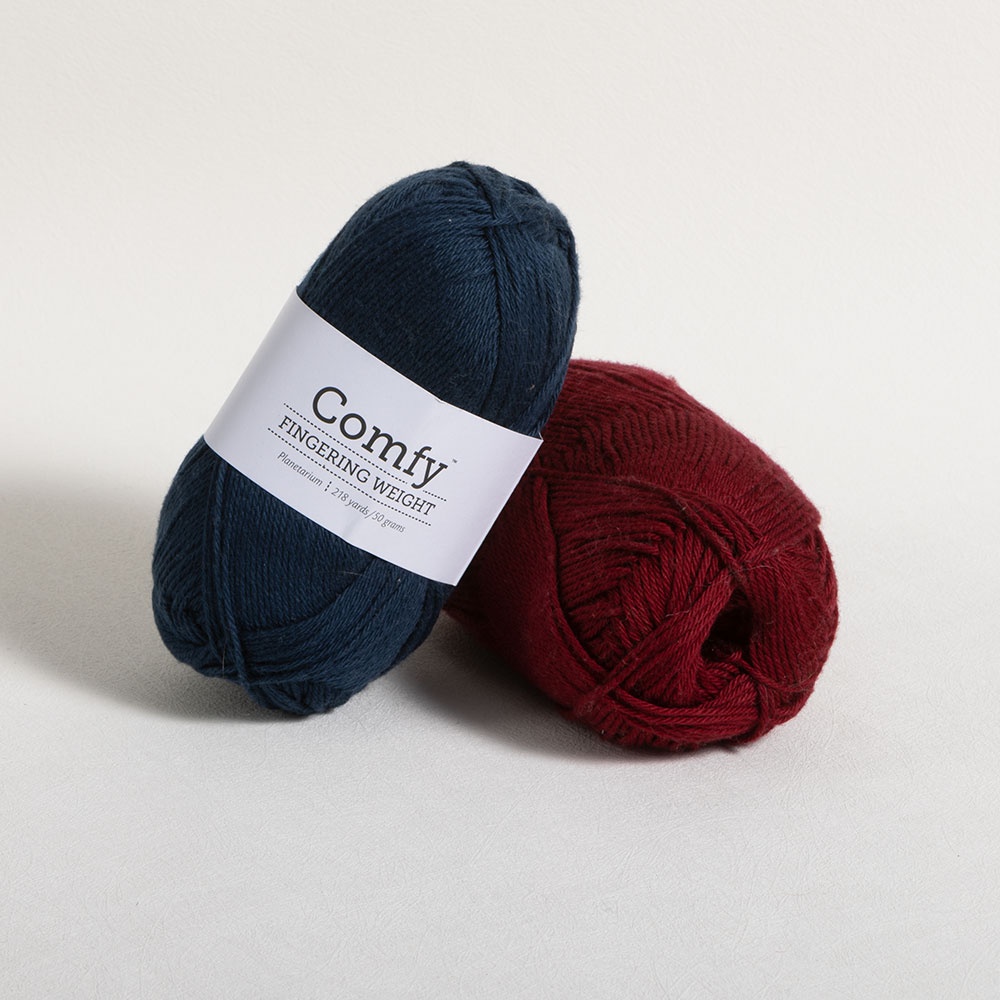
59 (62, 66, 74, 77, 82) Yards of #1 Superfine (Sock Weight) Yarn (I used Knit Picks Comfy Fingering in Parchment, 75% Pima Cotton / 25% Acrylic, 218 yds / 50g per skein, 1 skein)
US Size 1 / 2.25mm Knitting Needles
Measuring Tape
Scissors
Yarn Needle or Blunt Tapestry Needle
Shop Supplies for this Project
 Buy Now →
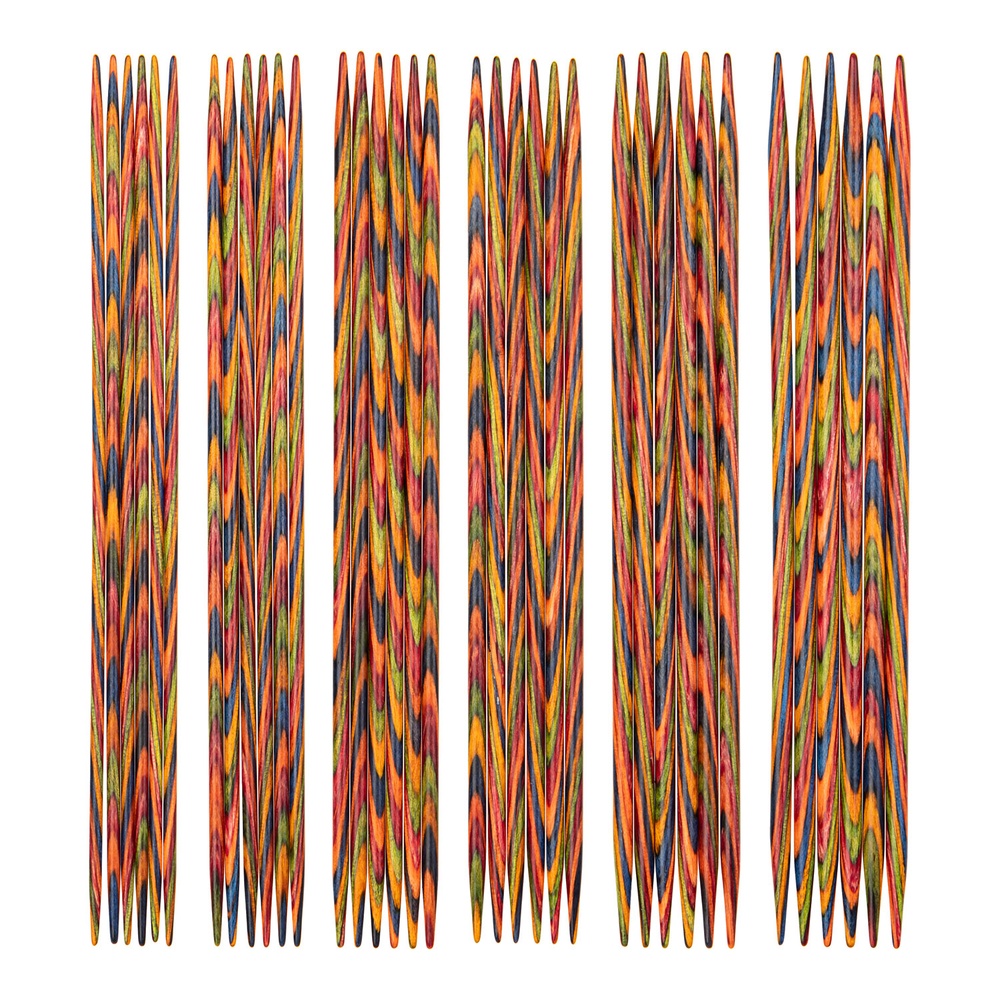
KnitPicks Rainbow Double-Pointed Needle Sets
Buy Now →
Knitter’s Pride Rainbow Folding Scissors
Buy Now →
Chibi Metal Yarn Needles – Amazon
Buy Now →
Gauge: 8 sts and 11 rows = 1” (2.5cm) in stitch pattern after blocking
Abbreviations:
K: knit
P: purl
SL: slip
YO: yarn over
K2tog: knit 2 stitches together (decrease)
SSK: slip, slip, knit (decrease)
st(s): stitch(es)
Eyelet Headband Instructions
Cast on 23 sts.
Row 1: K across.
Row 2: SL1, K1. *YO, K2tog, K1, SSK, YO, K2*, repeat from *to* to end of row.
Row 3: SL1, P across.
Repeat Rows 2-3 until piece measures 13.8 (14.7, 15.6, 17.5, 18.4, 19.3) inches / 35 (37.5, 39.5, 44.5, 46.5, 49) cm long from cast on edge, bind off. Leave a tail at least 8” / 20 cm long for seaming. (Please note that the length of the piece will increase a bit after blocking, so the length of the rectangle before blocking is supposed to be shorter than the finished circumference of the headband.)
To Block: (video tutorial here)
For natural fibers, lay project out on foam blocking mats. Spray with water until fully saturated, allow to dry.
OR
For acrylic fibers, lay project out on an ironing board or several layers of towels. Hold a steaming iron 2”-3” over the surface of the fabric, making sure all of the fabric is penetrated by the steam. Allow to cool / dry.
Block to Approximate Finished Measurements:
2.6” / 6.5 cm wide, 15 (16, 17, 19, 20, 21)” / 38 (40.5, 43, 48, 51, 53.5) cm long
Assembly:
Thread the yarn tail from the bind off edge through your yarn needle. Lay the rectangle out in front of you, with the right side facing up. Without folding or twisting the piece, bring the ends of the rectangle together so the ends are next to each other. Lay one end on top of the other so that half the width of one end of the rectangle overlaps half the width of the other rectangle. Fold the remaining half of the edge of the piece underneath over the overlapping section. Now, fold the remaining half of the other edge over the top of the edge just folded.
With your yarn needle and the yarn tail, whip stitch all 4 layers of the rectangle ends together, starting at one side of the “sandwich” and working across to the other side. When you reach the other side, tie the seaming yarn together in a double knot with the yarn tail from the other end of the rectangle. Weave in ends.
Enjoy your finished Eyelet Headband!
This pattern is intended for your personal use only. You may not share it, copy it, sell it, give it away, or mass-produce the finished product. However, you may sell the finished items on a small scale, as long as you convey in your item description that you used a Yay For Yarn pattern.
Yay For Yarn Copyright© 2021 – Current. All patterns and photos are owned by Yay For Yarn.
Pin the image below to save this project for later!

")


I love how your knit headband turned out, so simple and stylish! I wanted to drop a quick message to let you know that I’ve featured your pattern on Crafts on Display, hope you enjoy it! https://craftsondisplay.com/knitting/how-to-knit-a-twisted-headband-for-beginners-93143/
I’m with Diana, would much prefer a crochet version as I have arthritis in my hands and working with a size one needle is no longer possible; my hands lock up using such a small needle size. My college student granddaughter would love this!
Thanks for your input, Gale! I hope to do a crochet version at some point. 🙂
Love watching your videos. I’m a beginner and love challenge my self.
Is there a pattern for crocheting this instead of knitting?
Hi Diana! I don’t have a pattern for a crochet version of this yet, but if I make one, I’ll be sure to let you know. 😉