
Free Pattern! We all like to choose soft and cuddly items for babies. This easy baby blanket is knit in Brioche stitch, so named because it resembles the soft, squishy texture of Brioche bread. This pattern will teach you my shortcut to working the Brioche stitch. If you can knit garter stitch and “knit 1, purl 1” ribbing, you can knit this blanket!
Table of Contents
Easy Brioche Baby Blanket Knitting Pattern
by Yay for Yarn
Scroll to the bottom of this post to see the video tutorial.
Supplies
- Approx. 1220 yds of #4 Worsted Weight Baby Yarn (I used Lion Brand Pound of Love) OR 610 yds of #5 Bulky Weight Yarn
- US Size 10 Circular Knitting Needle, at least 32“ long
- Yarn Needle or Blunt Tapestry Needle
- Scissors
- Ruler or Measuring Tape
Shop Supplies for this Project
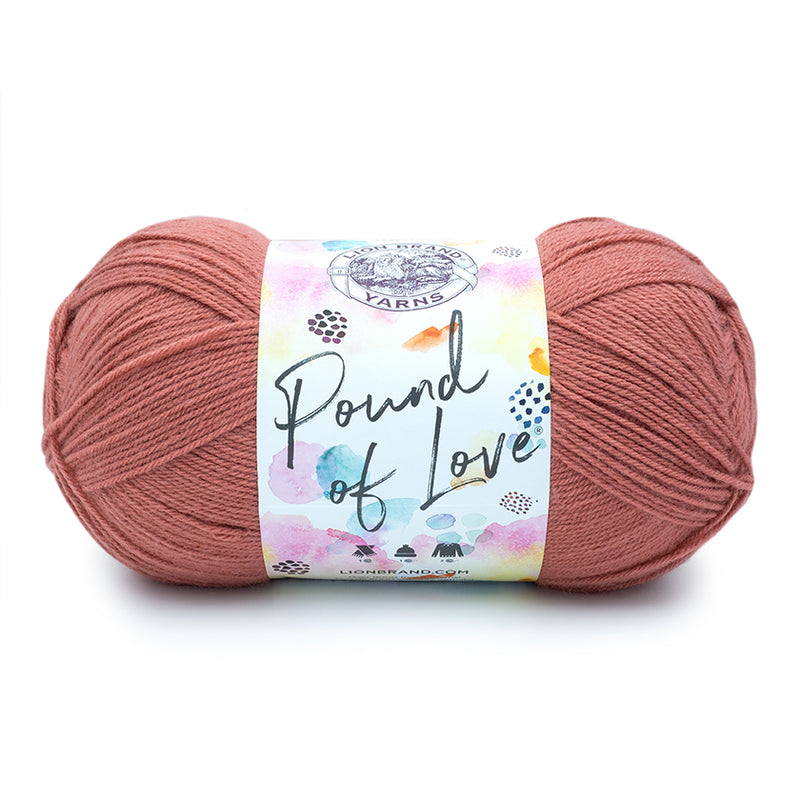
Lion Brand Pound of Love – LionBrand.com
Buy Now →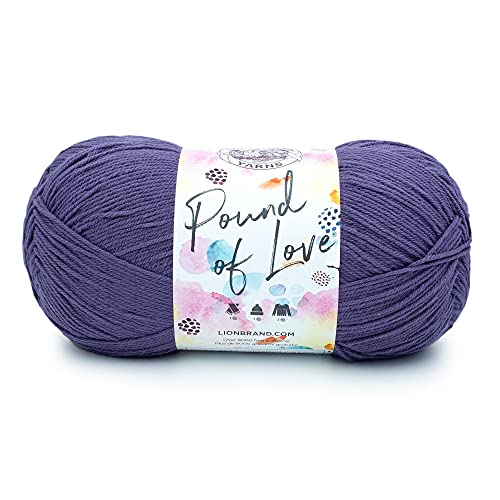
Lion Brand Pound of Love – Amazon
Buy Now →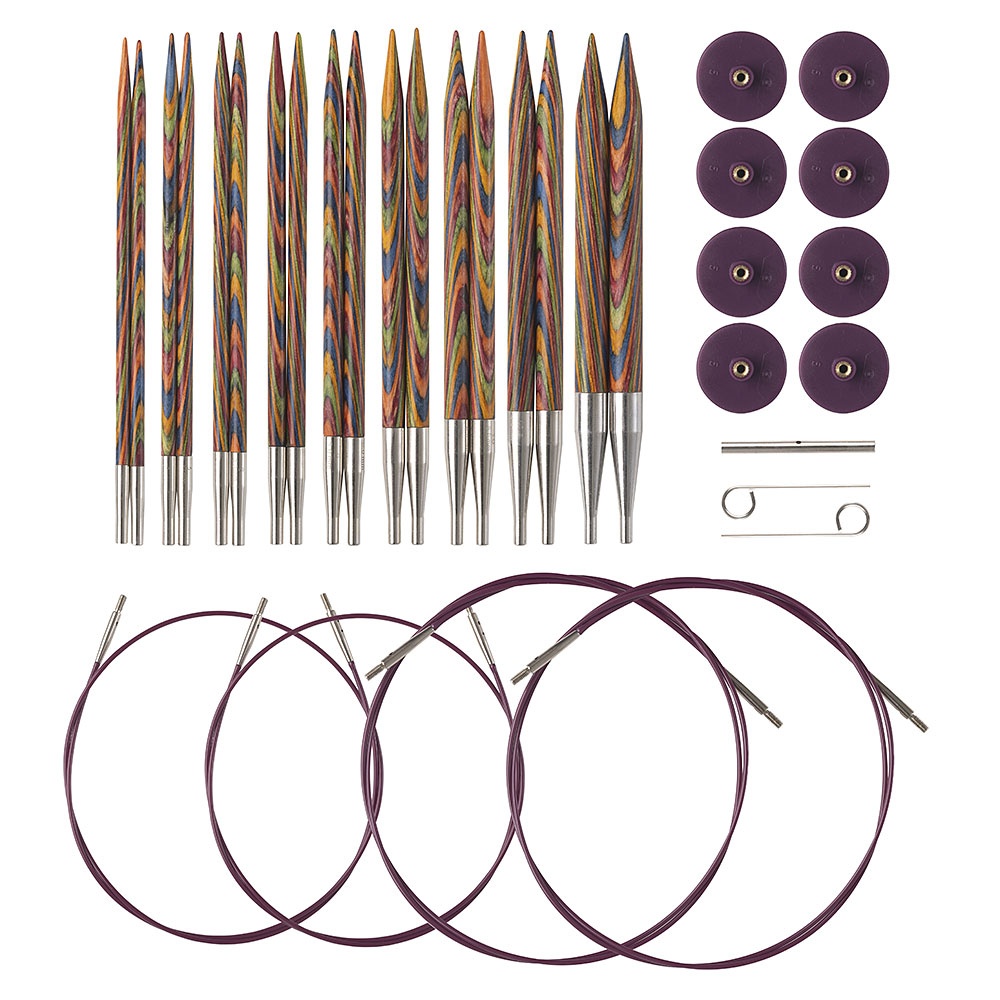
KnitPicks Options Rainbow Interchangeable Knitting Needles
Buy Now →
Chibi Metal Yarn Needles – Amazon
Buy Now →
Knitter’s Pride Rainbow Folding Scissors
Buy Now →
Gauge:
6 Brioche sts = 2”
7 Brioche rows = 2”
Finished Size: 27” x 27”
Abbreviations:
K: knit
P: purl
CO: cast on
BO: bind off
sts: stitches
K1b: knit one below (This is a special stitch. See instructions below to learn how to work this stitch.)
K1b (knit one below): Normally, when you work a knit stitch, you insert your right hand needle into the next stitch on the left hand needle. Instead, insert your right hand needle into the stitch below the next stitch on the left needle. Knit that stitch, slipping the stitch above off of the left needle at the same time.
Note: If using #4 Worsted Weight Yarn, you need to double the yarn (hold two strands together and use them as one strand). If using #5 Bulky Weight Yarn, only use one strand as normal.
Easy Brioche Baby Blanket Instructions
CO 91 sts.
Rows 1 – 4: K across. (total of 2 garter ridges.)
Row 5: K 3. *K1b, P1* across to last 4 sts. K1b, K 3.
Row 6: K 3. *P1, K1b* across to last 4 sts. P1, K 3.
Repeat Rows 5 – 6 until piece measures 26 ¾” from cast-on edge.
Repeat Rows 1 – 4 for upper border. BO loosely OR use the Suspended Bind Off as described in the video tutorial below. Weave in ends.
Block to finished measurements for best results.
This pattern is intended for your personal use only. You may not share it, copy it, sell it, give it away, or mass-produce the finished product. However, you may sell the finished items on a small scale, as long as you convey in your item description that you used a Yay For Yarn
pattern.
Yay For Yarn Copyright© 2015 – Current. All patterns and photos are owned by Yay For Yarn.
Pin the image below to save this project for later!
")


When you cast on , do you have to use the long tail cast on or is it possible to use a method you are comfortable with? Do yo still have to work the ends in the way you showed? I hate knitting the first row because I can never keep it from having that long section of yarn in the middle (I hope you understand what I’m trying to describe). How do you keep from having that happen as you are knitting the first row? Sorry for so many questions all at once.
Hi Christina! You are welcome to use any suitable cast on that you like. The knitted-on cast on or the cable cast on would work well. The long strands of yarn between the needles as you work into the cast on only happen with a long tail or similarly structured cast on. That is the slack in the cast on yarn accumulating in one place. This can be lessened by keeping the needle tips close together as you work the first row. If you are pulling them farther apart as you knit, that can add to the slack in the long tail cast on. (And no, if you make the cast on tighter, that will not fix the problem. It will just make the edge tight and inhibit the stretch.) As for weaving in the ends, you can weave them in differently than I did as long as they are secure. Hope this helps!
Wow guess I should’ve watched your bindoff video lol it’s so much nicer. My 1st blanket is kinda wonky probably need to block I used a finer yarn. But it’s still beautiful but my next one I will know how to bind it off properly lol.thanks for the videos and pattern. I’ve made my blankets with LB Mandala yarn and same needle size. They are beautiful.
Thanks for sharing, Mary! I’m so glad to hear that you are enjoying the pattern!
If you are knitting blanket with a lighter weight yarn, this requires more stiches.
The pattern stated bind off when 5stitches are left. How many stitches in
the amore. Stitches blanket, did you start the binding off? Do I still work the blanket down to give stitches and start the bind off. I hope this makes sense.
Trying to do this stitch but keep getting large horizontal yarns laying there from the dropped stitches. What am I doing wrong? Where do you insert the needle to do the one stitch below?
Hi Kim. When you work the Knit 1 Below, you should be inserting your needle into the stitch directly below the next stitch on your needle. When you knit through it and drop the stitch above, the stitch above is supposed to unravel. (It may not unravel completely when you drop it, but giving the fabric a good stretch in several directions should unravel it the rest of the way. I like to stretch my fabric after every few inches of knitting to make sure all of them are unraveled.) When that stitch unravels, it should look like a strand of yarn laying across the back of the stitch below (the one you knit into). This is what creates the structure of the Brioche fabric. It may look a little messy if all of those stitches aren’t totally unraveled, but when the fabric is stretched well, all those strands of yarn work their way into the correct position. Hope this helps! If you have any more questions or would like more information, please let me know! Thanks!
The pattern requires 1220, but there is 1020 in a Pound of Love. Will I run out of yarn with one skein? Do I need to buy another skein for only 200 yards of yarn? How can I do it with one skein.
Thanks
Hi Mona. Yes, you will run out of yarn if you only use one skein of Pound of Love. If you only want to use one skein, you could make the blanket smaller. Or you could use another brand of yarn that comes in smaller skeins so as not to have so much yarn left over. Hope this helps!
How can I fix a mistake without taking out two rows?
Hello,
It is possible to fix mistakes in this stitch, but it is very difficult to explain in writing. I will put this topic on my “to-do list” for videos I need to make, but it will be awhile before I can make a video on this. I will try my best to write this so it will make some sense.
Normally, you would fix mistakes in stockinette stitch by dropping the column of stitches that has the mistake in it and unraveling that stitch down just past the mistake. You would then use a crochet hook to pick up the loop that you have unraveled to, and work your way up the column of unraveled stitches as though you were fixing a dropped stitch. The method for fixing mistakes in brioche stitch is somewhat similar.
Think of the brioche fabric as a k1, p1, rib for a moment. The “knit” columns on the right side are “purl” columns when viewed from the wrong side, and vise versa. To fix a mistake, the work must be turned so that the column the mistake is in is facing you as a “knit” column. Knit across the row in brioche stitch until you reach the column of stitches with the mistake in it.
If you look closely at the brioche fabric, you will see that each “knit stitch” in any column has a strand of yarn running over the top of the loop that is that stitch. The loop above it has been pulled through both the loop and that strand of yarn. So, you unravel the column of stitches down slightly past the mistake. With the crochet hook, pick up the loop that you have unraveled to. Normally when you fix a dropped stitch in stockinette, you would “grab” the horizontal strand of yarn above the current loop on the hook. Then you would pull that strand through the loop to create a new loop, and continue that process until you use up all the horizontal strands. Then you’d put the loop back on the needle.
For Brioche stitch:
1. Insert the tip of your crochet hook under the first horizontal strand, but don’t “grab” it with the hook. It should just sit on the hook right above the loop.
2. Grab the second horizontal strand with the hook and pull it under the previous strand and through the loop on the hook.
Repeat these steps until you have one horizontal strand left. Don’t do anything with that strand yet. Place the loop that is on your crochet hook back on the LEFT knitting needle. Then, pick up that last strand and place it on your left needle with the loop. This will count as a “yarn over”. Normally, in the shortcut brioche stitch you would “K1below” into the next column of knit stitches. Instead, knit the loop (that was just placed on the needle) together with the “yarn over”. Now you can finish the row of shortcut brioche stitch as normal.
I hope this helps! If this is not clear, please let me know and I will try to explain it better.
Thanks!
Yay For Yarn
Hi:
I would like to make a larger blanket.
Can I add more stitches to make an adult size blanket by making sure I have an odd number of stitches when I cast on?
Thanks,
Anna
Hi Anna,
Yes, you can make this blanket any size you wish. As long as you cast on an odd number of stitches, the knitting instructions will be the same. The Brioche stitch requires about twice as much yarn as the same size piece would require in stockinette stitch. You can also work this pattern at a different gauge if you like.
I hope your blanket turns out great!
Thanks!
Yay For Yarn