

Free Pattern! Who doesn’t love a warm, squishy scarf in the winter? This pattern will teach you my shortcut to working the Brioche stitch in 2 colors. If you can work “knit 1, purl 1” ribbing, you can knit this project!
Easy 2 Color Brioche Scarf
by Yay For Yarn
Scroll to the bottom of this page to see the video tutorial for this project.
Click Here to add this pattern to your Ravelry queue, favorites, and library.
Supplies:
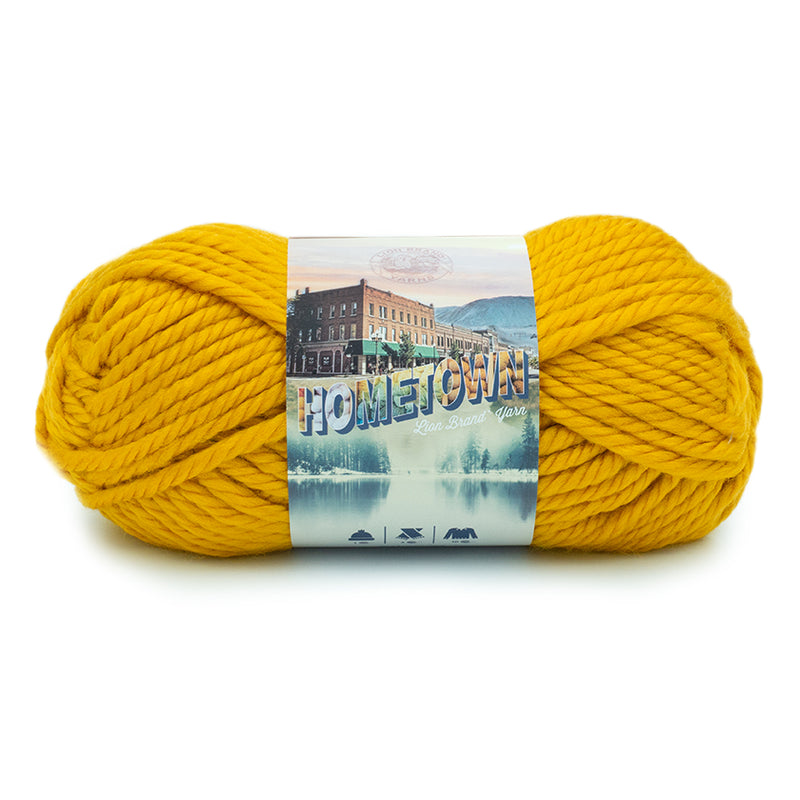
Approx. 81 yds of #6 Super Bulky weight yarn in Color A
Approx. 81 yds of #6 Super Bulky weight yarn in Color B
(I used Lion Brand Hometown USA yarn in Fort Lauderdale Coral and Miami Seafoam.)
1 Circular Knitting Needle, size 11 (8mm)
Scissors
Large-eyed Yarn Needle or Blunt Tapestry Needle
Shop Supplies for this Project
 Buy Now →
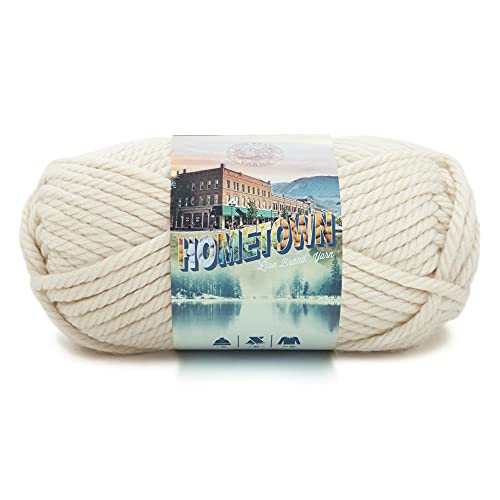
Lion Brand Hometown Yarn – Amazon
Buy Now →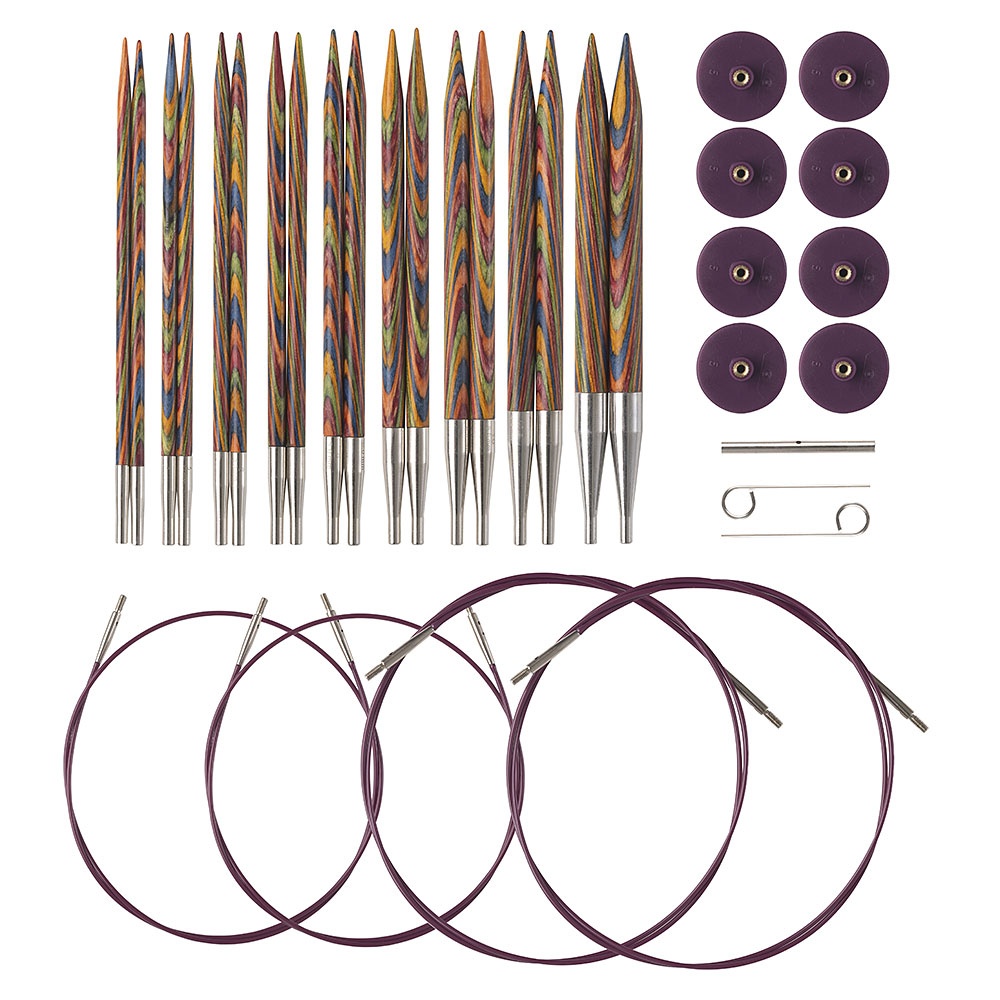
KnitPicks Options Rainbow Interchangeable Knitting Needles
Buy Now →
Knitter’s Pride Rainbow Folding Scissors
Buy Now →
Chibi Metal Yarn Needles – Amazon
Buy Now →
Gauge: 5 Brioche sts = 3”
7 Brioche rows = 3”
Finished Size: 6 1/2″ x 64″. Feel free to adjust size as much as you like, making sure that you purchase enough yarn to accommodate the larger / smaller size.
Abbreviations:
K: knit
P: purl
SL: slip
CO: cast on
BO: bind off
CA: Color A
CB: Color B
sts: stitches
K1b: knit one below (This is a special stitch. See instructions below to learn how to work this stitch.)
P1b: purl one below (This is a special stitch. See instructions below to learn how to work this stitch.)
K1b (knit one below): Normally, when you work a knit stitch, you insert your right hand needle into the next stitch on the left hand needle. Instead, insert your right hand needle into the stitch below the next stitch on the left needle. Knit that stitch, slipping the stitch above off of the left needle at the same time.
P1b (purl one below): Normally, when you work a purl stitch, you insert your right hand needle into the next stitch on the left hand needle. Instead, insert your right hand needle into the stitch below the next stitch on the left needle. Purl that stitch, slipping the stitch above off of the left needle at the same time.
With CA, CO 13 sts (or any odd number of sts).
Row 1: SL1. (P1, K1) across.
Row 2: Slide work to other end of needle. With CB, SL1. (P1b, K1) across to last 2 sts, P1b, SL1.
Row 3: Turn. With CA, SL1. (K1, P1b) across to last 2 sts, K2.
Row 4: Slide work to other end of needle. With CB, SL1. (K1b, P1) across to last 2 sts, K1b, SL1.
Row 5: Turn. With CA, SL1, (P1, K1b) across to last 2 sts, P1, K1.
Row 6: Repeat Row 2.
Repeat Rows 3-6 until piece measures about 63 inches, or until desired length is achieved.
To BO:
If binding off after a CA row, BO loosely as normal. If binding off after a CB row, slide slipped edge st off needle, bring yarn to back, place slipped edge st back on the needle, then BO loosely as normal.
Weave in ends.
Block to finished measurements for best results.
This pattern is intended for your personal use only. You may not share it, copy it, sell it, give it away, or mass-produce the finished product. However, you may sell the finished items on a small scale, as long as you convey in your item description that you used a Yay For Yarn pattern.
Yay For Yarn Copyright© 2016 – Current. All patterns and photos are owned by Yay For Yarn.
")


Hi! Do you think I could use this tecnique for a vest or a slipover? A dear friend gave me the yarn that her late mother was going to use to make her a vest and I’d love to do it as a gift for her. Problem is, the yarn is really bulky and I already know there’s not enough finish. Someone suggested I try 2-color brioche stitch, if I can find a similar yarn in another color. Do you think it would work? Thank You!
Hi Cristina. You could try it! Brioche stitch does use more yarn than stockinette stitch, so I am not sure how much using two color brioche would stretch your yarn. It may depend on the gauge you knit at, and how close to ‘enough’ the amount of yarn you have already is. I would suggest knitting a swatch in brioche, weighing it, and then seeing how much of each yarn the swatch used up. If it seems like it would use up too much yarn, another option might be to try a different type of two color ribbing stitch. I hope this helps!
Thank you! If I can find the same yarn I’ll go with plain stockinette, otherwise I’ll have to get creative! Still, this is a good excuse to learn brioche stitch anyway!!
Wow. You actually read and respond to your comments! Thanks for this freebie as I just bought some souvenir yarn and need a quick and easy knit for the trip home. For anyone interested in full garments there’s a whole book called Knit One Below.
I keep trying this and when I get to row 3, row 1 falls apart. I’m thinking the problem is knitting into the stitch below on row 2 because that’s the cast on row. Since I’ve tried it three times, I have no idea what else to do. What am I doing wrong? Am I supposed to knit a set up row before row one?
Hi Karyn. Is it the cast-on edge that is falling apart, or the knitted fabric?
If it is falling apart on the cast-on edge: Once you’ve cast on, Row 1 is the setup row. I used a long-tail cast on, but no matter what kind of cast-on you use, the cast-on edge should not fall apart unless you are knitting into the stitch below on the first row.
If it is falling apart above the cast-on: When you work into the stitch below, you should be inserting your needle into the stitch directly below the next stitch on your needle. When you knit through it and drop the stitch above, the stitch above is supposed to unravel. (It may not unravel completely when you drop it, but giving the fabric a good stretch in several directions should unravel it the rest of the way. I like to stretch my fabric after every few inches of knitting to make sure all of them are unraveled.) When that stitch unravels, it should look like a strand of yarn laying across the back of the stitch below (the one you knit into). This is what creates the structure of the Shortcut Brioche fabric. It may look a little messy if all of those stitches aren’t totally unraveled, but when the fabric is stretched well, all those strands of yarn work their way into the correct position.
If you could send me a photo of your work, I would be better able to see what the problem might be. If you would like to send a photo, you can email it to blogger@yayforyarn.com. I am happy to help!
I keep trying this stitch but when dropping those stitches above the stitch one below I’m finding that it leaves long horizontal areas of stitching…please help! What am I doing wrong?
Hi Kim. When you work the Knit 1 Below, you should be inserting your needle into the stitch directly below the next stitch on your needle. When you knit through it and drop the stitch above, the stitch above is supposed to unravel. (It may not unravel completely when you drop it, but giving the fabric a good stretch in several directions should unravel it the rest of the way. I like to stretch my fabric after every few inches of knitting to make sure all of them are unraveled.) When that stitch unravels, it should look like a strand of yarn laying across the back of the stitch below (the one you knit into). This is what creates the structure of the Brioche fabric. It may look a little messy if all of those stitches aren’t totally unraveled, but when the fabric is stretched well, all those strands of yarn work their way into the correct position. Hope this helps! If you have any more questions or would like more information, please let me know! Thanks!
Super cool..going to try this!
HELLO THANKS FOR SUCH A GOOD VIDEO.
WOULD TEACH HOW TO MAKE AN INFINITY SCARF USING THAT STICH ? I KNOW THERE IS A WAY TO DO IT INVINCIBLE. THANKS SO MUCH?
Hello! Thank you for your comment. This stitch would make a lovely infinity scarf. Usually, for infinity scarves that are knit end-to-end, the ends are grafted together using Kitchener stitch, so the final seam is invisible. However, the structure of Brioche stitch fabric is very different from regular knitted fabric. Therefore, using Kitchener stitch with this fabric does not create an invisible seam. It is possible to invisibly graft Brioche stitch, but it is rather complicated and hard to explain. 🙂 Sorry!