

This simple-to-make hat is made from a knitted rectangle! It’s the perfect project for a beginner knitter, or anytime you want to make a quick and easy project.
Table of Contents
How to Knit a Hat for Beginners
So you want to knit a hat, but you don’t want to have to worry about knitting in the round, shaping, or anything like that? This is the pattern for you. If you can cast on, bind off, and work the knit stitch, you can make this quick and easy hat!
There’s no need for increases, decreases, stitch markers, circular knitting needles, DPNs, or the magic loop method. You don’t even need to know how to work the purl stitch! This truly is the EASIEST free hat pattern ever.
Knit a Hat from a Rectangle
Out of all the free knitting patterns I have designed, this one is the simplest to make. (It was also super fun to design!) This beanie style hat makes a quick and cozy gift for fall and winter.
If you’re a knitter who also crochets, you may have seen easy patterns like this one, where you can make a hat from a crocheted rectangle. With a stretchy rectangle, you can sew the rectangle into a tube, cinch the top closed, and boom, you’ve got a hat.
But if you’ve ever done a search for “easy knitted hat pattern for beginners,” you’ve probably only seen simple hats knit in the round.
Most beginner-friendly free hat knitting patterns are knit in the round in stockinette stitch. Knitting in the round can be fun, and can open up a whole world of project possibilities, but it can be intimidating for new knitters. With this hat, you don’t need to know how to knit in the round. You don’t need to own circular needles or double-pointed needles, either.
Instead of using a rib stitch to give the hat stretch and elasticity, we’re making a rectangle of garter stitch and turning it sideways. By using garter stitch sideways, the vertical stretch of the garter stitch goes around the head, making the hat very comfy and elastic.
Psssst: I also have a free crochet pattern for this hat, which you can find here.

The Perfect First Project for Beginner Knitters
If you’re a brand-new beginner, and you’re ready to move on from sample pieces to real projects, this hat is just the type of thing you’ll want to make for your first project. Simple stitches, simple techniques, no purling, and you can use whatever type of needles you have.
You will, however, want to check your gauge before beginning and make sure you’re using the needle size that will give you the correct gauge for the pattern with your personal knitting tension. This will help make sure your hat comes out the right size, and fits the wearer properly. My video tutorials for all the basic skills you need to know are linked in the pattern below.
Ready to get started?
Grab your favorite yarn, and let’s start knitting!
Easiest Knitted Hat Knitting Pattern
by Yay For Yarn
Skill Level: Beginner
Pattern includes instructions for 10 sizes, so you can make a cozy knitted hat for all your friends and family. The pattern is also written in 6 different yarn weights, so you can use any yarn you like, from a #1 Superfine to #6 Super Bulky.
In the photos above, from left to right, top row, hats are made from #1 Superfine (sock / fingering) yarn, #3 Light (DK / Light Worsted) yarn, and #2 Fine (sport weight / baby) yarn. Bottom row, from left to right, hats are made from #5 Bulky (chunky) yarn, #4 Medium (worsted / aran) yarn, and #6 Super Bulky yarn.
Measurements & Sizing
Choose a size by measuring the wearer’s head circumference, and comparing it to these measurements. Select the size that most closely matches the head circumference measurement. The measurements below show what size head each size hat will fit.
Sizes (according to the wearer’s head circumference measurement):
Preemie: 12” (30.4 cm) circumference
0-6 Months: 13” (33 cm) circumference
6-12 Months: 14” (35.5 cm) circumference
12-18 Months: 16” (40.6 cm) circumference
Child Small: 17” (43.2 cm) circumference
Child Medium: 18” (45.7 cm) circumference
Child Large: 19 ¼” (48.9 cm) circumference
Adult Small: 21” (53.3 cm) circumference
Adult Medium: 22” (55.8 cm) circumference
Adult Large: 23” (58.4 cm) circumference
Finished Hat Length:
Preemie: 6” (includes 1 ½” brim), or 15.2 cm (includes 3.8cm brim)
0-6 Months: 6 ¾” (includes 1 ¾” brim), or 17.1 cm (includes 4.4cm brim)
6-12 Months: 7 ¼” (includes 1 ¾” brim), or 18.4 cm (includes 4.4cm brim)
12-18 Months: 8 ¾” (includes 2” brim), or 22.2 cm (includes 5cm brim)
Child Small: 9 ½” (includes 2 ¼” brim), or 24.1 cm (includes 5.7cm brim)
Child Medium: 10” (includes 2 ½” brim), or 25.4 cm (includes 6.3cm brim)
Child Large: 10 ¼” (includes 2 ½” brim), or 26 cm (includes 6.3cm brim)
Adult Small: 11” (includes 3” brim), or 28 cm (includes 7.6cm brim)
Adult Medium: 11 ¼” (includes 3” brim), or 28.5 cm (includes 7.6cm brim)
Adult Large: 11 ½” (includes 3” brim), or 29.2 cm (includes 7.6cm brim)
Please Note: The finished hat is smaller than the wearer’s head circumference. This is for a reason. Garter stitch, which is just knitting every stitch across every row, is very stretchy. Therefore, the hat needs to be smaller than the head so that it can stretch to comfortably fit on the head. However, this hat does not fit tight, it is just comfortably snug so it won’t slide off the head.

Actual Finished Circumference, Unstretched:
Preemie: 9 ¼”, or 23.5 cm
0-6 Months: 10 ¼”, or 26 cm
6-12 Months: 11”, or 28 cm
12-18 Months: 12 ¼”, or 31.1 cm
Child Small: 13”, or 33 cm
Child Medium: 13 ¾”, or 34.9 cm
Child Large: 14 ¾”, or 37.5 cm
Adult Small: 16” , or 40.6 cm
Adult Medium: 16 ¾”, or 42.5 cm
Adult Large: 17 ½”, or 44.5 cm
Finished Hat Will Stretch to At Least:
Preemie: 12 ⅝”, or 32 cm
0-6 Months: 14”, or 35.6 cm
6-12 Months: 15”, or 38 cm
12-18 Months: 16 ⅝”, or 42.2 cm
Child Small: 17 ¾”, or 45 cm
Child Medium: 18 ¾”, or 47.6 cm
Child Large: 20”, or 50.8 cm
Adult Small: 21 ¾” , or 55.2 cm
Adult Medium: 22 ¾”, or 57.8 cm
Adult Large: 23 ¾”, or 60.3 cm

Next, choose the yarn you would like to use, and check the label to see what weight category your yarn is in. You can use wool yarn if you like, but any soft acrylic or animal fiber yarn will work. Click Here for more information on the Standard Yarn Weight System.
Checking Your Gauge
It is important to check your gauge before beginning. Gauge is a measurement of the size of your stitches. Every knitter is different, and some knit tighter or looser than others. The needle sizes given below are a recommendation only. You’ll need to choose a needle size that gets you the correct gauge for the pattern with your own personal knitting tension.
To check your gauge, use the recommended needle size and the yarn you are using to knit a square, at least 4” by 4” (10 cm by 10 cm). (You can always unravel your swatch and use the same yarn for your hat if you need to.) Click Here to learn more about gauge.
Blocking
Then, you’ll need to block your square. Blocking is a step that should be done on almost every knitting project. It helps relax the fabric, and get it to its final look and feel. Since blocking relaxes the fabric a bit, it can change the size of your stitches. This is why it is important to measure your gauge after you have blocked your gauge swatch. Then, the finished project will come out to the correct size after it is blocked. Click Here to learn more about how to block your knitting.
Once your gauge swatch is blocked, you can measure your gauge. If your stitches are the correct size for this pattern, you will get the same measurement as given below for the yarn weight you are using.
You will need to know how to count your stitches and rows to properly measure your gauge. Click Here to learn how to count stitches, and Click Here to learn how to count rows.
If your stitches are too small, you’ll get more stitches than the pattern calls for in the same measurement. In this case, you’ll need to use a larger needle size and check your gauge again.
If your stitches are too large, you will not have enough stitches as the pattern calls for in the same measurement. In this case, you’ll need to use a smaller needle size and check your gauge again.
You will also want to check the yarn label on your skein or ball of yarn to make sure you have enough yarn for the size of hat you want to make.
Reading the Pattern for Different Sizes
– Instructions and Yarn Requirements for size Preemie are given outside the parentheses, and instructions and yarn requirements for all larger sizes are inside the parentheses like this:
Preemie (0-6 Months, 6-12 Months, 12-18 Months, Child Small, Child Medium, Child Large, Adult Small, Adult Medium, Adult Large).
– When only one number is given, it applies to all sizes. To follow pattern more easily, circle or highlight all numbers that apply to your size before beginning.

Yarn Requirements, Needle Size, and Gauge:
For #1 Superfine / Fingering Weight Yarn:
90 (113, 130, 175, 201, 224, 246, 287, 307, 328) yards of #1 Fingering Weight Yarn
US Size 2 / 2.75 mm knitting needles
Gauge: 20 stitches in 3” (7.6 cm), 42 rows in 3” (7.6 cm)
For #2 Fine / Sport Weight:
68 (85, 98, 132, 152, 169, 186, 217, 232, 248) yards of #2 Sport Weight Yarn
US Size 4 / 3.5 mm knitting needles
Gauge: 22 stitches in 4” (10 cm), 42 rows in 4” (10 cm)
For #3 Light / DK Weight:
62 (78, 89, 120, 139, 154, 170, 197, 211, 226) yards of #3 DK Weight Yarn
US Size 6 / 4.0 mm knitting needles
Gauge: 20 stitches in 4” (10 cm), 40 rows in 4” (10 cm)
For #4 Medium / Worsted Weight:
57, 72, 82, 111, 128, 142, 156, 182, 195, 208) yards of #4 Worsted Weight Yarn
US Size 8 / 5.0 mm knitting needles
Gauge: 18 stitches in 4” (10 cm), 34 rows in 4” (10 cm)
For #5 Bulky Weight:
49 (62, 71, 96, 110, 123, 135, 157, 168, 179) yards of #5 Bulky Weight Yarn
US Size 10 / 6.0 mm knitting needles
Gauge: 14 ½ stitches in 4” (10 cm), 20 rows in 3” (7.6 cm)
For #6 Super Bulky Weight:
31, 39, 45, 60, 69, 77, 85, 99, 106, 113) yards of #6 Super Bulky Weight Yarn
US Size 11 / 8.0 mm knitting needles
Gauge: 10 stitches in 4” (10 cm), 20 rows in 4” (10 cm)

You Will Also Need:
- Scissors
- Measuring Tape
- Yarn Needle or Blunt Tapestry Needle (If adding a Pom Pom or Tag, your needle should be able to fit through the holes in the button or tag)
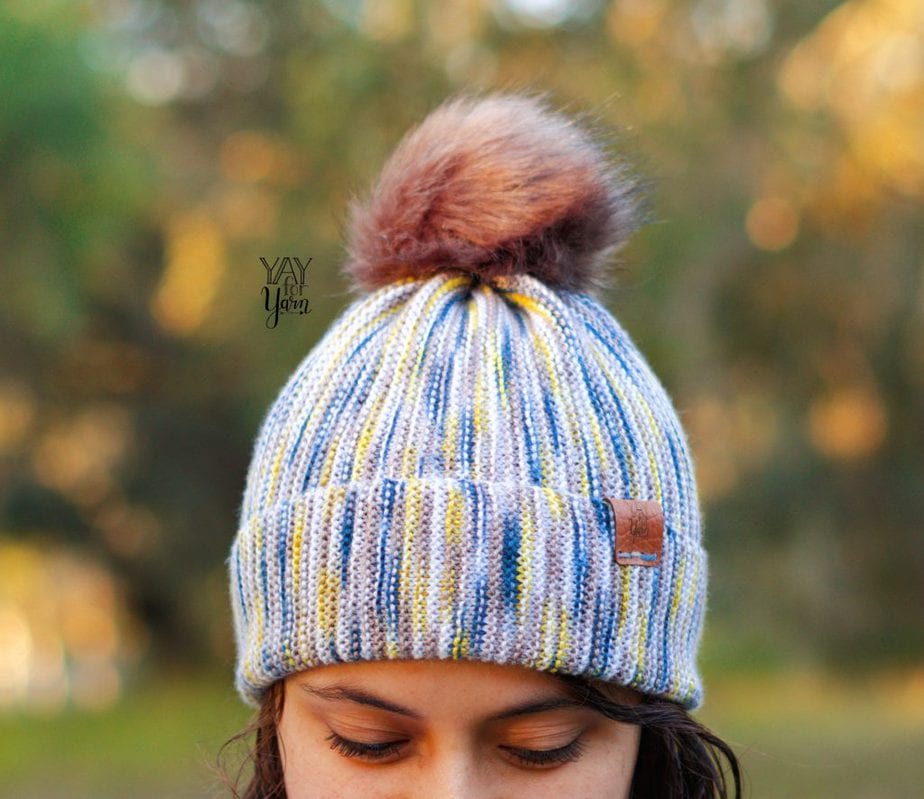
- Faux Fur Pom Pom (optional, click to shop the ones I got, less than $1 apiece, or for a more luxe look, check out the handmade faux fur pom poms below)
- Button (for attaching pom pom, optional)
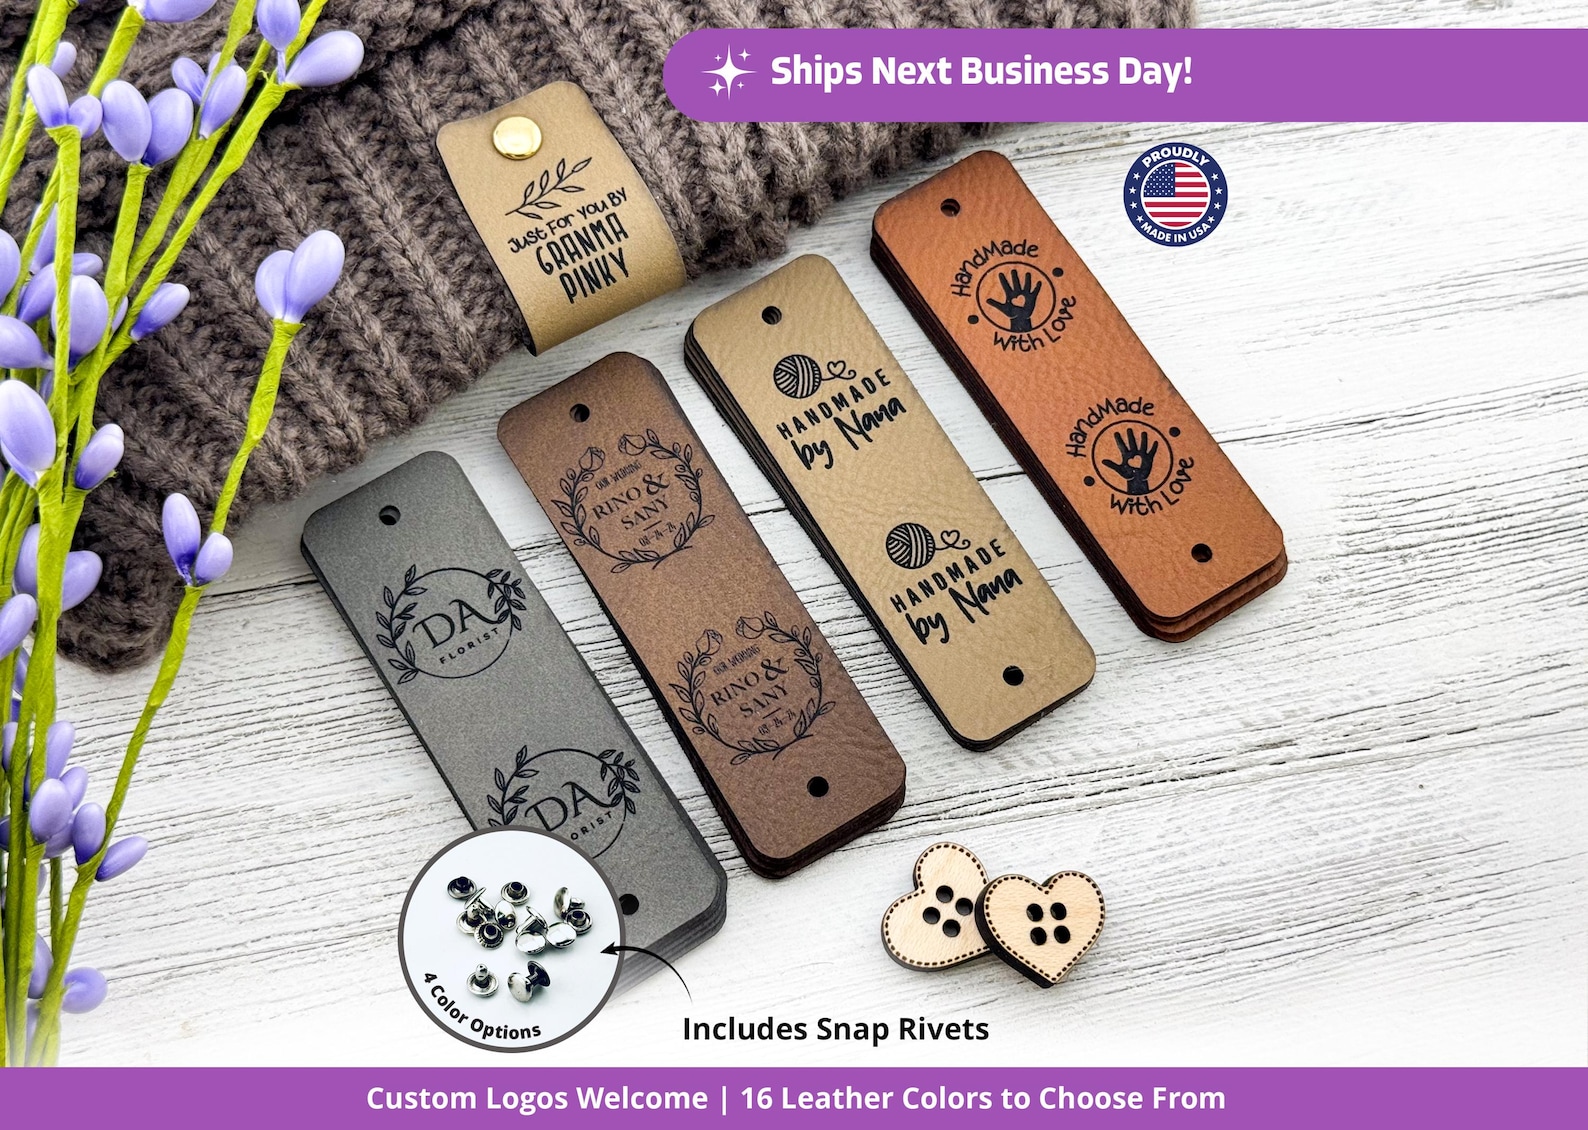
- Leather or Faux Leather Tag (optional, click to get your own custom labels on Etsy)
- If using Super Bulky yarn, you’ll also need some embroidery floss (for sewing on the button and / or tag, optional)
Where to Buy Custom Leather Tags
Custom Leather Tags – ArtiFoxStudios
Buy Now →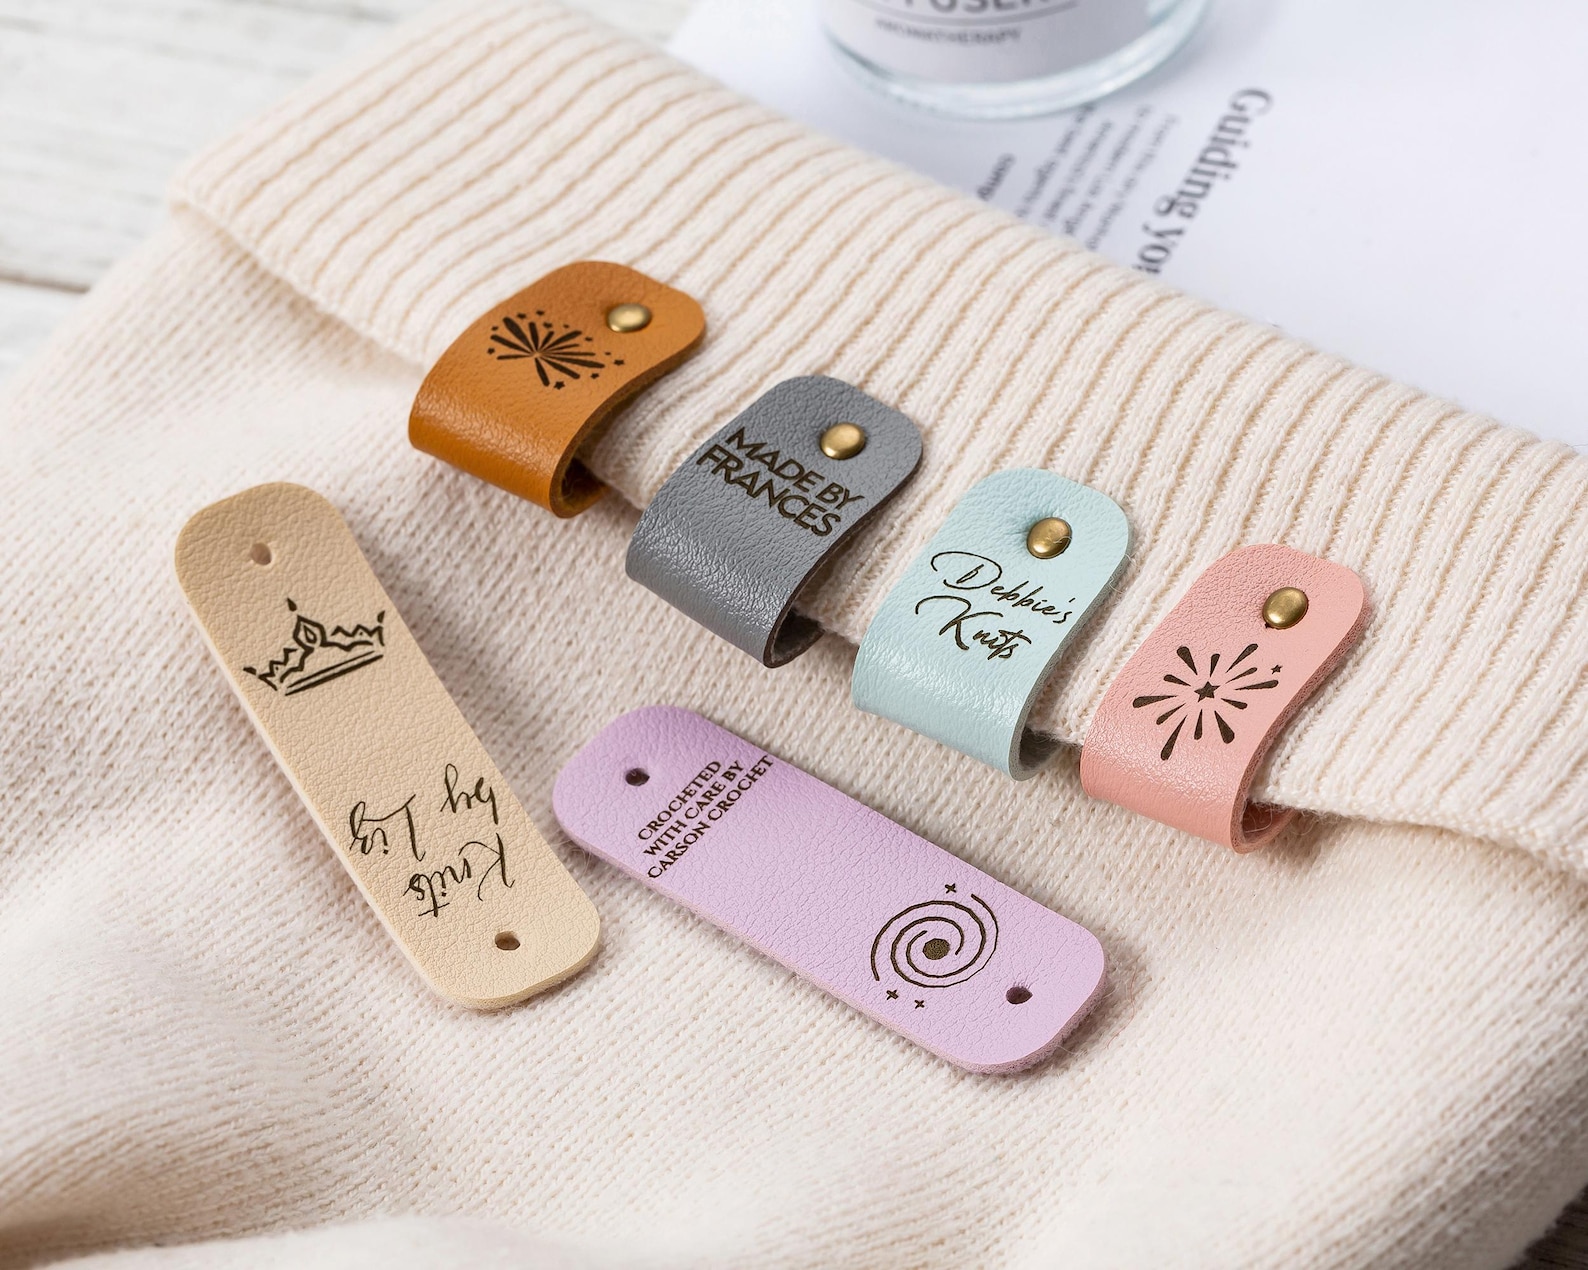
Custom Leather Tags – Handmadesusu
Buy Now →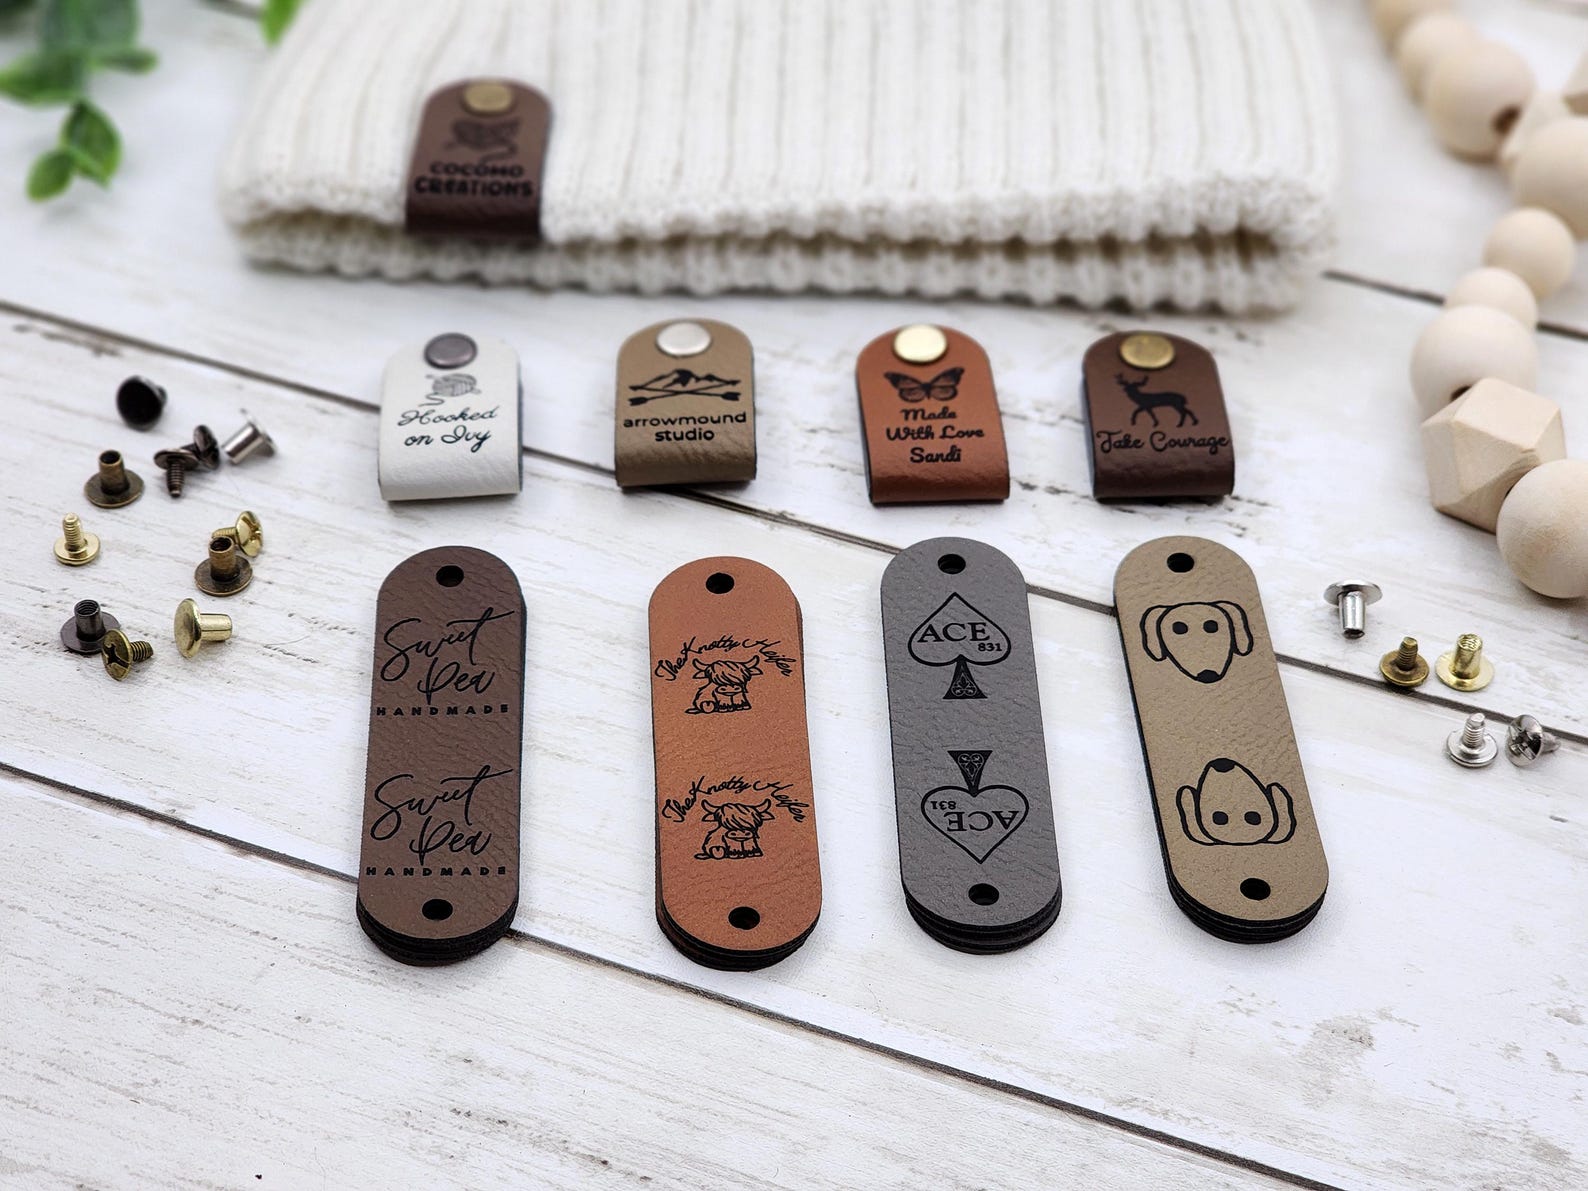
Custom Leather Tags – NightOwlLaser
Buy Now →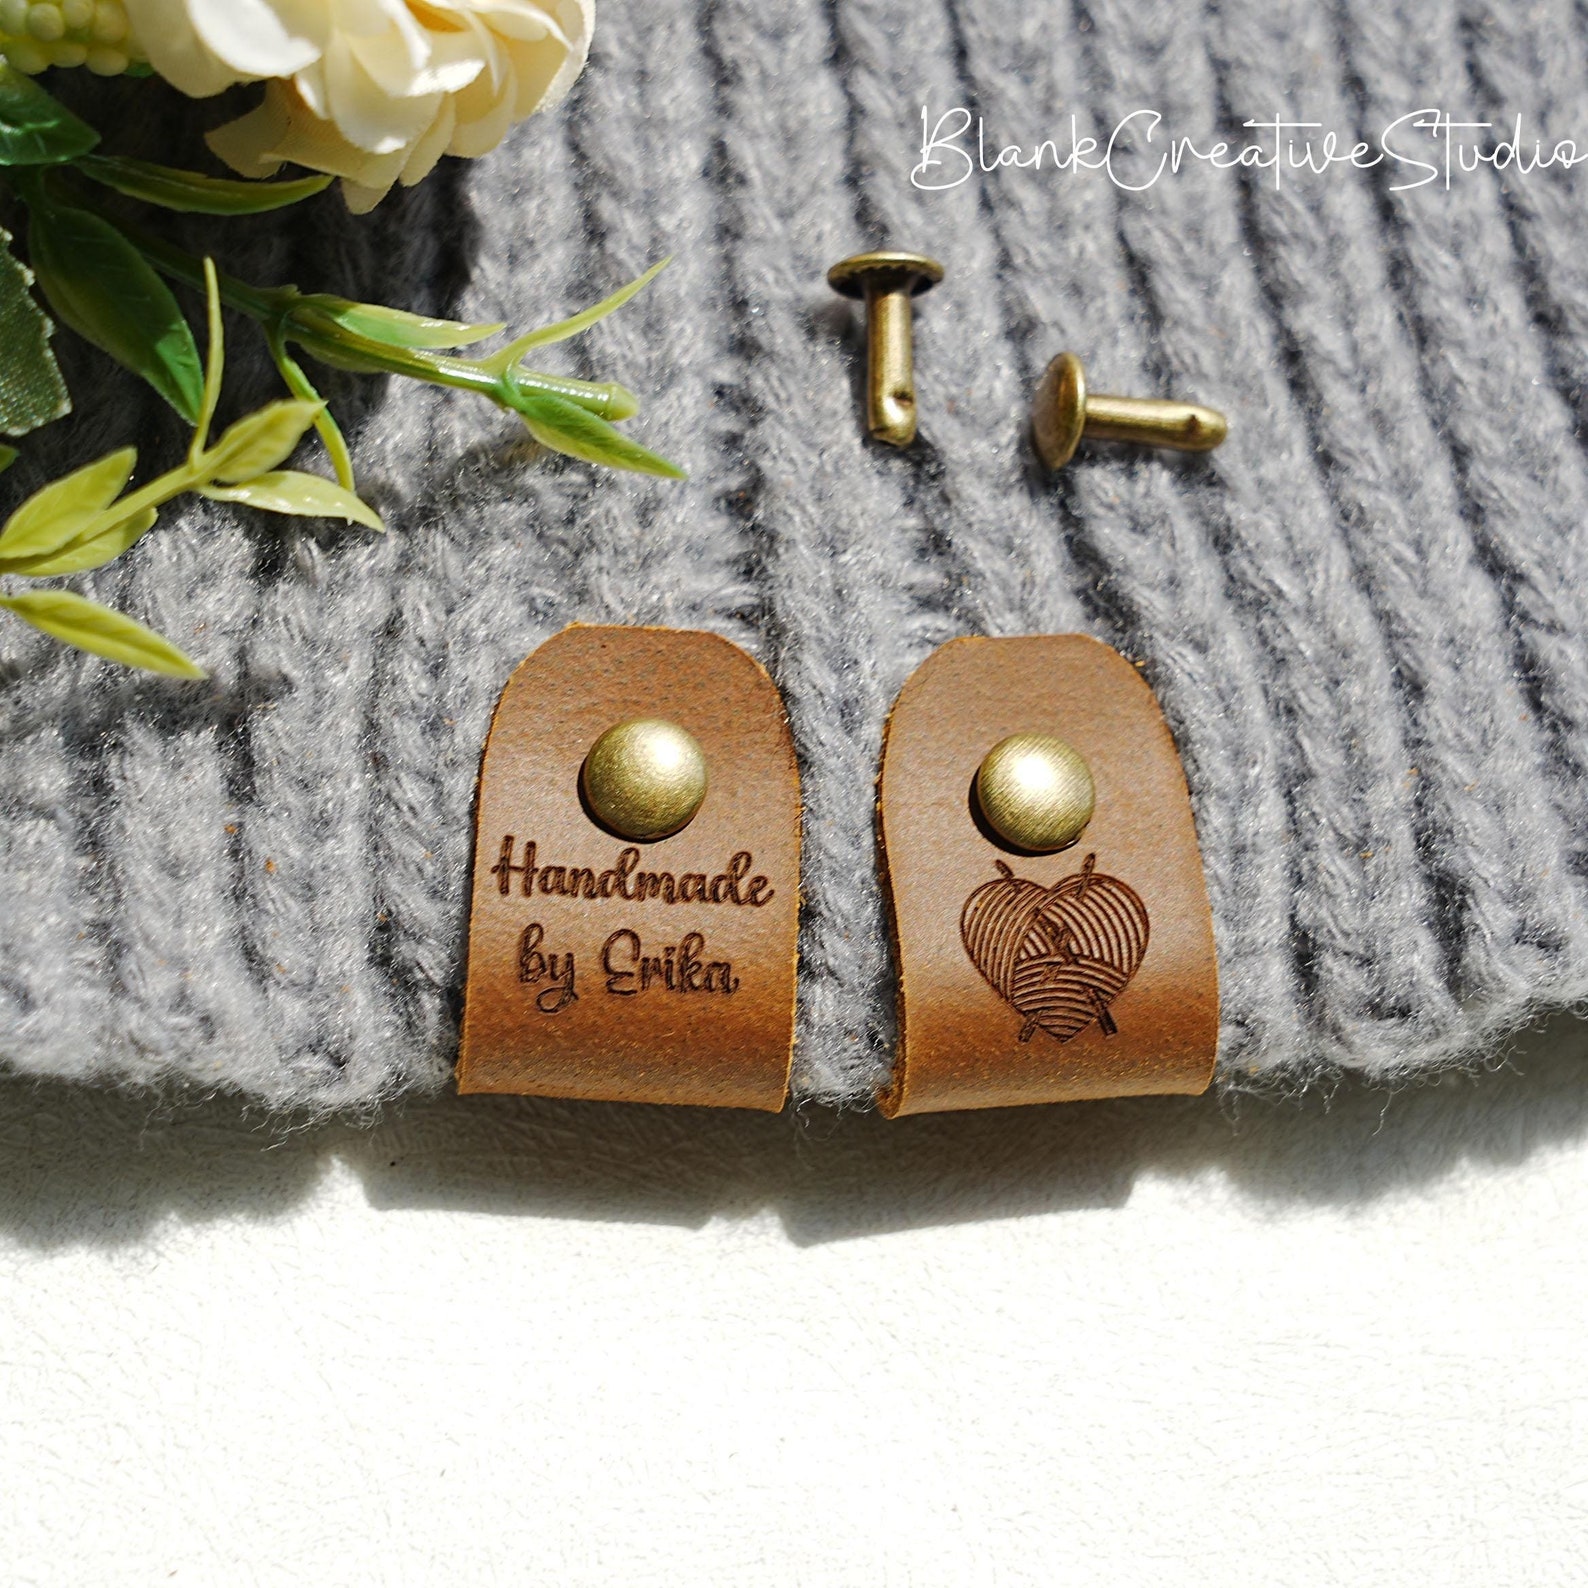
Custom Tags – Real Leather – BlankCreativeStudio
Buy Now →
After you have checked your gauge, and chosen the needle size that will give you the correct gauge for the type of yarn you are using, it is time to cast on. We will be knitting a rectangle in garter stitch, which is just knitting each stitch across every row.
You can use any cast on method you like. I used the Cable Cast On for my hats, but you can use whatever method you are comfortable with. If you would like to use the Cable Cast On, here’s how to work this method:
Cable Cast On
Step 1: Begin by making a slip knot and placing it on your needle. The slip knot counts as your first stitch.
Step 2: Knit into the slip knot, but leave the slip knot on the left needle.
Step 3: Stretch the new stitch so it is loose, and place the new stitch onto the left needle as if to knit, so that both needles are pointing up. Remove the right needle from that stitch.
Step 4: Insert the right needle between the previous two stitches on the left needle, and wrap the yarn around the right needle tip.
Step 5: Pull the yarn through to make a new stitch.
Step 6: Stretch the new stitch so it is loose, and place the new stitch onto the left needle as if to knit, so that both needles are pointing up. Remove the right needle from that stitch.
Repeat steps 4-6 until you have cast on the total number of stitches specified in the pattern for the yarn you are using and the size you are making.

Easiest Knitted Hat Instructions
We will be knitting our hat as a simple rectangle, and assembling it into a hat later. When you knit your rectangle, cast on the number of stitches for the yarn you are using and the size you are making. Then, you will knit each stitch across every row until you have the total number of rows specified for the yarn you are using and the size you are making. When you count your rows, each squiggly ridge in the fabric is two rows. If you would like more information on how to count your rows, see this blog post and video tutorial.
Remember, instructions and Yarn Requirements for size Preemie are given outside the parentheses, and instructions and yarn requirements for all larger sizes are inside the parentheses like this:
Preemie (0-6 Months, 6-12 Months, 12-18 Months, Child Small, Child Medium, Child Large, Adult Small, Adult Medium, Adult Large).
For #1 Superfine:
Cast on 40 (45, 48, 58, 63, 67, 68, 73, 75, 77) stitches.
Knit each stitch across every row until you have worked 130 (144, 154, 172, 182, 194, 208, 224, 236, 246) rows.
For #2 Fine:
Cast on 33 (37, 40, 48, 52, 55, 56, 61, 62, 63) stitches.
Knit each stitch across every row until you have worked 98 (108, 116, 130, 138, 144, 156, 168, 176, 184) rows.
For #3 Light:
Cast on 30 (34, 36, 44, 48, 50, 51, 55, 56, 58) stitches.
Knit each stitch across every row until you have worked 94 (104, 110, 124, 130, 138, 148, 160, 168, 176) rows.
For #4 Medium:
Cast on 27 (30, 33, 39, 43, 45, 46, 50, 51, 52) stitches.
Knit each stitch across every row until you have worked 80 (88, 94, 104, 112, 118, 126, 136, 142, 150) rows.
For #5 Bulky:
Cast on 22 (24, 26, 32, 34, 36, 37, 40, 41, 42) stitches.
Knit each stitch across every row until you have worked 62 (68, 74, 82, 88, 92, 98, 108, 112, 118) rows.
For #6 Super Bulky:
Cast on 15 (17, 18, 22, 24, 25, 26, 28, 28, 29) stitches.
Knit each stitch across every row until you have worked 46 (52, 56, 62, 66, 70, 74, 80, 84, 88) rows.
Once you have finished knitting your rectangle according to the instructions, bind off loosely, leaving a long tail.

Before we begin assembling our hat, it’s important to block our rectangle at this point. Blocking helps relax the fabric, and get it to its final look and feel. For more information on how to block your knitting, click here for a video tutorial.
To Block
For natural fibers, pin project out to finished measurements (below) on foam blocking mats. Spray with water until fully saturated, allow to dry.
OR
For acrylic fibers, pin project out to finished measurements (below) on an ironing board or several layers of towels. Hold a steaming iron 2”-3” over the surface of the fabric, making sure all of the fabric is penetrated by the steam. Allow to cool / dry.
Finished Width of Panel
Preemie: 6”, or 15.2 cm
0-6 Months: 6 ¾”, or 17.1 cm
6-12 Months: 7 ¼”, or 18.4 cm
12-18 Months: 8 ¾”, or 22.2 cm
Child Small: 9 ½”, or 24.1 cm
Child Medium: 10”, or 25.4 cm
Child Large: 10 ¼”, or 26 cm
Adult Small: 11”, or 28 cm
Adult Medium: 11 ¼”, or 28.5 cm
Adult Large: 11 ½”, or 29.2 cm
Finished Length of Panel
Preemie: 9 ¼”, or 23.5 cm
0-6 Months: 10 ¼”, or 26 cm
6-12 Months: 11”, or 28 cm
12-18 Months: 12 ¼”, or 31.1 cm
Child Small: 13”, or 33 cm
Child Medium: 13 ¾”, or 34.9 cm
Child Large: 14 ¾”, or 37.5 cm
Adult Small: 16” , or 40.6 cm
Adult Medium: 16 ¾”, or 42.5 cm
Adult Large: 17 ½”, or 44.5 cm

Assembly
Lay your rectangle out so the rows are running vertically. The cast on edge should be at one side, and the bind off edge at the other side.
Bring the two short edges to the center. Thread the long yarn tail through your yarn needle.
Beginning at the corners, stitch the two short ends of the rectangle together. I use a whip stitch for this. Once you have finished the seam, take one more stitch at the end of the seam, wrap the yarn around the needle, and pull the needle through to make a knot.
We will now cinch the top of the hat closed. Your rectangle is now sewn into a tube. With your yarn needle, make your way around the top edge of the tube, picking up a strand of yarn from every other pair of rows. (In other words, every other squiggly ridge.)
Once you have picked up stitches all the way around the edge, pull on your yarn to tighten, and cinch the hat closed.
Bring the yarn needle through to the inside of the hat. Pull on the yarn to make sure the top of the hat is cinched tightly. Then, take a small stitch on the inside of the hat, right next to the hole, wrap the yarn around the needle, and pull the needle through to make a knot.

Pom Pom
If you are not adding a pom pom, or if you are using Super Bulky yarn, weave in the yarn tails into the seam. (If using Super Bulky, use embroidery floss to add remaining details.)
If you would like to add a pom pom, you can use what’s left of the current yarn tail to attach the pom pom. I used faux fur pom poms, and the ones I use have an elastic loop on the bottom with which to attach them. I chose to sew a button to the inside of the hat, and pull the loop through the top of the hat and around the button. This makes the pom pom removable so the hat can be washed.
To add a pom pom in this manner, use the remaining yarn tail to sew a button to the inside of the top of the hat, right next to the little hole at the top. Then, make a small knot on the inside of the hat, and weave in the yarn tail. To add the pom pom, poke your crochet hook up through the small hole in the top of the hat. Grab the elastic loop with the hook. Pull the loop through to the inside of the hat, and stretch it around the button to secure.
Now, you can add a leather or faux leather tag if you like. I chose to fold my tag around the edge of the hat.
If you are using Super Bulky yarn, you will need to use embroidery floss to sew on the tag, as the yarn will likely be too thick to fit through the holes in the tag. If you are using a thinner yarn, you can use a length of your project yarn to sew on your tag.
Weave in any remaining yarn tails.

Ta-Da! You’ve just made a simple hat out of a knitted rectangle. Now all that’s left to do is to wear it!
Be sure to post your project photos on Instagram! Tag me @yayforyarn and use the hashtag #easiestknittedhat. I can’t wait to see your cozy, handmade creations!
This pattern is intended for your personal use only. You may not share it, copy it, sell it, give it away, or mass-produce the finished product. However, you may sell the finished items on a small scale, as long as you convey in your item description that you used a Yay For Yarn pattern.
Yay For Yarn Copyright© 2020 – Current. All patterns and photos are owned by Yay For Yarn.
Pin the image below to save this project for later!

")


Hi i am new an the question is mu size is adult medium but confused of the numbers in the brackets for example above. Cast on 27 (30, 33, 39, 43, 45, 46, 50, 51, 52) stitches.
Knit each stitch across every row until you have worked 80 (88, 94, 104, 112, 118, 126, 136, 142, 150) rows.
What are those numbers for?
Hi Sandra. When you are following a pattern that includes multiple sizes, the different numbers for the different sizes are typically given in a list like that, with the number for the first (smallest) size outside the parentheses, and the numbers for the following sizes listed after it in parentheses, like this:
Preemie (0-6 Months, 6-12 Months, 12-18 Months, Child Small, Child Medium, Child Large, Adult Small, Adult Medium, Adult Large)
The Adult Medium is the second to last size, so when you see a list of numbers with parentheses like that, you will follow the second to last number in the list, and ignore the rest of the numbers. So for the Adult Medium, you will cast on 51 stitches, and knit 142 rows. I hope this helps!
Love this pattern, just what I was looking for. Is it possible to do a few decrease rows to make the hole smaller at the top when done. I am using bulky yarn #5. Thx 😊
Hi. It’s not really possible to do any decreases at the top, because this hat is worked sideways. The top of the hat is actually the ends of the rows on one side of the piece. Working decreases on the last few rows of the panel will not make the top smaller, it will make the side shorter so that when you sew it up, it does not match with the other end of the panel. I hope this helps!
I used a DK yarn and 3.5 mm needle. To make my baby a hat. The way I made ” decreaeses” was by doing a wrap and turn method on one end.. so I knit till the last 5 stitches, w&t, then knit till the end. Then on the next row I knit till the last 10 sts did another w&t. Then knit till the end. On the next row I picked up the wraps and knitted till the very beginning.. ..
Because I used a thin yarn and thin needle i could do 5 stitches for it.. i casted on 40.. for a bulky yarn and larger needles you may only need to do it for 2 sts
Hi. Just came across your site and “easiest knitted hat ever” page. I’m going to try to knit some hats for the thermal shelter but… I can’t find the link for the free pattern for knitting. I also tried clicking on the for-purchase downloadable pdf, which I would like, but nothing happens! There are also a couple of places where you say “see photo above” but the area is a white blank. I’ve tried closing and reopening the page but to no avail. Your help would be great. Thanks!
Hi Vicky. I’m so sorry you’re having trouble viewing the pattern instructions in the blog post above. If it is not showing the written instructions on this page, and the photos are not showing up, the page may not be loading correctly on your device. I wonder if trying to reload the page, or opening the page in another browser, might help.
If you want to try viewing this page in another browser, you can copy and paste this link into a different browser app: https://yayforyarn.com/easiest-knitted-hat-ever/
If you’re interested in purchasing the downloadable PDF version, you can get it in my shop here: https://yayforyarnshop.patternbyetsy.com/listing/1518875035/easiest-knitted-hat-ever-pdf-knitting
I hope this helps!
Hi,
Very easy pattern and great stich for the right stretch. I just wanted to ask if there was a way to close it that would not be so noticeable.
Thank you
Hi Susana. How noticeable the seam is will depend on how thick your yarn is. A hat made from a thinner yarn will have a less noticeable seam than a hat made from a thicker yarn. However, if you would like the seam to be totally invisible, you could begin with a provisional cast on and graft the cast on edge to the last row. This is a more intermediate technique, so if you’re not familiar with grafting, I would suggest practicing on a swatch before doing it on a real project. Just search for “how to graft garter stitch” in Google or YouTube, and it should pull up some tutorials that will show you how to do that. My grafting tutorial is not for garter stitch, but I hope to make a tutorial on grafting garter stitch at some point. I hope this helps!
Hi. I measured my gauge and although I got the correct number of stitches, I think it has way too much height. You mention the width here in the pattern, but what should the height of the rectangle be for a 12-18 month baby and also for an adult small? Thank you as my baby hat looks way too tall
Hi Bethany! The hat is designed to have enough height to be able to fold up the brim. If you do not want a brim, you may want to cast on fewer stitches and make the hat shorter. However, the length and width of the finished panel are listed for reference in the blog post above. (This info is given right before the “Assembly” section of the instructions.) The “Finished Hat Length” in the Sizing section explains how tall the hat is, and how much of that measurement is supposed to be the brim. Also, keep in mind that the height of the hat will slightly decrease as the fabric stretches over the wearer’s head. I hope this helps! If you have any more questions, just let me know.
Hi,
I paid for the written pattern with the different yarn weights and it is not showing in my
downloads. I would appreciate your help with this.
Thank you,
Marilynn Williams
Hi Marilynn! If you downloaded the PDF file, and it’s not showing up in your downloads folder on your device, it could have been saved to another folder. Sometimes, downloads can be saved to other folders on your device. I would suggest doing a search in your file browser for “Yay For Yarn”. If the file was saved in another folder, it will pull up the file for you so you can open it. If that doesn’t work, just let me know. I am happy to help!
I’m having trouble finding the PDF for the FREE pattern. It connects me to a PDF version but there’s a charge for it. What am I doing wrong?
Hi Judy. The free version of this pattern is available to view for free in the blog post above, and the premium PDF version of this pattern is available for purchase in my shop. The free version is not available as a PDF download, as the PDF is not free. I hope this helps!
Hi, I’m having trouble visualizing the orientation of the finished rectangle. When I’m deciding how many stitches to cast on, am I determining the circumference of the finished hat, or is the height of the finished hat? Curious to see how much longer it takes than crocheting and how much different the finished hats will be (avid crocheter, newbie knitter). Any advice appreciated, thank you!
Hi Jill. When you make your rectangle, the cast on edge will be the short side of the rectangle, and the length of the rectangle is determined by how many rows you knit. The cast on edge determines the height of the finished hat, including the brim. The number of rows determines the circumference of the hat. It’s just like when making this type of hat with crochet (my crochet version is available here). I hope this helps!
Hi. Super easy pattern thank you!
Can the stockinette stitch be substituted?
Hi Susan. I’m sorry, but the stockinette stitch cannot be substituted in this pattern. The garter stitch is what gives this hat its ribbed texture and elasticity, and also eliminates the need to do any special techniques to keep the edges straight and neat. If you were to use stockinette stitch, the fabric would not have the vertical elasticity needed to give the hat its structure and stretch. Stockinette stitch can work well for hats knit in the round, but this type of hat is not suitable for stockinette stitch. I hope this helps!
Do you have a pattern like this but for a headband/ear warmer?
Hi Carly. Although I do have an earwarmer tutorial here and here, I don’t have one in back loop only single crochet. However, if you want to make a headband like that, here’s what you can do. Make a rectangle by starting with a number of stitches that gives you the headband width you like, then crochet in back loop only single crochet rows until the rectangle is the length the hat pattern requires for the size you want to make. You can then sew the ends of the headband together to finish it off. I hope this helps!
Hello, this is a great pattern! Do you have any tips for increasing the pattern size to make an Extra Large Adult’s hat? I’m making one for a gentleman with a 25.5″ head circumference… will the Large size stretch enough or should I increase? Thanks!
Hi Heather! The finished Adult Large hat will stretch to at least 23 3/4″. It may stretch a bit further than that, depending on your yarn, but if making the hat for a 25.5″ head circumference, I would recommend making it larger. To make the hat circumference larger, you’ll just need to knit extra rows in your rectangle. I typically recommend making hats about 2″-3″ smaller than the wearer’s actual head circumference so that it will stretch to comfortably stay on the head. I would suggest knitting until your rectangle is about 23 inches long from cast on edge to needle. You could add stitches to your cast on as well if you wanted to make the hat longer. I hope this helps!
I purchased the ad free pattern but have not received it yet. Could you please check on the status. It’s the perfect pattern for a take along project. I plan to have a project bag for this hat with materials to take with me wherever I spend time waiting. It’s small enough to carry along wherever I go. Even on an airplane. Thanks so much for all of the sizes and materials. A hat for everyone.
Hi Theresa. I found your order in my system, and it looks like there was a typo in your email address. Normally, the email with the download link and order receipt should be sent shortly after the purchase is complete. However, there was a typo in the email address associated with your order, so the emails were not able to be delivered. I have updated the email address on your order to match the PayPal email address on your order, and have resent the download and order receipt emails. You should receive them shortly. I hope this helps!
I am so excited to knit a hat for my husband! Can I ask do you slip stitch the first stitch knit or purlwise or just garter knit?
Hi Patricia! You could slip the first stitch if you like, but I chose to just knit every stitch across. As long as the first and last stitch of the row aren’t left too loose, the edge can still be neat even if you don’t slip the first stitch of each row. I hope this helps!
Hi! Can you share what yarn you used in your #1 Superfine beanie? I’m curious to try a multicolored yarn. Thanks!
Hi Katie! The yarn I used was a limited edition variegated sock yarn from KnitCrate. This particular yarn is no longer available, but you would get a similar effect with most other variegated yarns. Many sock yarns have variegated colorway options that would look great. I hope this helps!
cant find the free pattern to print out???
Hi Jackie. The free version of the pattern is available to view in the blog post above. There is an ad-free printable PDF version of the pattern available in my shop as well. All of the pattern instructions and info needed to make the hat in all sizes and yarn weights is given in both the free version that you can view above and in the printable PDF version that is available for purchase. I hope this helps!
I love love your hat pattern. It is so easy! Do you have a easy pattern for a hat that you knit in the round? I want to use stripped yarn. I love the fact that you give all sizes & all yarn weights!
Hi Rebecca! I do not currently have a pattern like this knit in the round in multiple yarn weights, but you can find all of my knitted hat patterns on my free knitting patterns page. I hope this helps!
THANK YOU. Im broke and have been learning to knit with what I have and I only have crochet hooks, double ended needles and 1 set of size 11 needles and I was having such a hard time finding a hay I could make in the flat…. your the best thank you
Hi,
Where do you get the brown tags that are pictured on these hats. I’d love to do that with mine. Thanks!
Hi! If you scroll back up to the list titled, “You will also need:”, there is a link to where I purchased the custom faux leather labels I used on my hats. I hope this helps!
Hello! The link you provided for the pom poms says this company doesn’t offer them anymore (or maybe they are just out?) Do you have another suggestion? I bought some from my local craft store but they seem quite heavy.
Hi Lisa. Are you viewing the link from the US Amazon site, or from another country? When I visit that link, it looks like the pom poms I purchased are in stock and available. (If you are on the US Amazon site, it could be that they have restocked them between the time you viewed the page and the time I am writing this.) I think how heavy they are may depend on the materials used and the size. The ones I purchased did not really seem heavy to me, and don’t feel heavy when you wear them on the hat. They are not as large as the product photos on Amazon make them appear, but I think they are a good medium sized pom pom, a little over 3 inches in diameter. I hope this helps!
Hi. Your detailed instructions is very helpful for knitting my first hat, and to someone who is new to knitting. I used a super bulky yarn and would like to close the hole on top. Do you have any suggestions on how to do that? Thanks!
Hi! Yes, you can close the hole tighter with super bulky yarn if you like. To do this, after you have cinched the hole closed, go around the opening with your yarn needle and seaming yarn again, only picking up a few of the strands that you had picked up before. When you cinch those strands a second time, it will pull them even tighter than the rest, closing up the hole nicely. You can then knot the yarn to secure a second time, the same way you did after the first cinch. I hope this helps!
Hi There-I just came across your pattern in PINTEREST. Great pattern, and thank you for the creation. We have a small knitting group in our neighborhood in Colorado. We have talked about knitting hats for the homeless, as our Fall, Winter, and Spring are pretty cold. We have members in our group who want a really “easy” first project. They are also interested in doing things for others. I just finished 160 face masks for NY and L.A. Is it OK to use your pattern for this purpose? We are not selling anything. We are using our own yarn, knitting your hat, and will give to shelters. Some of the gals also want to knit for newborns, to be given to each new baby on discharge. Please let me know if you approve of the use of your pattern for this purpose. Thanks again.
Hi Patti! Thanks for checking with me on that. You can use my pattern to make as many charity hats as you like! It wouldn’t be a problem if anyone wanted to sell the finished hats, either. The only restriction is that the written pattern itself may not be sold, copied, or shared. So if you want to send a link to the free pattern to your entire knitting group, they can each view the free version on their device as much as they like. But if any of your group members would like to purchase the printable PDF version, each PDF copy is for personal use only. (In other words, it’s not intended for printing out several copies and distributing / sharing the printouts or sharing the digital PDF file with others.) The PDF is optional, of course, and any hat in any size can be made from the free written instructions. This is a great project for beginners, since all you need to know is how to cast on, work the knit stitch, and bind off. I hope this helps, and I hope all of your hats turn out great! Enjoy the pattern!
Hi! I was just curious what the pink (sport weight) yarn was? Ive been looking for a color just like that and can’t find anything!
Hi! The magenta / pink yarn is KnitPicks Brava Sport. It’s a great basic acrylic yarn that is soft and comes in lots of colors. (It’s also very reasonably priced.) Brava is available in Sport, Worsted, and Bulky. I hope this helps!