

The dot stitch gives this sweater such a lovely texture! This quick, raglan sleeve sweater pattern includes sizes XS to 5X. Grab your yarn and knit one this week!
The Dotty Pullover is one of my favorite designs to date! It’s knit seamlessly in the round, from the neckline down to the hems. (The front, back, left sleeve, and right sleeve are knit all in one piece, with a ribbing at the hem, cuffs, and neck edge.) So for those of you who dislike seaming your projects, this pattern is for you!
Table of Contents

Instead of stockinette stitch, I’ve used the dot stitch for this simple knit garment. The dot stitch texture is made only with knits and purls, so if you can knit in the round and work basic increases and decreases, you can knit the Dotty Pullover.
For this project, I used Lion Brand Color Made Easy, and it was so nice to work with! This #5 bulky weight acrylic yarn is super soft, and makes the Dotty Pullover knit up quickly. I used the “Millenial” color, which is a soft shade of pink, but the Color Made Easy line comes in a ton of gorgeous colors that would fit perfectly into any wardrobe.
This step-by-step free knitting pattern and video tutorial will show you how to knit a raglan sweater, even if you’ve never made one before.
Ready to knit your own Dotty Pullover? Let’s get started!
Dotty Pullover Knitting Pattern
by Yay For Yarn
Skill Level: Intermediate
To knit this sweater, you’ll need to know how to:
Cast on, Bind off, Knit, Purl, Increase, Decrease, and work in the round on a circular knitting needle.
Sizing:
- Sizing follows the Craft Yarn Council’s standards for Women’s sizes.
- This sweater has a classic fit, with 2” of positive ease. If you are between sizes, size up if you want a looser-fit sweater, or size down if you want a more fitted sweater. Measure the bust of the wearer, and choose the size that is closest to the wearer’s bust measurement, under the title, “To Fit Bust”.
- Instructions and yarn requirements for size X-Small are given outside the parentheses, with Small, Medium, Large, X-Large, 2X, 3X, 4X, and 5X given inside the parentheses, like this:
- X-Small (Small, Medium, Large, X-Large, 2X, 3X, 4X, 5X).
- When only one number is given, it applies to all sizes.
- When a set of instructions does not apply to all sizes, the numbers that would normally be given for the sizes that the instructions do not apply to will be replaced with dashes, like this:
- 36 (40, -, -, 60, -, -, -, -)
To Fit Bust:
- X-Small: 30” (76 cm)
- Small: 34” (86 cm)
- Medium: 38” (96.5 cm)
- Large: 42” (106.7 cm)
- X-Large: 46” (116.8 cm)
- 2X: 50” (127 cm)
- 3X: 54” (137 cm)
- 4X: 58” (147 cm)
- 5X: 62” (157.5 cm)
Finished Bust / Back Length:
- X-Small: 32” (81.3 cm) / 20 ½” (52 cm)
- Small: 36” (91.4 cm) / 21” (53.3 cm)
- Medium: 40” (101.6 cm) / 21 ½” (54.6 cm)
- Large: 44” (111.8 cm) / 21 ½” (54.6 cm)
- X-Large: 48” (121.9 cm) / 22” (55.9 cm)
- 2X: 52” (132 cm) / 22” (55.9 cm)
- 3X: 56” (142.2 cm) / 22” (55.9 cm)
- 4X: 60” (152.4 cm) / 22 ½” (57.2 cm)
- 5X: 64” (162.6 cm) / 22 ½” (57.2 cm)
You Will Need:
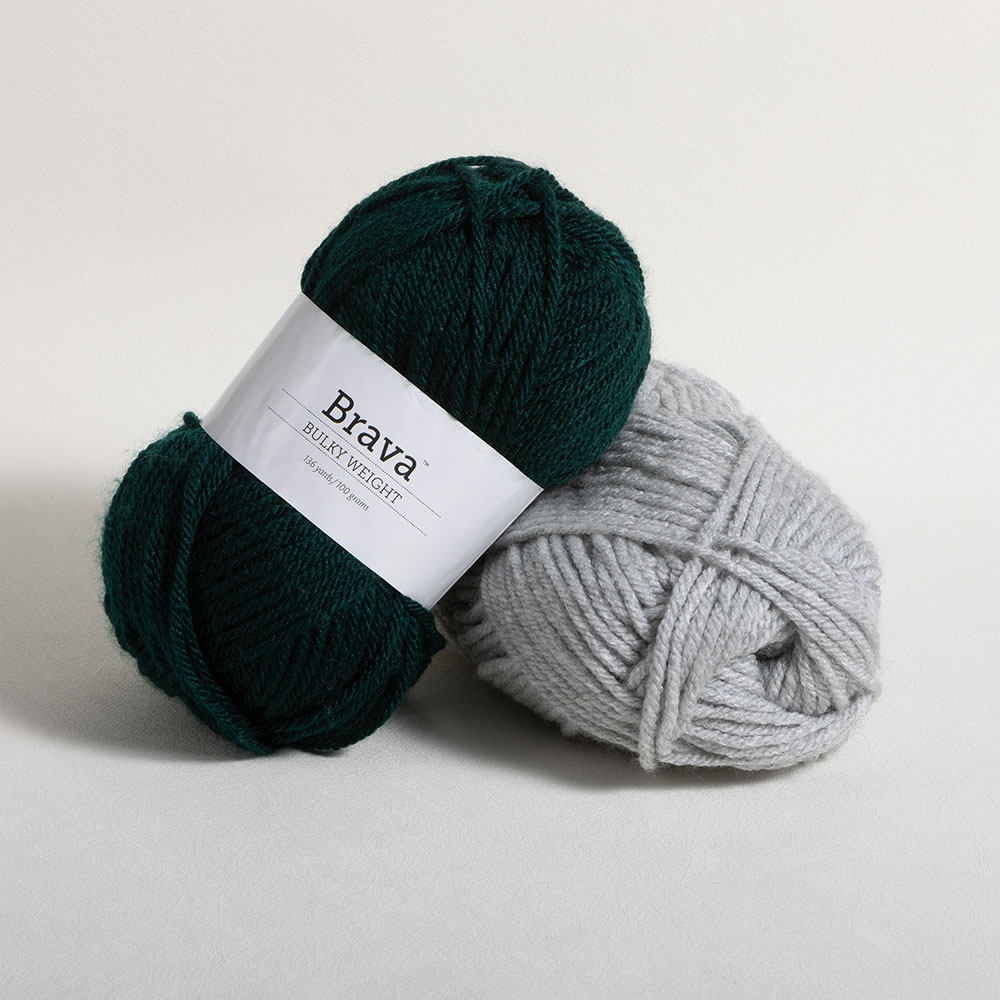
- 692 (777, 874, 968, 1053, 1127, 1194, 1297, 1371) Yards of #5 Bulky Weight Yarn (I used Lion Brand Color Made Easy (now discontinued) in Millenial Pink, 7 oz / 200g / 247 yds per skein, 3 (4, 4, 4, 5, 5, 5, 6, 6) skeins, I recommend substituting KnitPicks Brava Bulky.)
- US Size 11 (8.0 mm) Circular Knitting Needle, at least 32” long (but no longer than the finished bust measurement of the sweater for the size you’re making)
- 4 Matching Stitch Markers that can slide onto your needle (to mark raglan increase placement)
- 1 Stitch Marker that can slide onto your needle, should look different from the other 4 (to mark end of round)
- Scissors
- Measuring Tape
- Yarn Needle or Blunt Tapestry Needle
- 2 lengths of Waste Yarn, at least 16” long
Shop Supplies for this Project
 Buy Now →
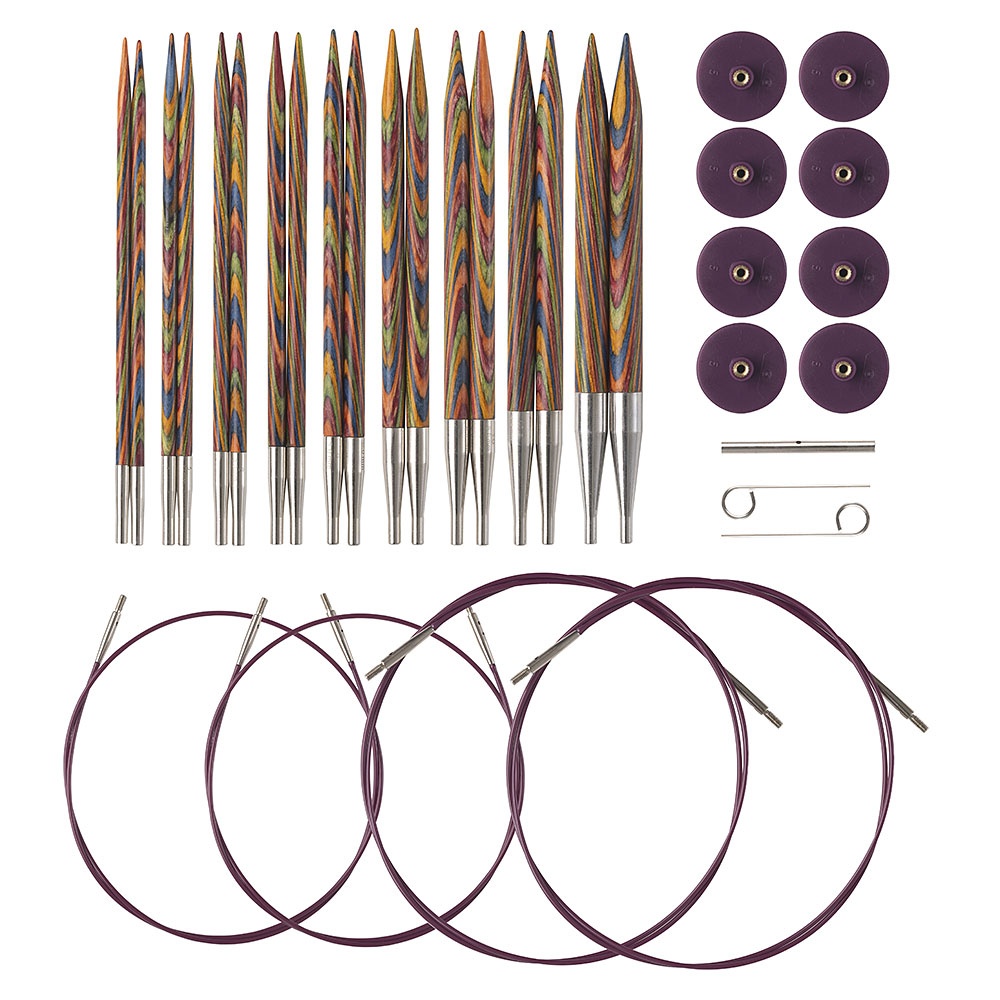
KnitPicks Options Rainbow Interchangeable Knitting Needles
Buy Now →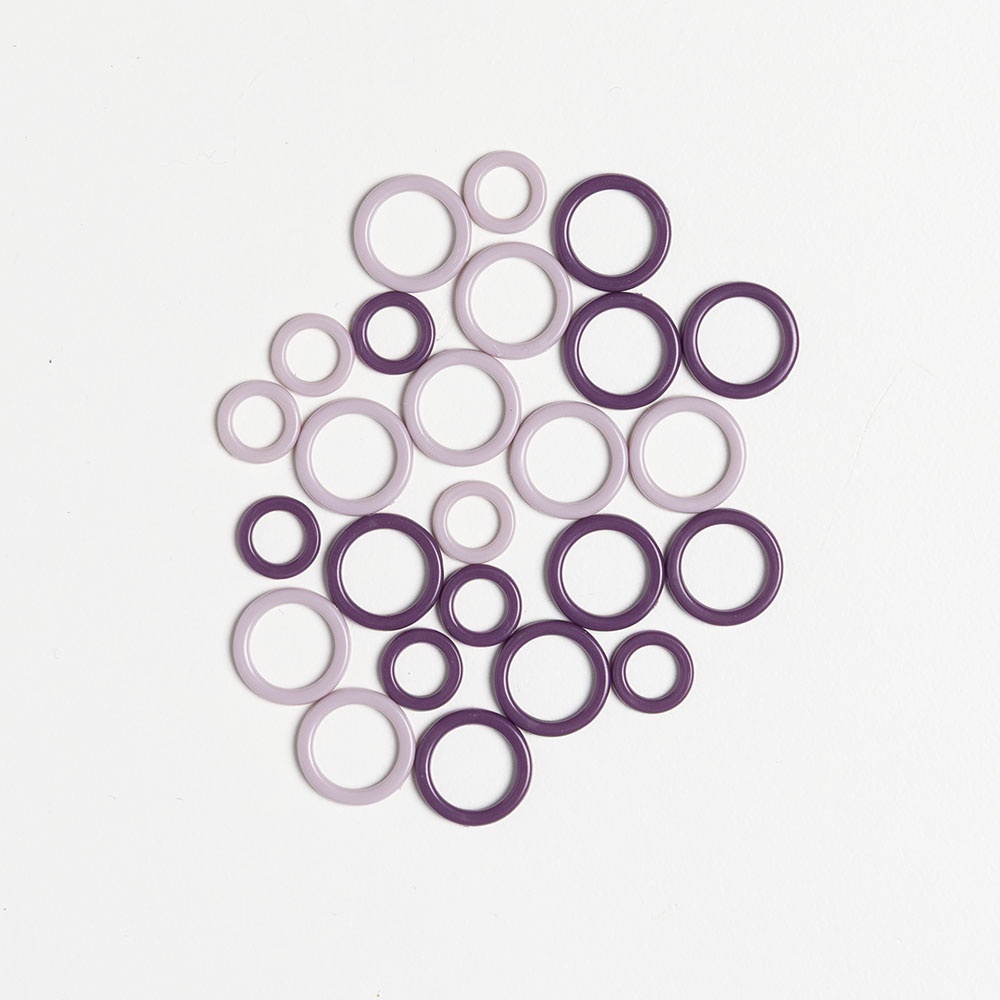
KnitPicks Knitting Stitch Markers
Buy Now →
Knitter’s Pride Rainbow Folding Scissors
Buy Now →
Chibi Metal Yarn Needles – Amazon
Buy Now →
Gauge:
12 stitches = 4” (10 cm); 20 rows = 4” (10 cm) in main dot stitch pattern
Stitch Markers
There are 5 stitch markers needed for this sweater. The 4 matching markers are raglan markers, to mark the placement of the increases for the raglan shaping. The fifth marker looks different, and will be used to mark the end of the round.
Abbreviations:
- K: knit
- P: purl
- sl: slip
- st(s): stitch(es)
- nxt: next
- K2tog: knit 2 stitches together*
- SSK: slip, slip, knit*
- RLinc: right lifted increase*
- LLinc: left lifted increase*
*This is a special stitch. See instructions below to learn how to work this stitch.
Special Stitches
Knit 2 Together (K2tog):
Insert your right needle as if to knit into the next two stitches. Knit through both stitches as though they were one.
Slip, Slip, Knit (SSK):
Slip the next stitch as if to knit. Slip the next stitch as if to knit. (You should have two slipped stitches.) Insert the left needle tip from left to right through the front of both slipped stitches, and knit through them as though they were one.
Right Lifted Increase (RLinc): (click here for video tutorial)
Knit according to the pattern until you have reached the stitch in which you are instructed to work an increase. With the right needle tip, reach down and pick up the right leg of the stitch below the next stitch on your left needle.
Lift that stitch up and place it on the left needle.
Knit the lifted stitch as normal and slide it off of the left needle, leaving the original stitch on the left needle.
Knit the original stitch as normal. This adds one stitch, which appears to come out of the right side of the original stitch column.

Left Lifted Increase (LLinc): (click here for video tutorial)
Knit according to the pattern until you have reached the stitch in which you are instructed to work an increase.
Knit the stitch as normal. With the left needle tip, reach down and pick up the left leg of the stitch 2 rows below the stitch on your right needle.
Lift that stitch up with the left needle.
Knit the lifted stitch and slide it off of the left needle. This adds one stitch, which appears to come out of the left side of the original stitch column.
Magic Loop Method:
In some parts of our sweater, the circumference of the stitches on the needle will be smaller than the circumference of the needle. We’ll be using the Magic Loop method to work around this, without changing needles or using double-pointed needles.
To knit with the Magic Loop, at the beginning of the next round, pull on the right needle tip to slide the left needle backwards into the stitches on the cable. The left needle should be going through the stitches as if you’re ready to knit into them. Loop the excess cable length of your circular needle out of the way, and hold the right needle tip close to the left needle as you begin your round.
E-Wrap Cast On
For the beginning cast-on at the neckline, you can use whatever cast-on method you like. I used a long tail cast on. However, when we divide the sleeve stitches from the body stitches, we’ll need to cast on several stitches at the underarm in the midst of our round. We will be using the E-Wrap cast on method for this.
Hold the working yarn in your closed left hand. Bring your thumb over the working yarn from front to back, then under the working yarn from back to front. Yarn should be coming from behind, around the back of your thumb, and down into your closed left hand.
Insert your right needle tip underneath the loop of yarn that is on the front of your left thumb, in an upwards direction.
Lift the right needle up to slide the loop off of your thumb and gently tighten the new loop on your needle. You have cast on 1 stitch. Repeat instructions to cast on the number of stitches required in the pattern.

Dotty Pullover Instructions
We will begin by casting on the stitches around the neckline. Then, we will increase stitches along the raglan lines to create 4 sections, the front of the sweater, the back of the sweater, and two sleeves.
As we begin our sweater, the circumference of the stitches on the needle will be smaller than the circumference of the needle. You’ll need to use the Magic Loop method to work around that until you have enough stitches on your needle to fill the circumference of the needle.
Co 64 (68, 72, 68, 64, 68, 72, 68, 72) sts. Join to work in the round, place end-of-round marker on right needle tip.
Rounds 1-5: (K2, P2) around. Sl end-of-round marker. You should have 64 (68, 72, 68, 64, 68, 72, 68, 72) sts.
On the next round, we will be placing stitch markers to mark the raglan lines for our increases.
Round 6: K 11 (12, 13, 12, 11, 12, 13, 12, 13), place a raglan marker on right needle. K 10, place a raglan marker on right needle. K 22 (24, 26, 24, 22, 24, 26, 24, 26), place a raglan marker on right needle. K 10, place a raglan marker on right needle. K 11 (12, 13, 12, 11, 12, 13, 12, 13). Sl end-of-round marker. You should have 64 (68, 72, 68, 64, 68, 72, 68, 72) sts.
We will now begin increasing for the raglan shaping while working the dot stitch pattern for the sweater. Sizes Small, Large, 2X, and 4X have slightly different instructions for Rounds 2, 4, and 6 of the increase section below. Please note which rounds you should be working for the size you are making.
Increase rounds:
Round 1: *K to 1 st before marker, RLinc, sl marker, LLinc,* repeat from *to* 3 more times. K to end of round. Sl end-of-round marker. 8 sts increased.
Round 2 (for sizes Extra Small, Medium, Extra Large, 3X, and 5X): *(P1, K1) to marker, sl marker, K2.* Repeat from *to* 3 more times. (P1, K1) to end of round. Sl end-of-round marker. 0 sts increased.
Round 2 (for sizes Small, Large, 2X, and 4X): *(P1, K1) to 1 st before marker, K1. Sl marker, K2. (P1, K1) to marker. Sl marker, K1.* Repeat from *to* 1 more time. (P1, K1) to end of round. Sl end-of-round marker. 0 sts increased.
Round 3: *K to 1 st before marker, RLinc, sl marker, LLinc,* repeat from *to* 3 more times. K to end of round. Sl end-of-round marker. 8 sts increased.
Round 4 (for sizes Extra Small, Medium, Extra Large, 3X, and 5X): *(K1, P1) to 1 st before marker, K1. Sl marker, K1.* Repeat from *to* 3 more times. (K1, P1) to end of round. Sl end-of-round marker. 0 sts increased.
Round 4 (for sizes Small, Large, 2X, and 4X): *(K1, P1) to 2 sts before marker, K2. Sl marker, K1. (K1, P1) to 1 st before marker, K1. Sl marker.* Repeat from *to* 1 more time. (K1, P1) to end of round. Sl end-of-round marker. 0 sts increased.
Round 5: Repeat Round 3. 8 sts increased.
Round 6 (for sizes Extra Small, Medium, Extra Large, 3X, and 5X): *(P1, K1) to marker, sl marker, K2.* Repeat from *to* 3 more times. (P1, K1) to end of round. Sl end-of-round marker. 0 sts increased.
Round 6 (for sizes Small, Large, 2X, and 4X): *(P1, K1) to 1 st before marker, K1. Sl marker, K2. (P1, K1) to marker. Sl marker, K1.* Repeat from *to* 1 more time. (P1, K1) to end of round. Sl end-of-round marker. 0 sts increased.
Repeat Increase Rounds 3-6; 4 (5, 6, 8, 10, 11, 12, 14, 15) more times. You should have 152 (172, 192, 220, 248, 268, 288, 316, 336) sts.
Now we will separate the sleeve stitches from the body stitches, casting on extra stitches at the underarm. We will be stringing the sleeve stitches onto a piece of waste yarn to hold them until we are ready to work with them later. Thread the end of the waste yarn through your yarn needle and string stitches onto each length of waste yarn according to the instructions below.

Body of Sweater
Round 1: K to marker, remove marker. Sl nxt 32 (36, 40, 48, 56, 60, 64, 72, 76) sts onto a length of waste yarn. Remove nxt marker. Loosely tie the ends of the waste yarn together to secure. With the E-wrap cast on, cast on 4 sts onto right needle.
Skip sts held on waste yarn and continue working across sts on left needle as follows: K to marker, remove marker. Sl nxt 32 (36, 40, 48, 56, 60, 64, 72, 76) sts onto a length of waste yarn. Remove nxt marker. Loosely tie the ends of the waste yarn together to secure. With the E-wrap cast on, cast on 4 sts onto right needle.
Skip sts held on waste yarn, knit across sts on left needle till you reach the end-of-round marker. Sl marker. You should have 96 (108, 120, 132, 144, 156, 168, 180, 192) sts.
Round 2: (K1, P1) around. Sl marker. You should have 96 (108, 120, 132, 144, 156, 168, 180, 192) sts.
Round 3: K around. Sl marker. You should have 96 (108, 120, 132, 144, 156, 168, 180, 192) sts.
Round 4: (P1, K1) around. Sl marker. You should have 96 (108, 120, 132, 144, 156, 168, 180, 192) sts.
Round 5: Repeat Round 3.
Repeat Rounds 2-5 until piece measures about 18 ½” (19”, 19 ½”, 19 ½”, 20”, 20”, 20”, 20 ½”, 20 ½”) from cast-on edge, ending with round 3 or round 5.
Ribbing
Rounds 1-10: (K2, P2) around. Sl marker. You should have 96 (108, 120, 132, 144, 156, 168, 180, 192) sts.
Bind off very loosely, so the bind-off edge will have a good amount of stretch in it.
Sleeve
We will now place the remaining stitches for the sleeve back on the needles, picking up stitches at the underarm, and knit in the round with the Magic Loop method to create the rest of the sleeve.
Untie the ends of the waste yarn that is currently holding the stitches of the sleeve. Working in a clockwise direction, slip the stitches onto your now-empty circular needle, one at a time, making sure the stitches do not get twisted. There will be a gap between the first and last stitches of the sleeve at the underarm edge.
When you knit the sleeves with the Magic Loop, you may need to loop the excess cable length out of the way in two places, at the beginning of the round, and about halfway through the round.
Round 1: Place end-of-round marker on right needle. Beginning with the working yarn, and starting at the center of the underarm edge, pick up 3 sts from the underarm edge. K ea remaining st across the needle. When you reach the remaining gap in the underarm edge, pick up 3 more sts from the underarm edge. Sl marker. You should have 38 (42, 46, 54, 62, 66, 70, 78, 82) sts.
Round 2: K1. (K1, P1) around to last st. K1. Sl marker. You should have 38 (42, 46, 54, 62, 66, 70, 78, 82) sts.
Round 3: K1, K2tog. K around till 3 sts remain before marker. SSK, K1. Sl marker. You should have 36 (40, 44, 52, 60, 64, 68, 76, 80) sts.
Round 4: (P1, K1) around. Sl marker. You should have 36 (40, 44, 52, 60, 64, 68, 76, 80) sts.
For sizes Medium, Large, 2X, 3X, 4X, and 5X, skip rounds 5-8 and continue to Decrease Section 1.
For sizes X-Small, Small, and X-Large:
Round 5: K around. Sl marker. You should have 36 (40, -, -, 60, -, -, -, -) sts.
Round 6: (K1, P1) around. Sl marker. You should have 36 (40, -, -, 60, -, -, -, -) sts.
Round 7: Repeat Round 5. You should have 36 (40, -, -, 60, -, -, -, -) sts.
Round 8: (P1, K1) around. Sl marker. You should have 36 (40, -, -, 60, -, -, -, -) sts.
Repeat Rounds 5-8; 3 (1, -, -, 0, -, -, -, -) more time(s), then continue to Decrease Section 1.
We will now begin decreasing to make the sleeve gradually taper to the cuff.

Decrease Section 1:
Round 9: K2tog. K around to last 2 sts. SSK. Sl marker. 2 sts decreased.
Round 10: (P1, K1) around. Sl marker. 0 sts decreased.
Round 11: K around. Sl marker. 0 sts decreased.
Round 12: (K1, P1) around. Sl marker. 0 sts decreased.
Round 13: K around. Sl marker. 0 sts decreased.
Round 14: (P1, K1) around. Sl marker. 0 sts decreased.
Round 15: K around. Sl marker. 0 sts decreased.
Round 16: (K1, P1) around. Sl marker. 0 sts decreased.
Round 17: K2tog. K around to last 2 sts. SSK. Sl marker. 2 sts decreased.
Round 18: (K1, P1) around. Sl marker. 0 sts decreased.
Round 19: K around. Sl marker. 0 sts decreased.
Round 20: (P1, K1) around. Sl marker. 0 sts decreased.
Round 21: K around. Sl marker. 0 sts decreased.
Round 22: (K1, P1) around. Sl marker. 0 sts decreased.
Round 23: K around. Sl marker. 0 sts decreased.
Round 24: (P1, K1) around. Sl marker. 0 sts decreased.
Repeat Rounds 9-24; 3 (3, 3, 2, 0, 0, 0, 0, 0) more time(s).
For size X-Small, stop here. Skip Decrease Sections 2 and 3, and continue to cuff ribbing.
For size 5X, stop here. Skip Decrease Section 2 and continue to Decrease Section 3.
Decrease Section 2:
Round 25: K2tog. K around to last 2 sts. SSK. Sl marker. 2 sts decreased.
Round 26: (P1, K1) around. Sl marker. 0 sts decreased.
Round 27: K around. Sl marker. 0 sts decreased.
Round 28: (K1, P1) around. Sl marker. 0 sts decreased.
Round 29: K2tog. K around to last 2 sts. SSK. Sl marker. 2 sts decreased.
Round 30: (K1, P1) around. Sl marker. 0 sts decreased.
Round 31: K around. Sl marker. 0 sts decreased.
Round 32: (P1, K1) around. Sl marker. 0 sts decreased.
Repeat Rounds 25-32; – (0, 1, 2, 3, 3, 2, 0, -) more time(s).
For sizes Small and Medium, stop here. Skip Decrease Section 3 and continue to cuff ribbing.
Decrease Section 3:
Round 33: K2tog. K around to last 2 sts. SSK. Sl marker. 2 sts decreased.
Round 34: (P1, K1) around. Sl marker. 0 sts decreased.
Round 35: K2tog. K around to last 2 sts. SSK. Sl marker. 2 sts decreased.
Round 36: (P1, K1) around. Sl marker. 0 sts decreased.
Repeat Rounds 33-36; – (-, -, 0, 3, 4, 5, 9, 11) more time(s).

Cuff Ribbing
Round 37: K around. Sl marker. You should have 20 (20, 20, 24, 24, 24, 28, 28, 28) sts.
Rounds 38-44: (K2, P2) around. Sl marker. You should have 20 (20, 20, 24, 24, 24, 28, 28, 28) sts.
Bind off very loosely, so the bind-off edge will have a good amount of stretch in it.
Repeat Sleeve instructions with remaining sts at other armhole to knit the second sleeve.
Weave in ends.
To Block: (video tutorial here)
For natural fibers, pin project out on foam blocking mats. Spray with water until fully saturated, allow to dry.
OR
For acrylic fibers, pin project out on an ironing board or several layers of towels. Hold a steaming iron 2”-3” over the surface of the fabric, making sure all of the fabric is penetrated by the steam. Allow to cool / dry.
This pattern is intended for your personal use only. You may not share it, copy it, sell it, give it away, or mass-produce the finished product. However, you may sell the finished items on a small scale, as long as you convey in your item description that you used a Yay For Yarn pattern.
Yay For Yarn Copyright© 2020 – Current. All patterns and photos are owned by Yay For Yarn.
Pin the image below to save this project for later!

")


Ok, tysm! And another quick question, can I make this sweater without blocking it? My yarn is 78% acrylic and 22% wool, so I’m not sure which method of blocking I should use.
If your yarn is mostly acrylic, steam blocking would work just fine. If it is machine washable, though, washing it and laying it flat to dry will work just fine. I hope this helps!
Hi! Is it normal for my shoulders to feel sore when I knit? I’ve been working on this sweater for a while and I’m on the sleeves now, but every time I knit, my shoulders start hurting.
Hi! Sometimes the shoulders can get sore if you are tense as you’re knitting. It can also happen if you tend to lift your shoulders to bring the knitting closer to your face as you work. Tight knitting tension can also contribute, as when the stitches are tight, it takes a bit more effort to make new stitches. I recommend sitting in a relaxed position, with elbows down at your sides, without raising the shoulders. If you prefer to hold the knitting closer to your face, try lifting only your hands closer while still keeping your elbows at your sides. A relaxed position like this can help avoid tension and prevent soreness. I hope this helps!
Hello I purchased your dotty pattern and the tutorial links are broken. Kindly advise how I access them
Hi Sherry! I would be happy to help you access the pattern. It looks like you have already downloaded the file a few times. Perhaps you could check your downloads folder on your device to see if it is already saved there. If you don’t see it in your downloads folder, try searching your file browser for “YayForYarn”, and it should pull up the file. If the file is not saved on your device, and the download is not working for you, just let me know and I can manually email you the pattern file. I hope this helps!
I’m so in love with how this sweater came out! My first sweater ever and now I’m brave enough to try more! I’d love to see a kids sweater that was knit (Ive given up learning crochet)
Hi! I just want to say thank you – this was my first attempt at knitting a sweater (I should note it was a successful attempt!). Your pattern was super clear and easy to follow, and your video was really helpful and encouraging!
I love your pullover! If you begin to work on the round to make a sweater, it’s looks like a raglan.
If I want to use a four weight yarn, how do I adjust the pattern?
Hi Linda! This pattern is not one that I would recommend adjusting for a different yarn weight. Changing the yarn weight would alter the gauge, which throws off every single one of the numbers in the pattern. This pattern required a ton of math to work out all of those numbers as I was designing it, so I know it would be a lot of work for you to try to re-do all of the math to get numbers that would work for a #4 weight yarn. Unless you are comfortable with sweater pattern design, I would not recommend trying to adjust this pattern for a different yarn. I would suggest looking for a worsted weight top down raglan sweater pattern online instead. I hope this helps!
Hi, thanks for the pattern! I am making the extra small, and I lost where I was on the Decrease Section 1 part. How many inches does it measure for one full round of stitches row 9-24? I am trying to find where I am… thanks for your help!
Hi Madeline! If you’ve lost your place in the pattern, you’ll want to count your rows to see where you are. Here is a video showing how to count your rows: How to Read your Knitting, Part 2. As you count your rows, refer to the pattern to see how many rows of the decrease section you have worked. You’ll want to start counting at the first round of the sleeve, where you picked up stitches at the underarm. You can also check the stitches in the last row you worked, and compare them to the instructions for each row to see what you did on the last row. I hope this helps!
Thanks for getting back to me! I’ve actually just finished the sleeve, but I’ll definitely still watch that… I do need to learn how to count my rows!
You’re welcome, Madeline! I hope your sweater turns out great!