
")
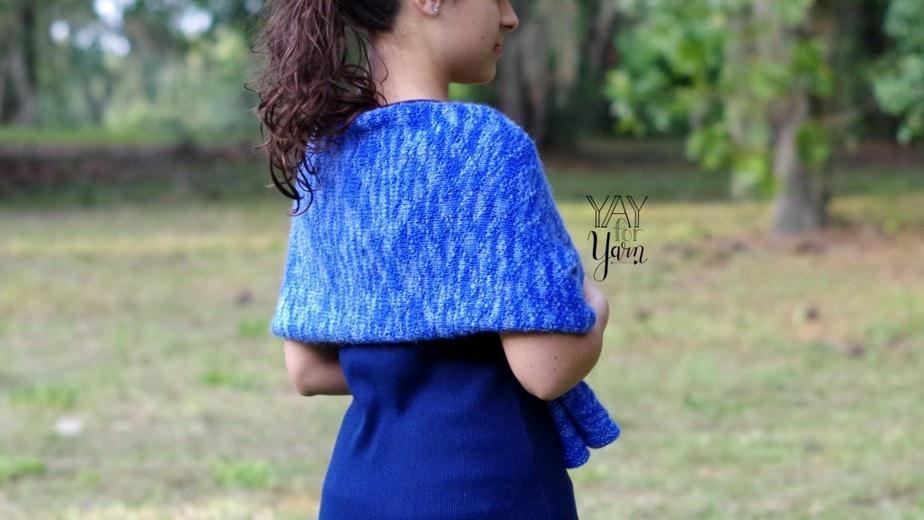
This versatile accessory can be worn many different ways. You can wear it as a shawl, scarf, cowl, or even a poncho!
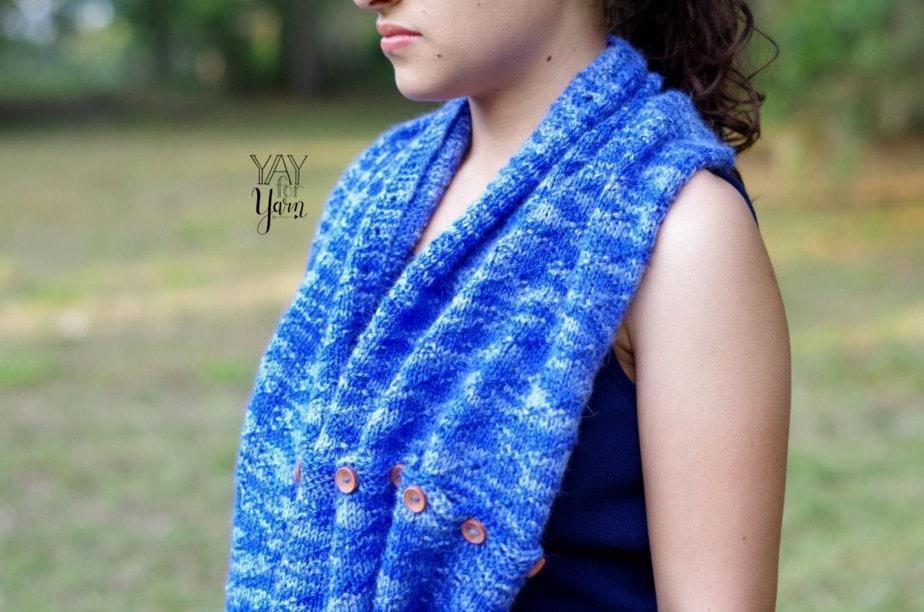
With buttons on one edge and buttonholes along the other edges, this simple rectangle is so much more than a wrap. It can be buttoned any way you want to create several different accessories, all from the same piece. The purl stitches on the right side of the work make a textured diamond brocade pattern.
Table of Contents

Convertible Diamond Wrap Knitting Pattern
by Yay For Yarn
Skill Level: Advanced Beginner
You Will Need:
US Size 7 / 4.5 mm Knitting Needles (I used a 24” Circular needle, but straight needles will also work)
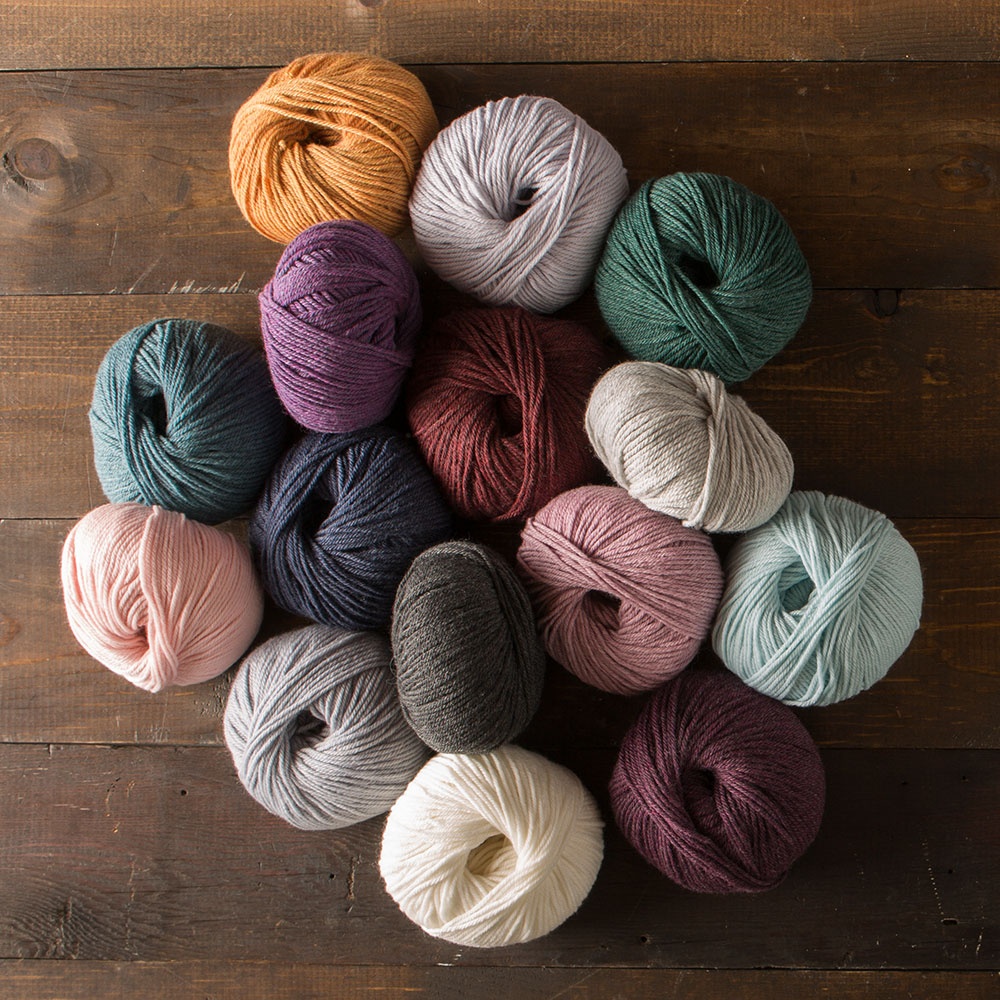
About 472 yards / 430 meters of DK weight yarn (I used Audine Wools Halo DK in Electric Abalone, now discontinued. See other yarns I would recommend substituting below.)
9 Buttons, 5/8” / 15 mm in diameter
Scissors
Ruler
Yarn Needle or Blunt Tapestry Needle
Note: if your yarn needle does not fit through the holes in your buttons, you will also need a hand sewing needle and sewing thread that matches your project to sew the buttons on.
Shop Supplies for this Project
Capra DK Merino / Cashmere Yarn
Buy Now →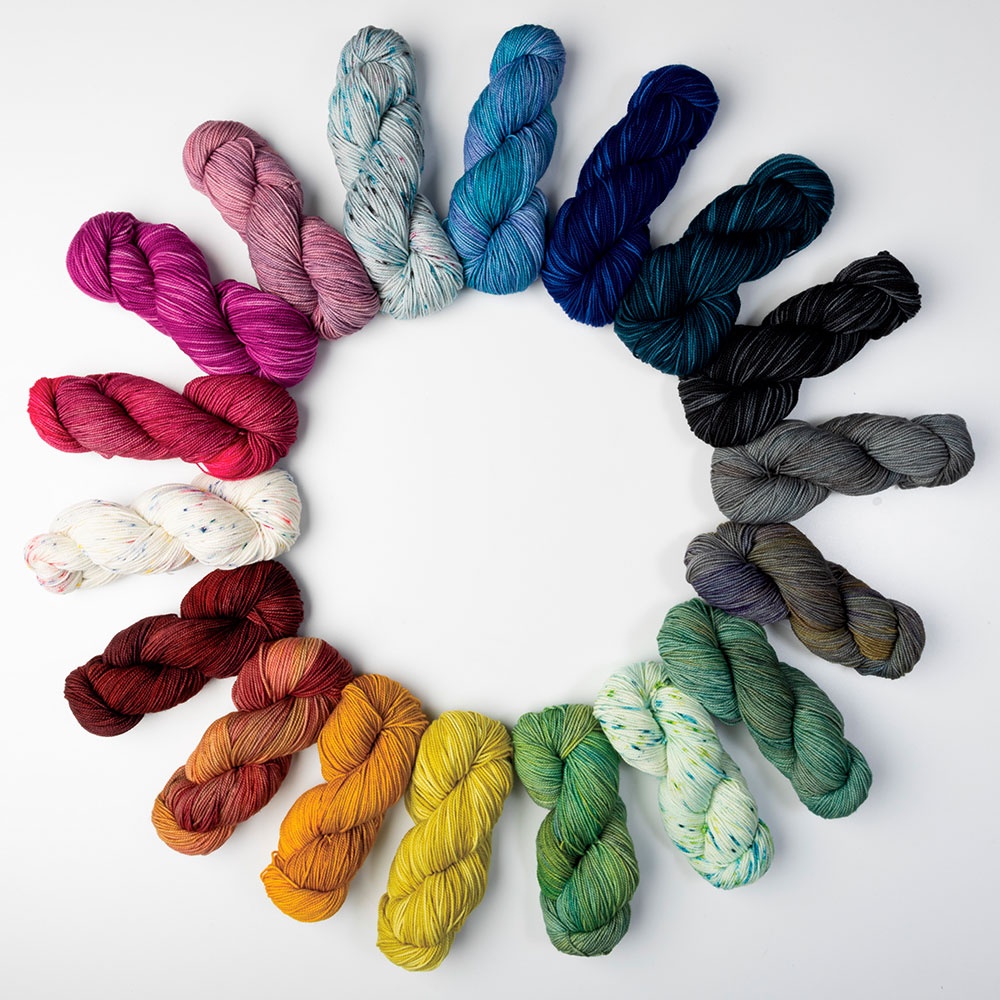 Buy Now →
 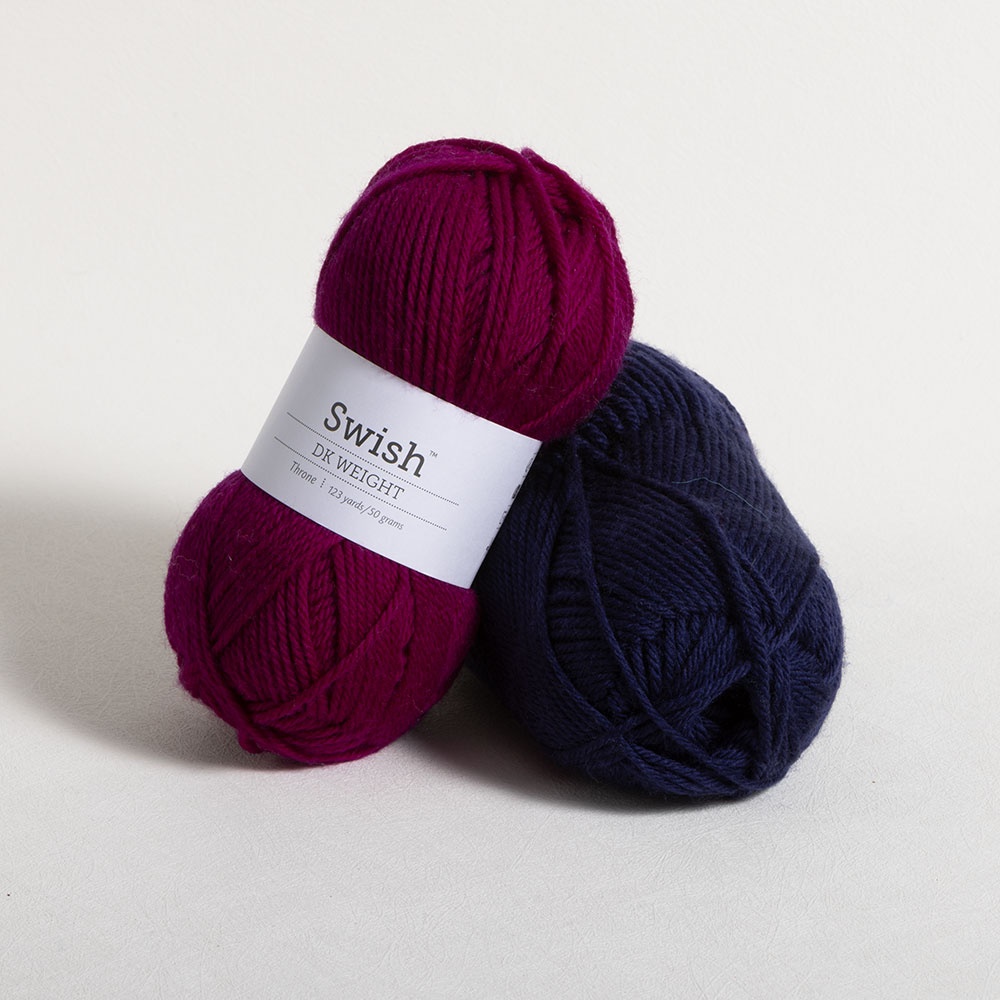 Buy Now →
 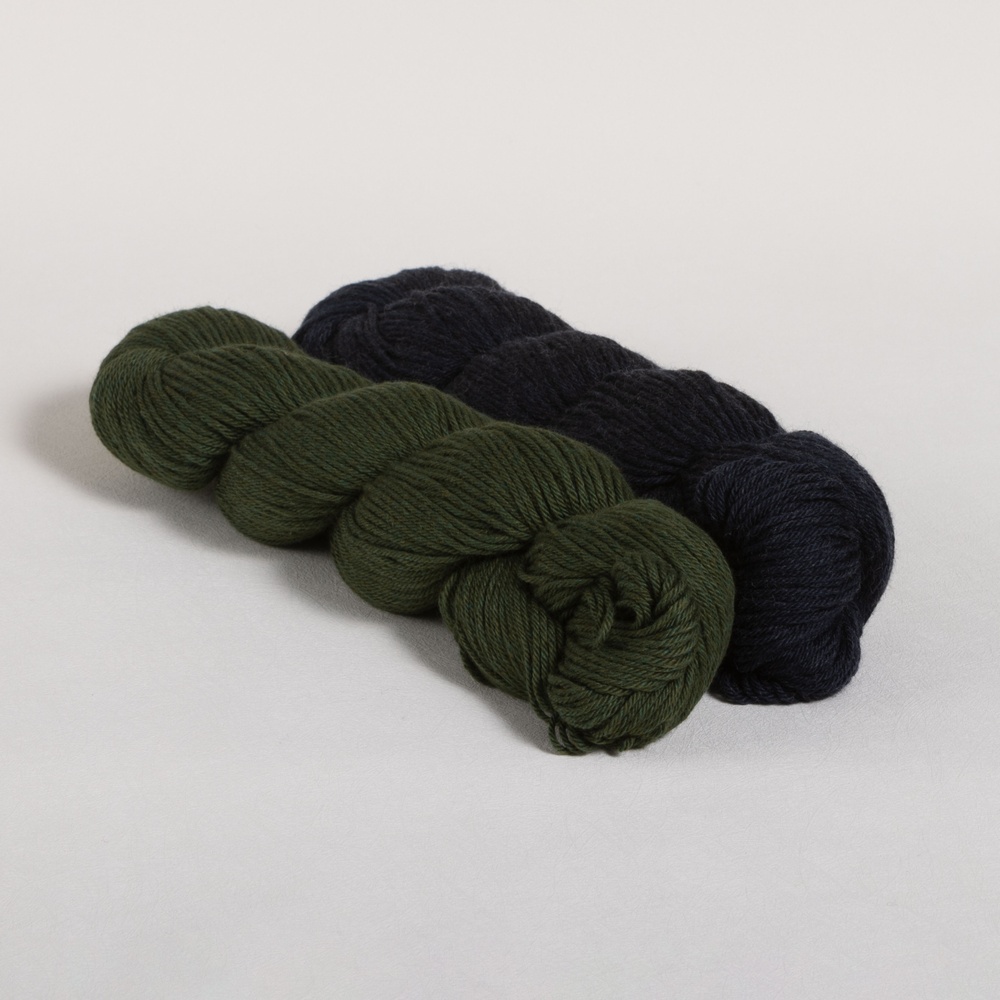 Buy Now →
  Buy Now →
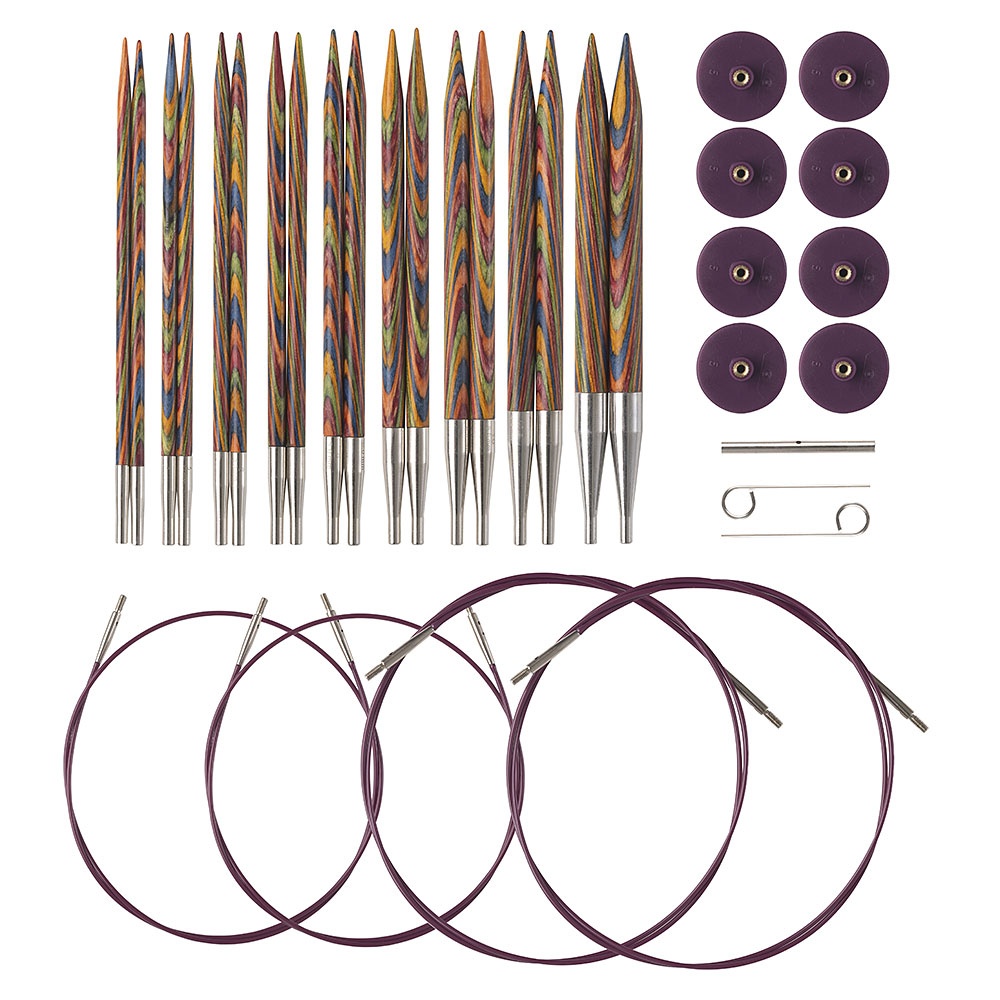
KnitPicks Options Rainbow Interchangeable Knitting Needles
Buy Now →
Chibi Metal Yarn Needles – Amazon
Buy Now →
Knitter’s Pride Rainbow Folding Scissors
Buy Now →
Gauge: 20 stitches = 4” / 10 cm, 30 rows = 4” / 10 cm in stitch pattern
Finished Size: 13” / 33 cm wide by 46” / 116.8 cm long
Abbreviations:
K: knit
P: purl
YO: yarn over*
K2tog: knit 2 stitches together*
sts: stitches
*See instructions below to learn how to work this stitch.
YO: Bring the yarn to the front, and wrap it over the right needle from front to back. This stitch is worked into as normal on the following row. It creates a buttonhole in the fabric.
K2tog: Insert the needle from front to back into the next 2 sts at the same time. Knit through both stitches as though they were one.
Convertible Diamond Wrap Instructions
Cast On 65 sts.
Note: At the end of each row, you should always have 65 sts.
Rows 1-6: K across.
Row 7: K1, K2tog, YO, K5. *P1, K7* across to last 9 sts. P1, K5, YO, K2tog, K1.
Row 8: K4, P3. *K1, P1, K1, P5* across to last 10 sts. K1, P1, K1, P3, K4.
Row 9: K6. *P1, K3* across to last 7 sts. P1, K6.
Row 10: K4, P1. *K1, P5, K1, P1* across to last 4 sts, K4.
Row 11: K4, P1. *K7, P1* across to last 4 sts, K4.
Row 12: Repeat Row 10.
Row 13: Repeat Row 9.
Row 14: Repeat Row 8.
Repeat Rows 7-14, 42 more times. (If you are afraid you might run out of yarn before you finish the garter stitch edging below, you can just repeat rows 7-14, 41 more times instead.)
Row 15: K across.
Row 16: K1, K2tog, YO, K4. *K2tog, YO, K6* across to last 10 sts. K2tog, YO, K5, YO, K2tog, K1.
Row 17-20: K across.
Bind off loosely. Tie off, weave in ends.

To Block (video tutorial):
For natural fibers, pin project out to the correct measurements on foam blocking mats. Spray with water until fully saturated, allow to dry.
OR
For acrylic fibers, pin project out to the correct measurements on an ironing board or several layers of towels. Hold a steaming iron 2”-3” over the surface of the fabric, making sure all of the fabric is penetrated by the steam. Allow to cool / dry.
To Attach the Buttons:
Instead of sewing each button on with an individual length of thread / yarn, we are going to sew all the buttons on with one long piece of thread / yarn.
If your yarn needle does not fit through the holes in your buttons, you’ll need to use a hand sewing needle and matching sewing thread. If using sewing thread, thread a length of it about 24” / 61 cm long through your needle.
I used a thin yarn needle and a length of extra yarn to sew on my buttons. If using yarn, thread a length of it about 24” / 61 cm long through your yarn needle.
The buttons are placed evenly across the garter stitch border of the cast on edge (rows 1-6). One button is placed at each corner. For the remaining seven buttons, we place one button at each point where the corner of a diamond touches the garter stitch border.
Begin with the button at one corner. Leave a tail of thread / yarn, and sew the button on in its place. Tie the tail together with the working thread / yarn in a double knot on the back of the fabric to secure. (This tail can be woven in later.)
For each remaining button:
Weave the working thread / yarn across the backside of the garter stitch border until you reach the spot where the next button should be attached. Give the garter stitch border a little stretch to make sure that the thread / yarn is not inhibiting the stretch of the fabric, and sew the next button on in its place. On the back of the fabric, pick up a strand of yarn behind the button with your needle. Wrap the thread / yarn around the needle, and pull the needle through to make a knot. Repeat these steps to sew on the rest of the buttons.
When the last button is securely attached, weave in any remaining thread / yarn tails into the knitting.
The buttons can be inserted through any of the buttonholes around the other edges of the wrap, so you can wear it any way you want.
This pattern is intended for your personal use only. You may not share it, copy it, sell it, give it away, or mass-produce the finished product. However, you may sell the finished items on a small scale, as long as you convey in your item description that you used a Yay For Yarn pattern.
Yay For Yarn Copyright© 2019 – Current. All patterns and photos are owned by Yay For Yarn.
Pin the image below to save this project for later!

How would you wear this wrap?
")


Love the color and design. Thank you for sharing this pattern with the world.
Hi! Do you have any patterns for about half this amount of yarn? Thank you!
Hi Natasha. I don’t currently have any patterns written for DK weight yarn that would require half this amount, but I do have a pattern that can work for different amounts of yarn. It’s a different type of wrap, but you can make it in any yarn you like with different amounts of yarn. A smaller amount of yarn will just make a smaller wrap. You can find the pattern here. I hope this helps!
Hi!
Thanks for the link but I don’t have circular knitting needles.
I am obsessed with yarn and crochet and knitting. I also love your YouTube videos, really you have the most pleasant voice and presentation. Today I came to your site to buy a few of your patterns. I am attracted to this poncho/wrap pattern above but I wonder if the buttons are functional or just decorative? If not functional, i might leave them off. It’s hard to decipher if the other 2 garments pictured require the buttons or not. Thank you again for your inspiration!
I’m glad you are enjoying my videos, Sita! Yes, the buttons are functional. One edge of the wrap has buttons, and the other three edges have buttonholes all the way around, so you can button it anywhere you like. When worn as an infinity scarf, the buttons are put through the holes on the other short end of the rectangle. When worn as a poncho, the buttons are put through the holes on one end of the long side of the rectangle. I hope this helps!
Great free versatile pattern, thanks!
Love the poncho patten
Thank you! I’m so glad you like it!
Is there a way to print the pattern so that I don’t have to access it every time on my phone?
Hi Becki. The free version of the pattern, in the blog post above, is only available to view online. However, there is also a PDF version of the pattern available in my shop, which can be downloaded and printed: https://yayforyarnshop.patternbyetsy.com/listing/1504698122/convertible-diamond-wrap-pdf-knitting
I hope this helps!