
This easy striped blanket pattern blends multiple self-striping yarns (or lots of scrap yarn) together for a colorful, woven look. Start knitting this easy afghan today with this free pattern & video tutorial.
Table of Contents
- Yarn
- Can I make this cozy blanket with leftover scrap yarn?
- Is this project good for beginner knitters?
- Why do I need a circular needle for this project?
- How can I make this blanket a different size?
- Can I use a different yarn weight?
Self-striping yarns can look so cool in the skein, but sometimes it can be hard to find the right project for them. When I knit projects with stripes in stockinette stitch, seed stitch, or other stitch patterns, I prefer to make the stripes manually. Then, I can control where the stripe breaks and not have the yarn change color in the middle of the row.
But in this project, the Half-Linen Stitch pattern blends the stripes together, disguising the color changes in the yarn. I love how the fabric looks with all these blended colors!
I can’t wait to use the Half-Linen Stitch in future projects with other types of variegated and self-striping yarns!

Yarn
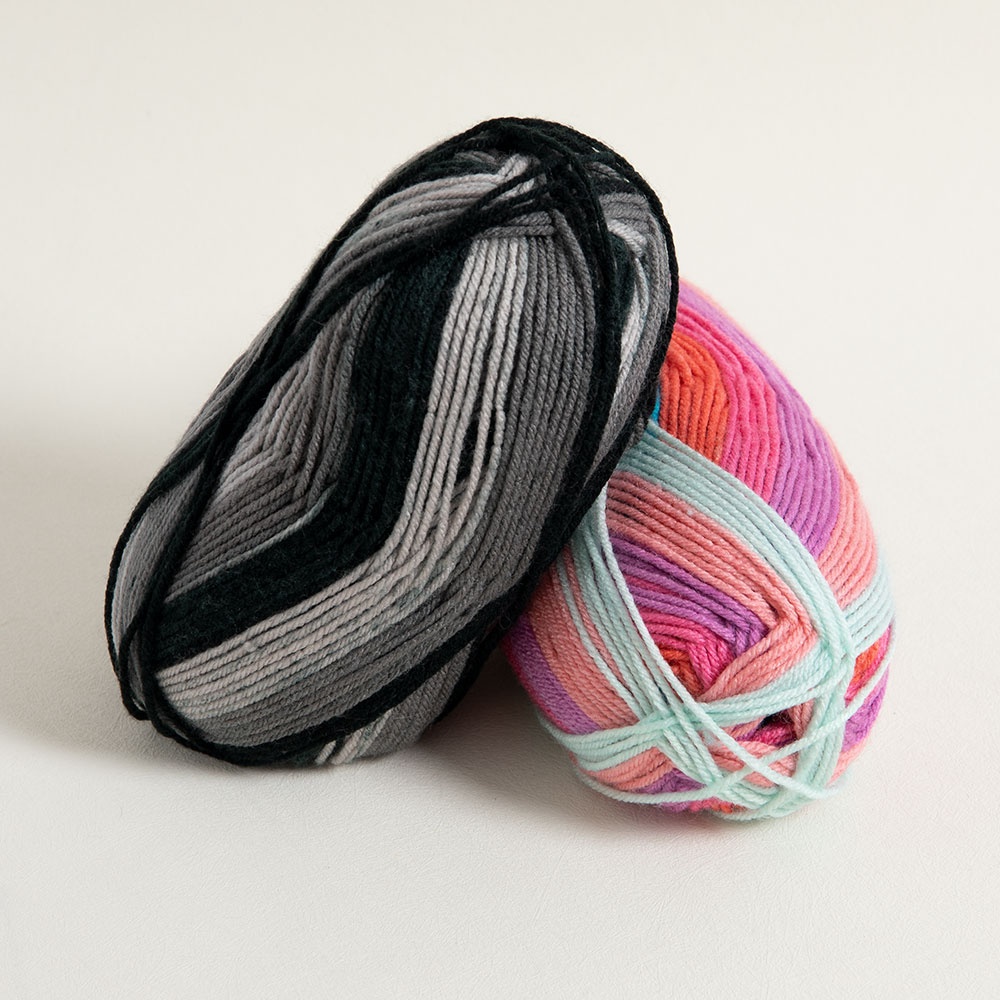
The Brava Stripe Blanket features Knit Picks Brava Stripe, a soft, self-striping acrylic yarn. This free blanket knitting pattern is ideal for using multiple colorways of self-striping yarn together.
To create the blanket shown in the photos, I recommend using KnitPicks Brava Stripe. You can substitute another brand of self-striping or cake yarn if you like, but other yarns may produce a different look and stripe pattern.

Can I make this cozy blanket with leftover scrap yarn?
If you have lots of scrap yarn in your stash, you can also make this project with leftover yarn. Just join them together using the yarn joining method of your choice (I prefer the Russian Join technique) to make your own self-striping yarn.
To make this easy blanket with scrap yarn, you’ll need at least 1000 grams of leftover #4 Worsted Weight yarn. With scrap yarn, instead of changing colors according to the instructions, you’ll just join whatever yarn you feel like using next each time you reach the end of your current yarn scrap. This method will create a unique afghan, and use up all of your leftover worsted weight yarn.
Is this project good for beginner knitters?
Yes! The Brava Stripe Blanket is beginner-friendly. The main stitch pattern is fairly simple with a lovely texture, surrounded by a plain garter stitch border. If you can read a knitting pattern and work all the basic knitting stitches, you can make this project. There’s also a full step-by-step video tutorial to walk you through the entire project.
Why do I need a circular needle for this project?
This easy knit blanket pattern is NOT knit in the round, but we still need to use a circular knitting needle. Circular needles are not just for knitting in the round. The long length of a circular needle can hold a lot of stitches at once, which is great for knitting large projects back and forth in rows.
You’ll need to choose the needle size that gets you the gauge specified in the pattern. This will ensure that your afghan will turn out the right size, and prevent you from running out of yarn before you’re finished. Follow the instructions for knitting a gauge swatch provided in the free knitting pattern below, then measure your gauge. If your gauge does not match the gauge given in the pattern, you can unravel your swatch, and try using a larger or smaller needle size to knit the gauge swatch again. This will help you know which needle size you’ll need to use to make this project. Learn more about checking your gauge here.

How can I make this blanket a different size?
To change the blanket size, for instance, to make a baby blanket or an afghan large enough for a bed, there are multiple ways to adjust the size. Just keep in mind that if you change the blanket size, it will also change the amount of yarn you’ll need. So be sure to purchase more yarn than you think you’ll need for the size blanket you want to make, just in case.
To knit the blanket in a different size, cast on any even number of stitches. You can then follow the pattern instructions. However, if you’re using KnitPicks Brava Stripe, changing the size of the blanket will also change the thickness of the stripes in the fabric, producing a different look than shown in the photos.
Can I use a different yarn weight?
Like many knit blanket patterns, this pattern calls for #4 Medium / Worsted Weight yarn (this is also called Aran weight yarn). Using a yarn from a different weight category (thicker or thinner) will change the finished size and gauge of the blanket. You could try using a #3 Light / DK weight yarn or a #5 Bulky / chunky yarn if you like. Again, this will change the size of the blanket, may require you to change your needle size, and will very likely produce a different stripe pattern than shown in the photos.
You can experiment with using yarn of a different thickness, but I recommend using #4 Medium weight yarn and following the pattern as written for best results.

Ready to get started? Let’s knit the Brava Stripe Blanket!
Brava Stripe Blanket
Knitting Pattern by Yay For Yarn
Project Level: Easy
Finished Size: Approximately 48” (122 cm) wide by 52” (133 cm) long
Yarn:
KnitPicks Brava Stripe, 100% Premium Acrylic, #4 Worsted Weight, 218 yds / 100g per skein
- 2 skeins Twilight
- 2 skeins Candy Jar
- 2 skeins Laguna
- 2 skeins Buttercream
- 2 skeins Orchid
You Will Also Need:
- US Size 7 / 4.5mm circular knitting needle, at least 32” (81 cm) long
- Scissors
- Yarn Needle or Blunt Tapestry Needle
- Ruler or Measuring Tape (for measuring gauge)
Shop Supplies & Tools for this Project
 Buy Now →
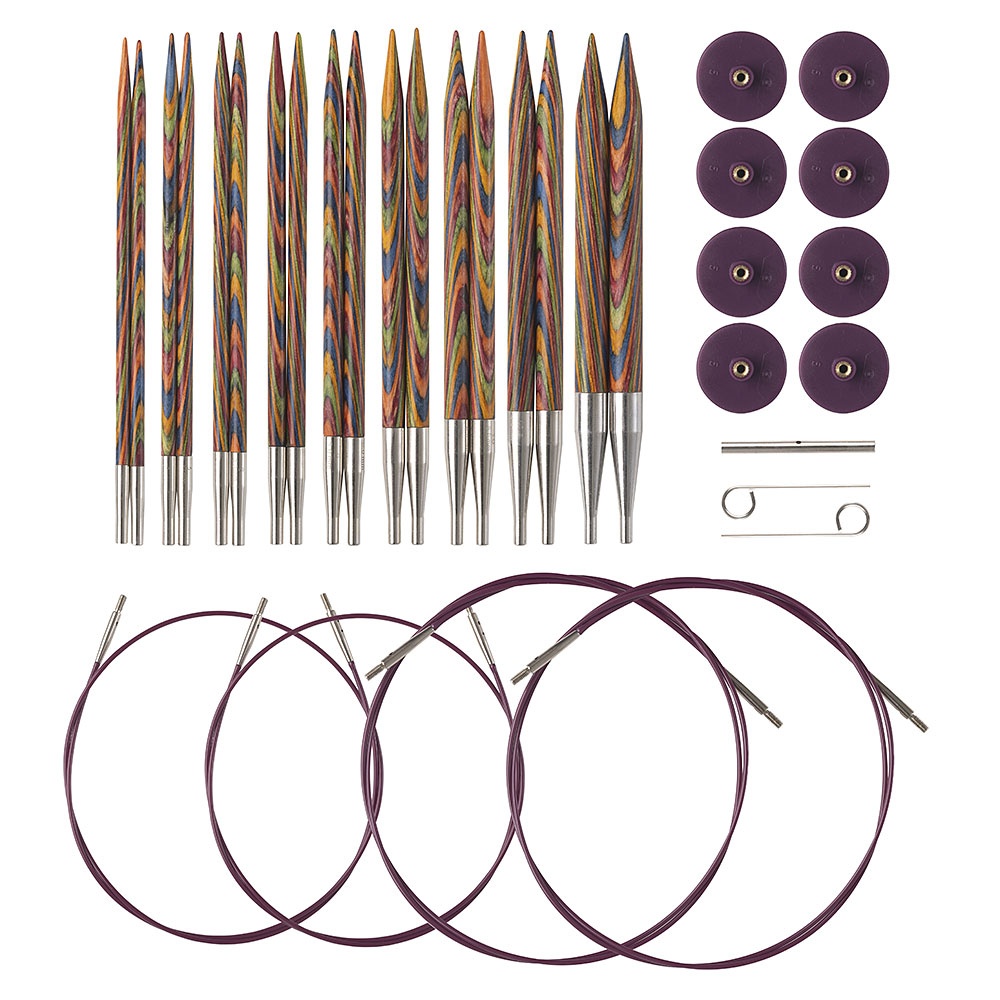
KnitPicks Options Rainbow Interchangeable Knitting Needles
Buy Now →
Knitter’s Pride Rainbow Folding Scissors
Buy Now →
Chibi Metal Yarn Needles – Amazon
Buy Now →
Abbreviations:
st(s): stitch(es)
K: knit
P: purl
sl1wyif: slip 1 stitch purlwise with yarn in front
CA: color A
CB: color B
Special Stitches:
Slip 1 Purlwise with yarn in front: (sl1wyif)
Bring the yarn in between the needle tips to the front of the work. Slip the next stitch by inserting the right needle into the stitch as if to purl, and lifting the stitch off of the left needle without knitting or purling it. We’re just moving the stitch from the left needle to the right needle, while holding the yarn to the front of the work. You will need to bring the yarn between the needle tips to the back of the work again when the pattern instructs you to work a knit stitch next.
Gauge:
20 sts in 4” (10 cm), 26 rows in 3” (7.6 cm) in Half Linen Stitch (see instructions for gauge swatch below).
Pattern for Gauge Swatch:
Cast On 30 stitches.
Rows 1-2: K each st across.
Row 3: K2. [sl1wyif, K1] across to last 2 sts. K2.
Row 4: K2. P each st across to last 2 sts. K2.
Row 5: K2. [K1, sl1wyif] across to last 2 sts. K2.
Row 6: K2. P each st across to last 2 sts. K2.
Repeat Rows 3-6 until piece measures about 5” (12.7 cm) long.
Rows 7-8: K each st across.
Bind off, but do not cut your yarn to tie off. If you want to tie off your swatch, stretch the last loop on your needle until it is large enough for your yarn skein to fit through, and slip the entire skein of yarn through that loop to temporarily tie off. Don’t pull it too tight. After measuring gauge, stretch the last loop out again, slip your yarn skein back through the loop to undo the tie off, and unravel your gauge swatch. Now we can use all of the yarn we have to make our afghan.

Brava Stripe Blanket Pattern Instructions
With Twilight, Cast On 240 sts. (If using a Long-Tail Cast On method, you’ll need to leave a tail at least 3.5 yards long before beginning your cast on.)
To begin, use Twilight for CA, and Candy Jar for CB.
Rows 1-2: K each st across.
Row 3: Switch to CB. K2. [sl1wyif, K1] across to last 2 sts. K2.
Row 4: K2, P each st across to last 2 sts, K2.
Row 5: Switch to CA. K2. [K1, sl1wyif] across to last 2 sts. K2.
Row 6: K2, P each st across to last 2 sts, K2.
Repeat Rows 3-6; seven more times. (You will have used up a little less than half the skein of Twilight.) Cut the CA (Twilight) yarn, leaving a tail at least 16” long. Use the Russian Join (tutorial here) to join a skein of Laguna to the end of the Twilight yarn for CA. Laguna is now CA.

For the rest of our blanket, we will continue knitting in our stitch pattern, repeating Rows 3-6. Each time we reach the end of a skein, we’ll use the Russian Join (tutorial here) to change to a new skein of a different colorway as follows.
When you reach the end of the skein of Candy Jar (CB), join a new skein of Buttercream to the end of the skein of Candy Jar. Buttercream is now CB. Continue repeating Rows 3-6.
When you reach the end of the skein of Laguna (CA), join a new skein of Orchid to the end of the skein of Laguna. Orchid is now CA. Continue repeating Rows 3-6.
When you reach the end of the skein of Buttercream (CB), join a new skein of Twilight to the end of the skein of Buttercream. Twilight is now CB. Continue repeating Rows 3-6.
When you reach the end of the skein of Orchid (CA), join a new skein of Candy Jar to the end of the skein of Orchid. Candy Jar is now CA. Continue repeating Rows 3-6.
When you reach the end of the skein of Twilight (CB), join a new skein of Laguna to the end of the skein of Twilight. Laguna is now CB. Continue repeating Rows 3-6.
When you reach the end of the skein of Candy Jar (CA), join a new skein of Buttercream to the end of the skein of Candy Jar. Buttercream is now CA. Continue repeating Rows 3-6.
When you reach the end of the skein of Laguna (CB), join a new skein of Orchid to the end of the skein of Laguna. Orchid is now CB. Continue repeating Rows 3-6.
When you reach the end of the skein of Buttercream (CA), join the remaining partial skein of Twilight to the end of the skein of Buttercream. Twilight is now CA.
Continue repeating Rows 3-6 until you have nearly reached the end of the partial skein of Twilight, and you still have enough of the Orchid yarn remaining for a few more rows, stopping after Row 6.
Rows 7-8: With CB (Orchid), K each st across.
Bind Off with the technique of your choice. I recommend the Suspended Bind Off.
Weave in ends.

To Block (tutorial here):
Since KnitPicks Brava can be machine washed and dried, the easiest way to block our finished blanket is to machine wash in cold water and tumble dry on low.
If you are using a yarn that cannot be machine washed and dried, you can steam block or wet block your project:
For natural fibers, pin project out on foam blocking mats. Spray with water until fully saturated, allow to dry.
OR
For acrylic fibers, lay project out on an ironing board or several layers of towels. Hold a steaming iron 2-3” over the surface of the fabric, making sure all of the fabric is penetrated by the steam. Allow to cool/dry.
Enjoy your finished Brava Stripe Blanket!

This pattern is intended for your personal use only. You may not share it, copy it, sell it, give it away, or mass-produce the finished product. However, you may sell the finished items on a small scale, as long as you convey in your item description that you used a Yay For Yarn pattern.
Yay For Yarn Copyright© 2023 – Current. All patterns and photos are owned by Yay For Yarn.
Pin the image below to save this project for later!

")


I feel like this blanket is going to be very short. Any suggestions?
Hi Tracy. If you matched the pattern gauge, then the finished blanket should turn out to the approximate finished measurements given in the pattern. If you want the blanket to be larger than the finished measurement in the pattern, you could get some extra yarn and work additional stripes until you like the finished size of the blanket. I hope this helps!
I love that you also use the term yarning. When my son first learned to talk all he said to me was “when you’re finished yarning come play trucks I made a new road”. Of course the roads are now used for dirt bikes and he’s learned how to say crocheting. And recently he begun to use actual roads and I had to tell him the lines have a purpose don’t cross them constantly.