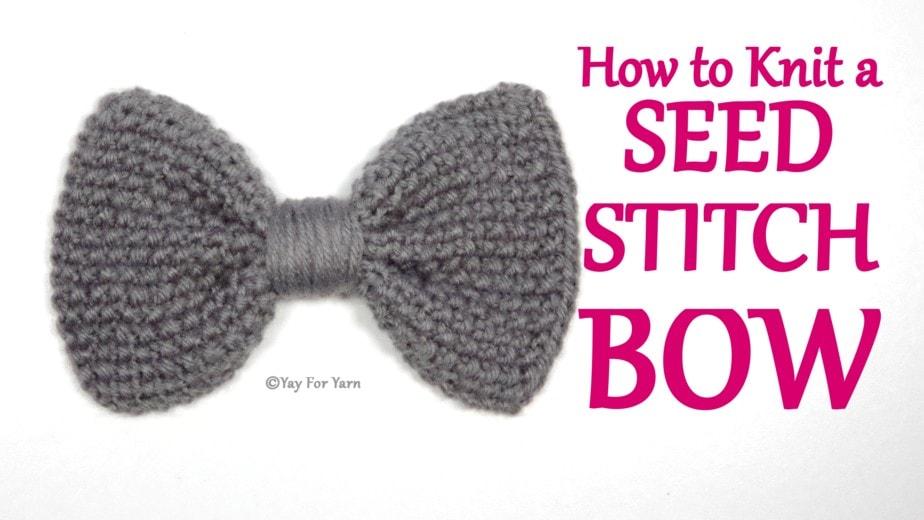
Free Pattern! Knit a cute Seed Stitch Bow to embellish a project, or to wear as a hair accessory.
Table of Contents
This project is fully customize-able, and can be knit at any size, at any gauge, in any weight of yarn. However, I recommend using a needle size that is appropriate for the thickness of your yarn. I used sport weight yarn on US Size 4 (3.5mm) needles, and made my bow 2 ½” (6.35 cm) wide and 4” (10.16 cm) long.

Seed Stitch Bow Knitting Pattern
by Yay for Yarn
Scroll to the bottom of this post to see the video tutorial.
Skill Level: Beginner
You will need:
Yarn of your choice (any weight, amount will depend on size and gauge)
Knitting needles
Yarn Needle
Scissors
Ruler or Measuring Tape
Abbreviations:
CO: cast on
BO: bind off
K: knit
P: purl
Seed Stitch Bow Instructions
To knit the bow:
CO any even number of stitches until the cast-on is as long as you want the bow to be wide.
Row 1: *K1, P1* across.
Row 2: *P1, K1* across.
Repeat rows 1 and 2 until your piece is as long as you want your bow to be. BO, weave in ends.
Cut a long length of yarn from the ball, at least one yard (or 1 meter). Thread one end through the eye of your yarn needle. Pinch the center of the bow so that it is pleated neatly and evenly. With your yarn needle, stitch through the pleated center of the bow and pull the needle through, leaving about a 6” tail of yarn. Stitch back through the pleated center a couple more times, and tie the yarn and the yarn tail in a double knot. Holding the yarn tail out of the way, wrap the long length of the yarn around the center of the bow until you like how it looks. Tie the yarn together with the yarn tail again. Take a couple of stitches into the wrapped yarn on the back of the bow, and make a knot to secure. Bury the remaining yarn tails under the wrapped yarn on the back of the bow and trim the excess.
This pattern is intended for your personal use only. You may not share it, copy it, sell it, give it away, or mass-produce the finished product. However, you may sell the finished items on a small scale, as long as you convey in your item description that you used a Yay For Yarn
pattern.
Yay For Yarn Copyright© 2018 – Current. All patterns and photos are owned by Yay For Yarn.


How many cast on stitches would you use for a small bow for women slippers ? I’m going to use worsted weight yarn / size 7 knitting needles ?Wonderful bows and beautifully done video !
Hi Michele! The number of stitches to cast on will depend on how large you want the bow to be. I would suggest casting on a few stitches, until it looks about the size you want. As long as the cast-on stitches are evenly spread on the needle, the width of the cast-on will be close to the width of the finished piece (unless it’s a stitch pattern that contracts, but this one doesn’t). I hope this helps!